


 Sign In
 Create Account
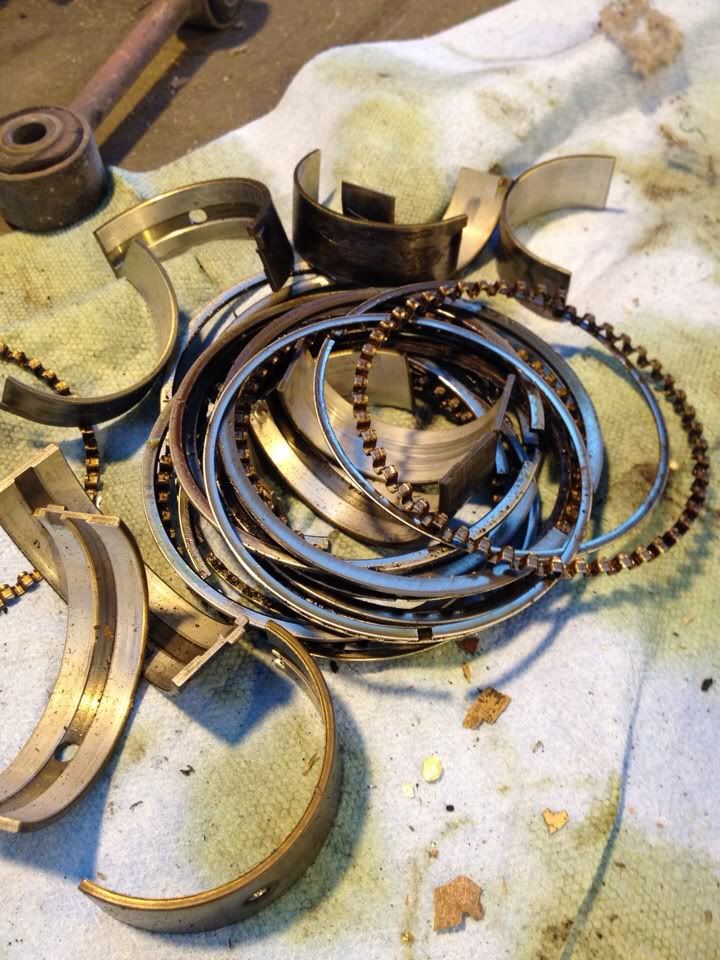
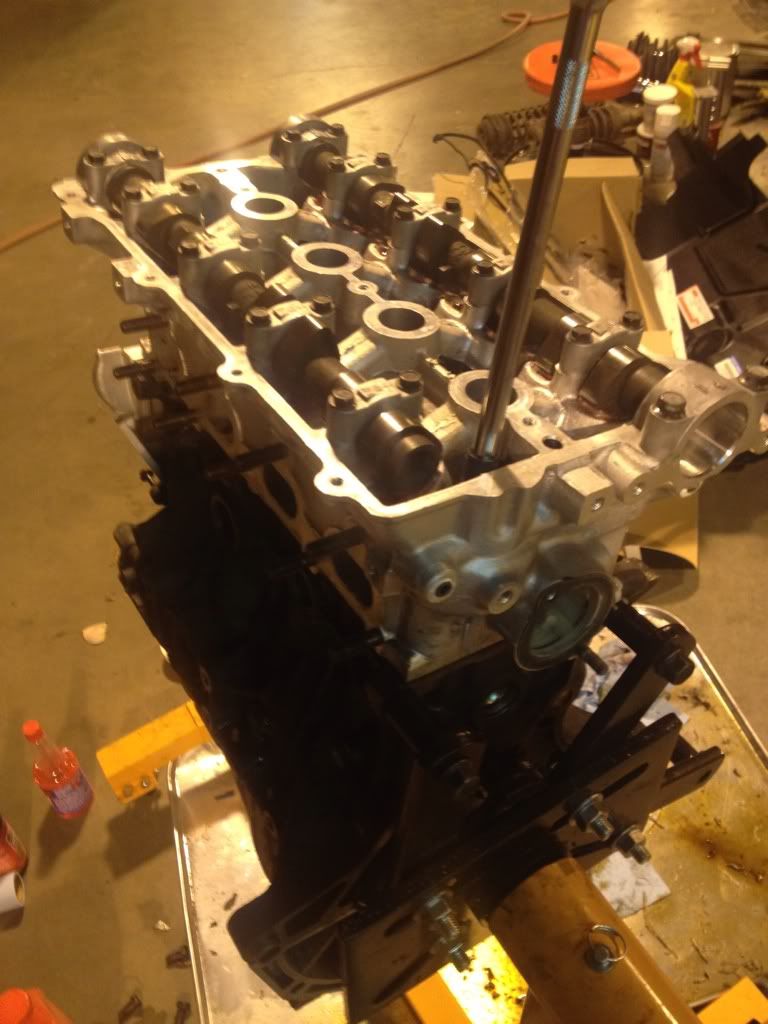
Poor maintenace is an understatement measured by those engine pics...Yikes!!
Looks like very few oil changes in it prior life.

#61

 Posted 12-14-2011 04:13 PM
joeg5982
-

- Members
-

- 60 posts
Member
- Location:buffalo ny
- Region:wny-scca
- Car Year:1982
- Car Number:15
 Back to top
 Report
#62
Posted 12-28-2011 11:21 PM
trekkor
-
- Members
-
- 26 posts
Member
- Location:Napa, ca
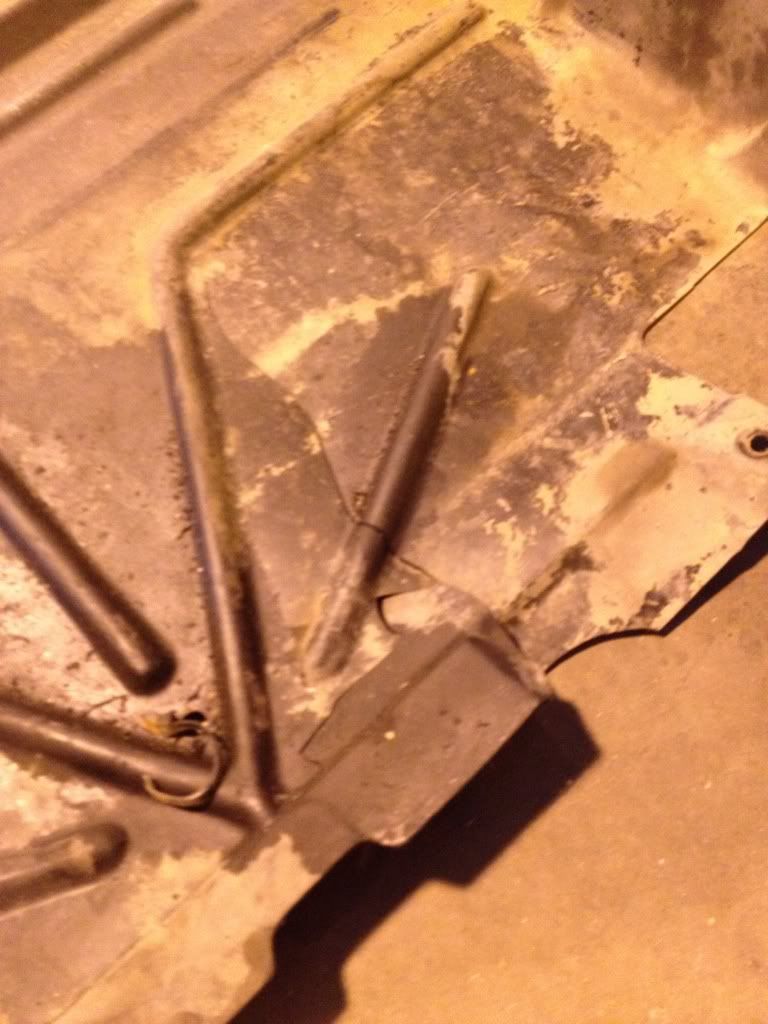
I also test fit myself in my seat with helmet on and discovered I'm about a inch short on headroom (not to mention being a little too close to the roll cage bar for comfort). The bottom of the seat is already just about on the floorpan, so I suppose I can move it forward a bit and tilt it back more...stupid tallness. Any suggestions?
I'm enjoying this build thread. Just about ready to get into this myself.
Regarding the seating problem, can you lower the mount or the actual floor itself.
Do you have a picture of the seat area without the seat installed?
KT
Crew for Todd Tagget #42 ( future co-driver! )
Let me set your tile!~ http://www.willstile.com
Let me set your tile!~ http://www.willstile.com
#63
Posted 02-05-2012 11:51 PM
Austin Robison
-
- Members
-
- 103 posts
Member
- Location:Palo Alto, CA
- Region:SFR
- Car Year:1991
- Car Number:47
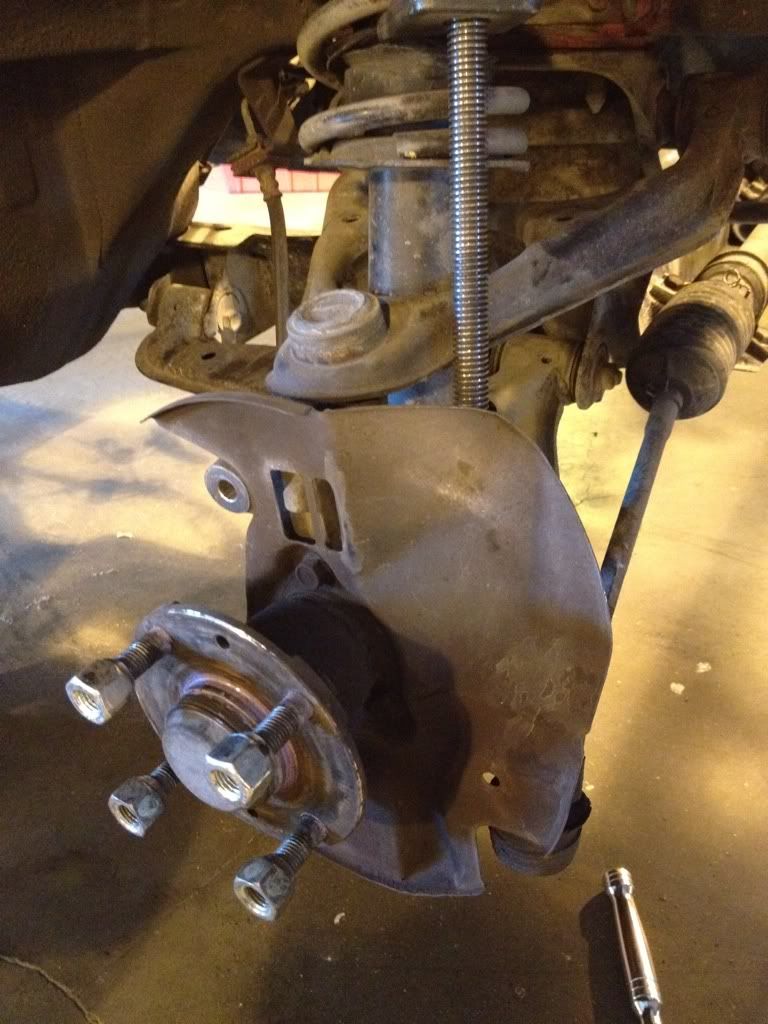
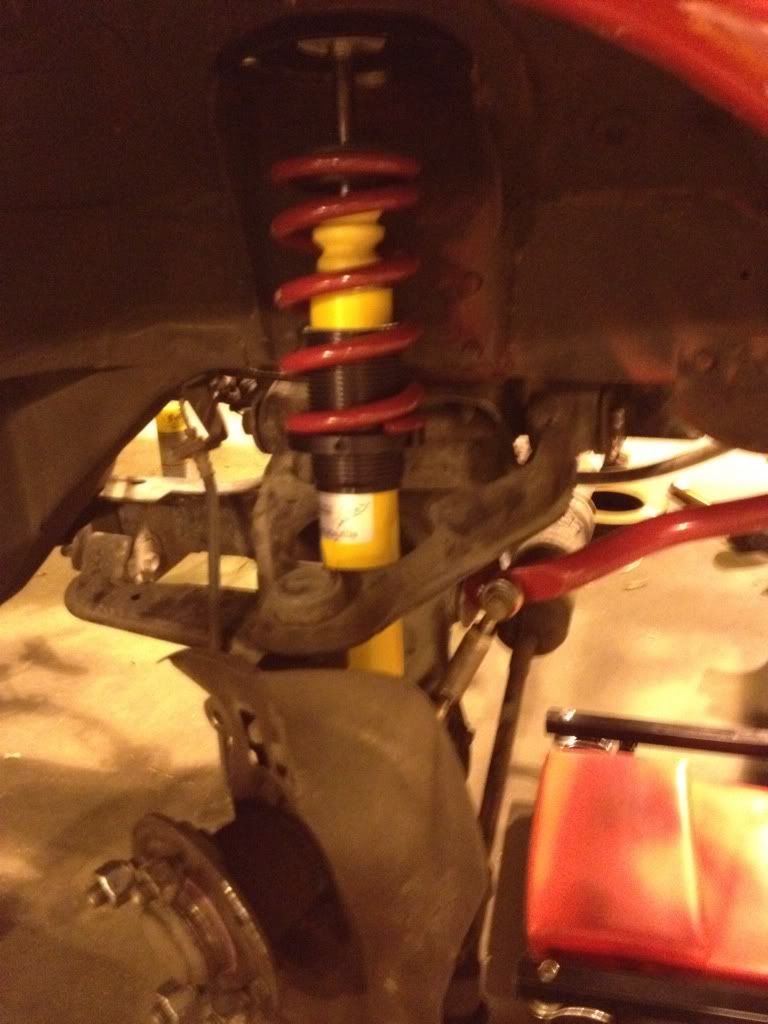
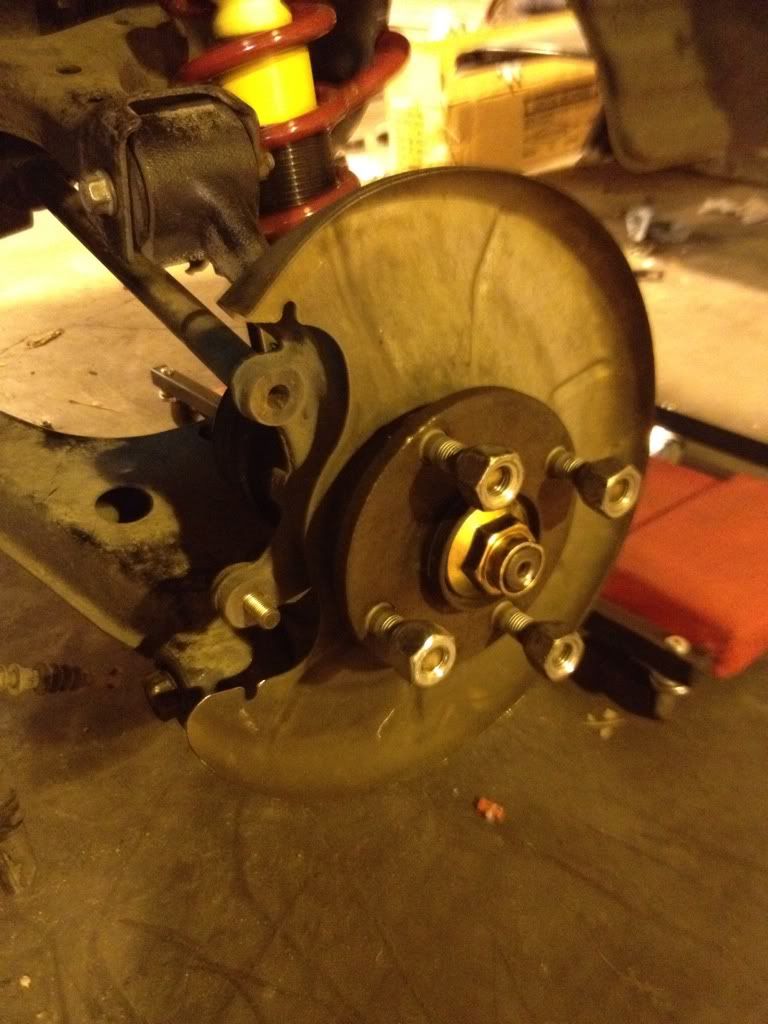
Whew, I'm back! After a bit of a hiatus I'm back on the bandwagon prepping my car for the upcoming season. Tonight, I put on the spec suspension and pulled a few more extraneous plastic panels out of the fender wells.
Looks like my plastic guard under the engine bay is cracked, nothing a little tape won't fix until I grab another one.
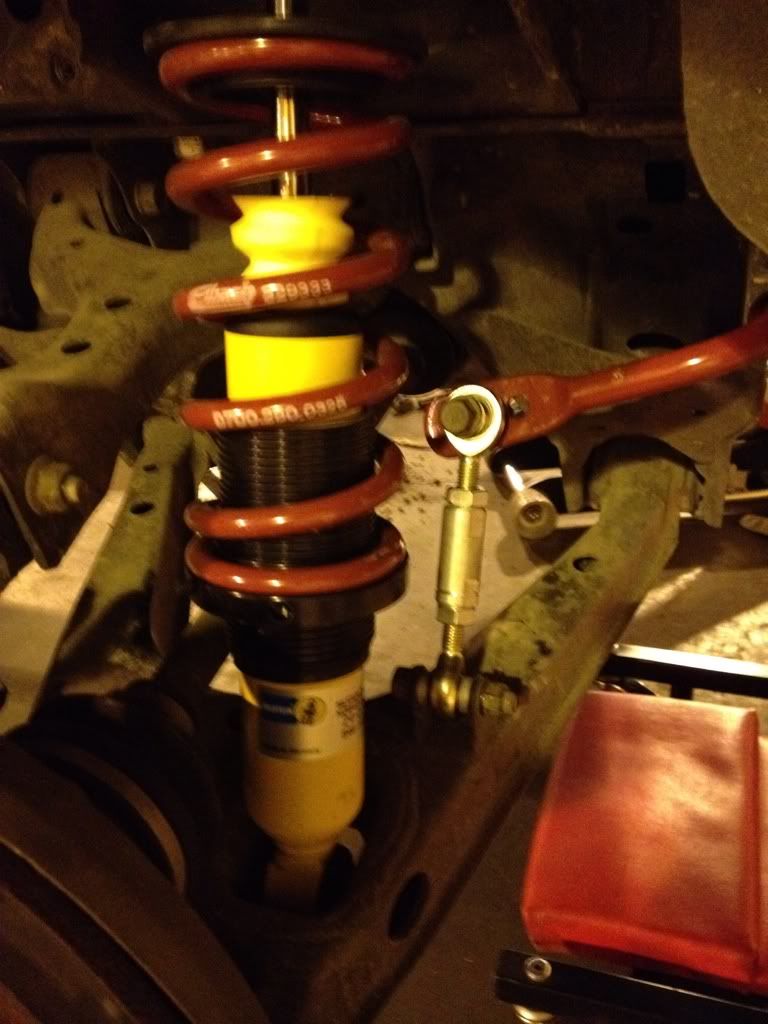
Taking the front struts out was easy once I learned the proper procedure: sway bar links off, bottom shock bolt out, two nuts on the top hat, and the long bolt through the inboard side of the upper control arm. Turns out the spring compressor was unnecessary, with the upper control arm disconnected it's easy to wiggle the strut out and get the coilover in there.
The end link angle in the front looks a little funky, is that normal? I guess once the car isn't up in the air and the suspension is at ride height it will look better.
Rears look better for angle:
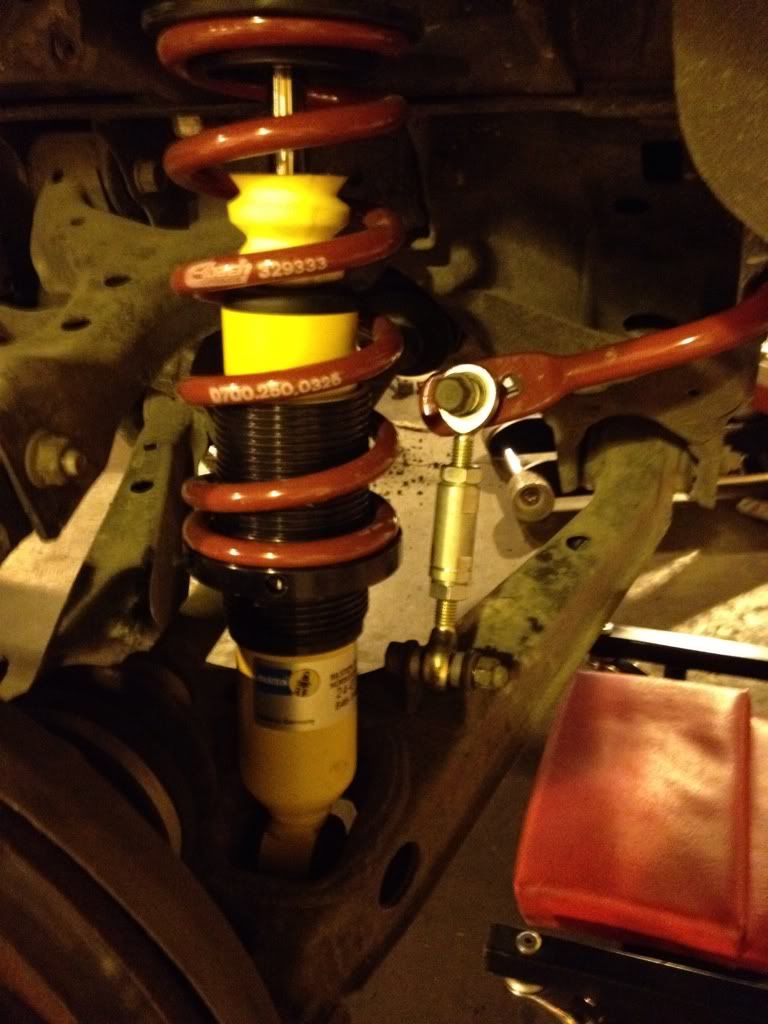
I also assume that I put the rear bar on correctly (the angle of the end links would be really crazy the other way around). The front bar looks symmetrical, yeah?
Looks like my plastic guard under the engine bay is cracked, nothing a little tape won't fix until I grab another one.
Taking the front struts out was easy once I learned the proper procedure: sway bar links off, bottom shock bolt out, two nuts on the top hat, and the long bolt through the inboard side of the upper control arm. Turns out the spring compressor was unnecessary, with the upper control arm disconnected it's easy to wiggle the strut out and get the coilover in there.
The end link angle in the front looks a little funky, is that normal? I guess once the car isn't up in the air and the suspension is at ride height it will look better.
Rears look better for angle:
I also assume that I put the rear bar on correctly (the angle of the end links would be really crazy the other way around). The front bar looks symmetrical, yeah?
#64
Posted 02-06-2012 02:24 AM
Ron Alan
-
- Members
-
- 3,732 posts
Veteran Member
- Location:Northern CA
- Car Year:1995
Put both sway bars on the soft setting Austin...farthest from the bend in the sway bar. Make sure you load your suspension before you tighten any of the A arm bolts...put a jack under the LCA and lift until that corner of the car lifts off the jack stand...then tighten away! Did you put new bearings in the rear while you had the axles out? Repack the fronts(or new)?
Ron
RAmotorsports


#65
Posted 02-06-2012 02:35 AM
Austin Robison
-
- Members
-
- 103 posts
Member
- Location:Palo Alto, CA
- Region:SFR
- Car Year:1991
- Car Number:47
Put both sway bars on the soft setting Austin...farthest from the bend in the sway bar. Make sure you load your suspension before you tighten any of the A arm bolts...put a jack under the LCA and lift until that corner of the car lifts off the jack stand...then tighten away! Did you put new bearings in the rear while you had the axles out? Repack the fronts(or new)?
I didn't have to take any of the knuckles off to get the struts in, so I haven't fiddled with the hubs yet, but I'll at least repack the fronts. Definitely will start the sways at full soft for the shakedown and then dial it in from there.
#66
Posted 03-04-2012 06:53 PM
Justin Fowler
-

- Members
-
- 83 posts
Member
- Location:Granbury, Tx
- Car Year:1996
- Car Number:48
#67
Posted 03-04-2012 10:53 PM
Austin Robison
-
- Members
-
- 103 posts
Member
- Location:Palo Alto, CA
- Region:SFR
- Car Year:1991
- Car Number:47
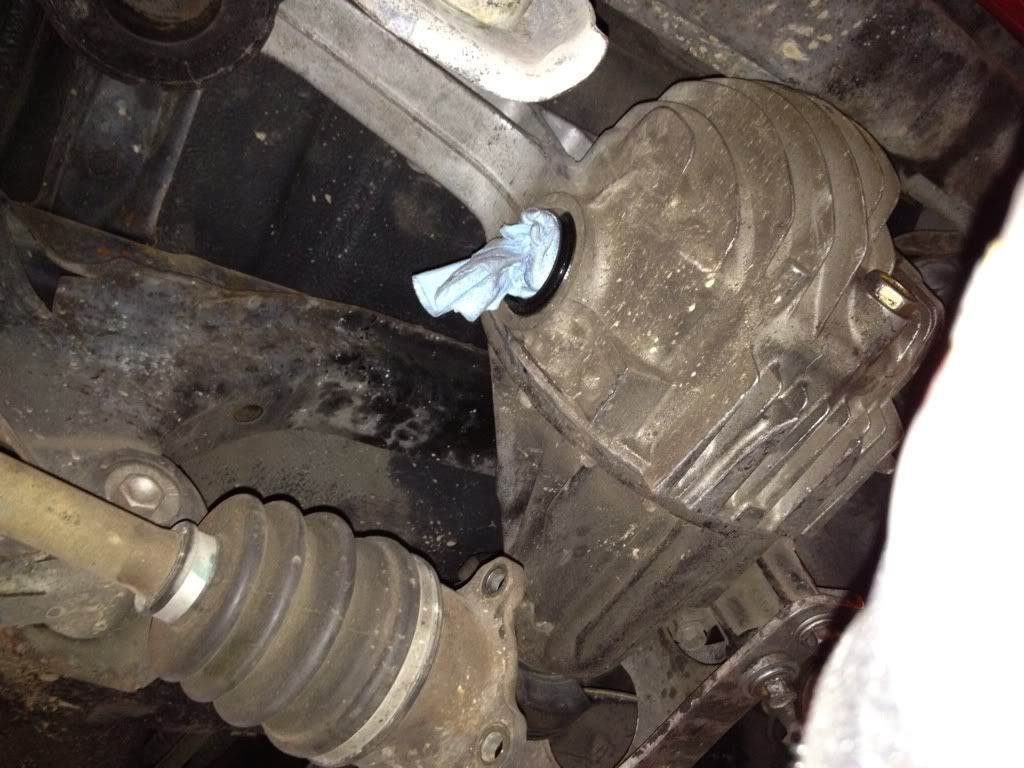
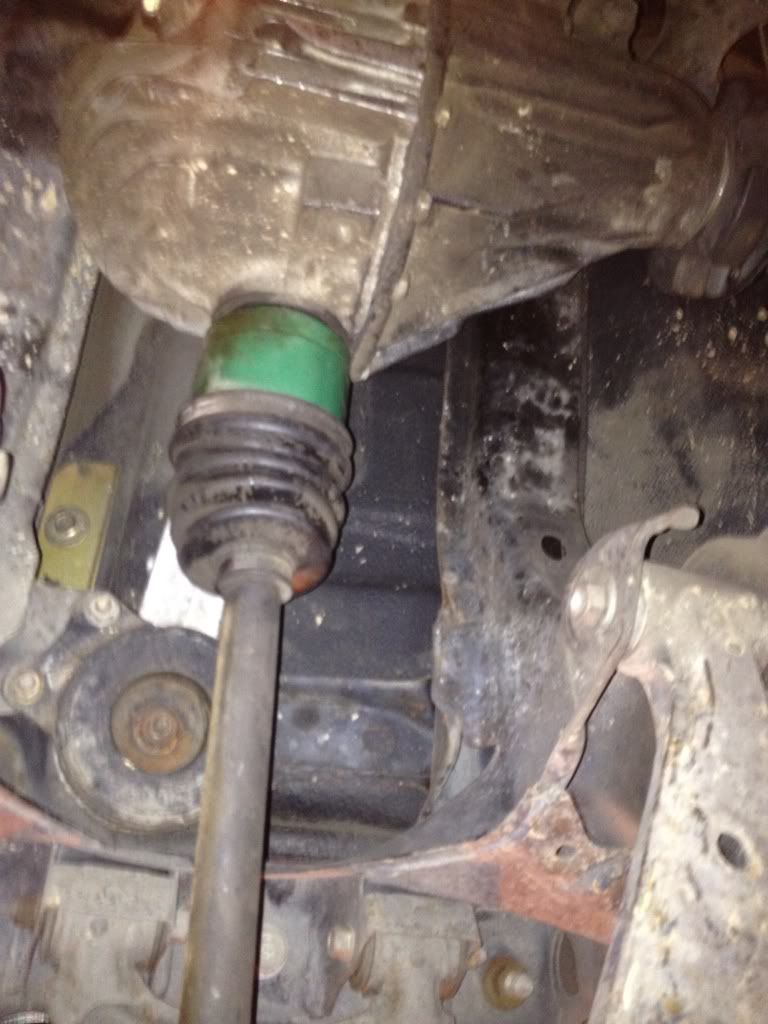
Whew, it's been a busy couple of weeks at work, but I had a chance to get some work done on the car this weekend. Got the Torsen diff installed (thanks Ron!) but haven't swapped the axles in yet.
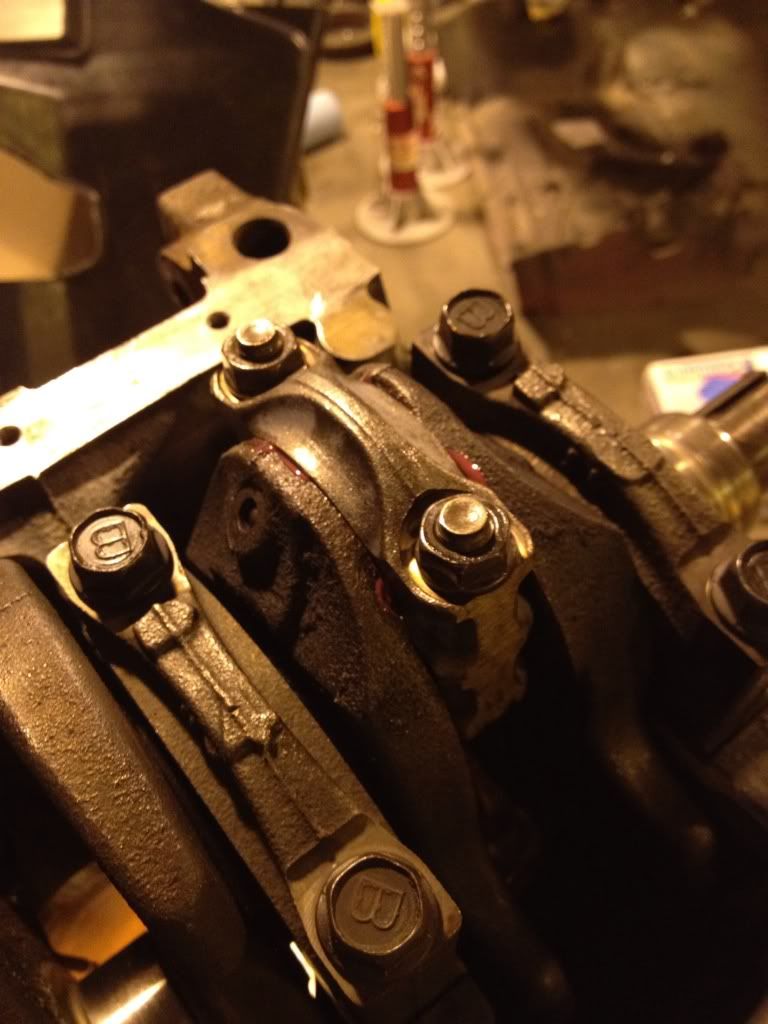
Of course, the PPF bolts were a huge pain and I spun one of the pressed-in nuts
Nothing a little vise grip action wouldn't solve, though:
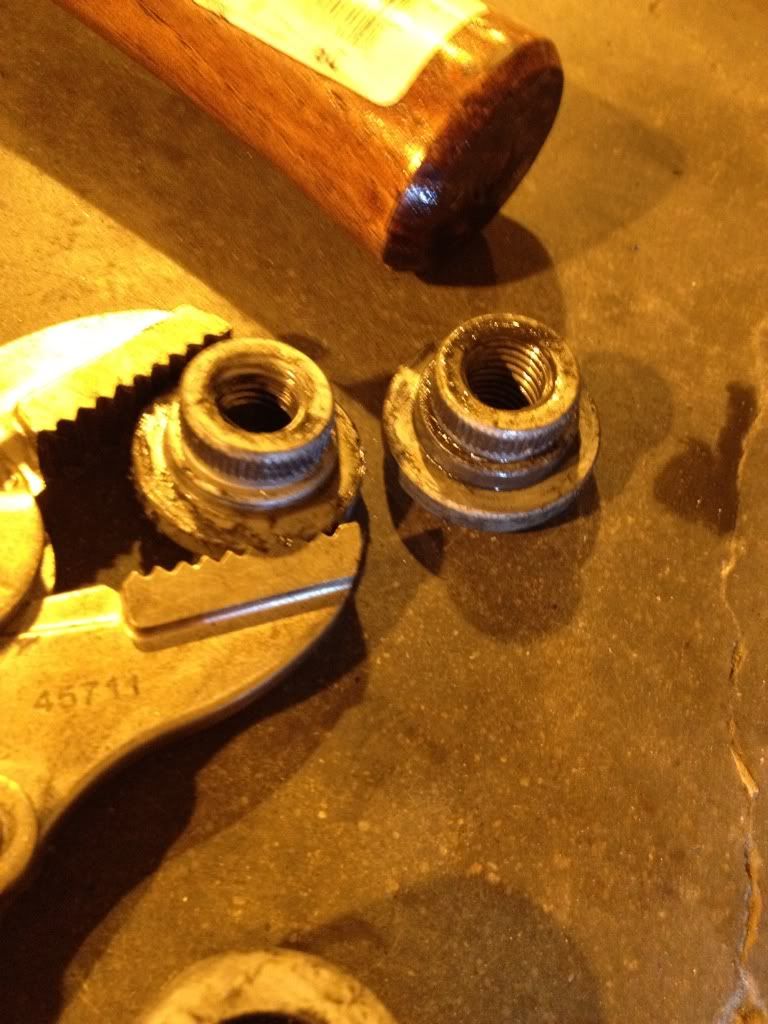
All mounted back up. I'm a little wary of the spun nut, but I was able to get it up to the torque spec without a problem when reconnecting the diff housing to the PPF, so looks like all is well:
Of course, the PPF bolts were a huge pain and I spun one of the pressed-in nuts
Nothing a little vise grip action wouldn't solve, though:
All mounted back up. I'm a little wary of the spun nut, but I was able to get it up to the torque spec without a problem when reconnecting the diff housing to the PPF, so looks like all is well:
#68
Posted 03-04-2012 10:54 PM
Austin Robison
-
- Members
-
- 103 posts
Member
- Location:Palo Alto, CA
- Region:SFR
- Car Year:1991
- Car Number:47
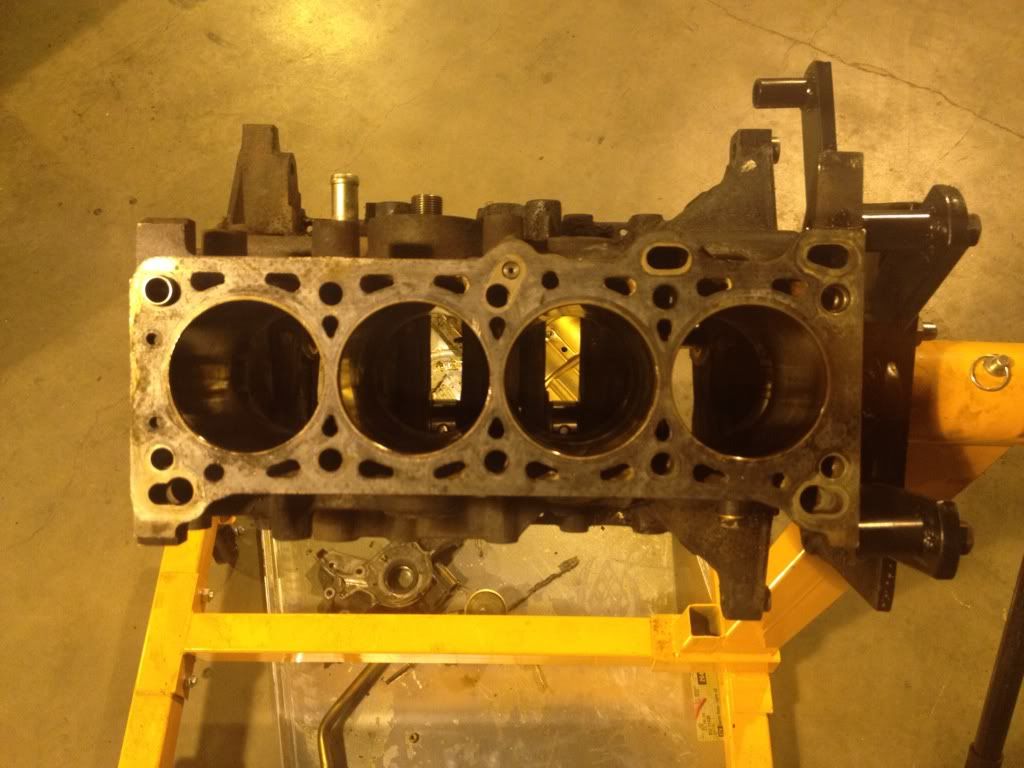
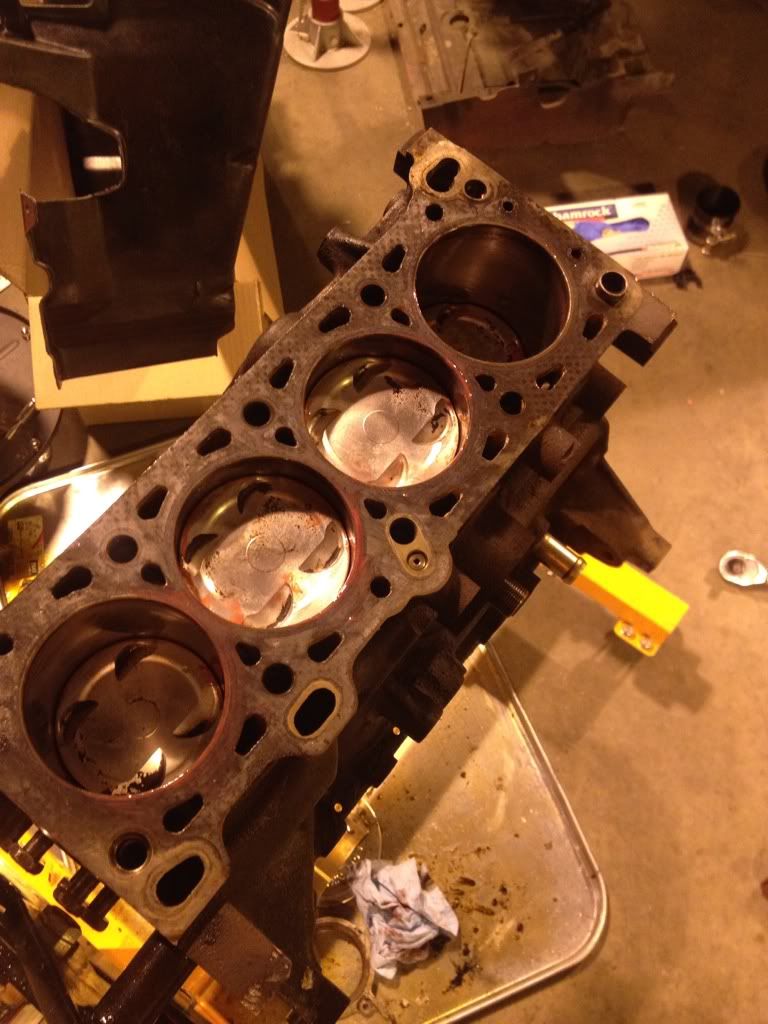
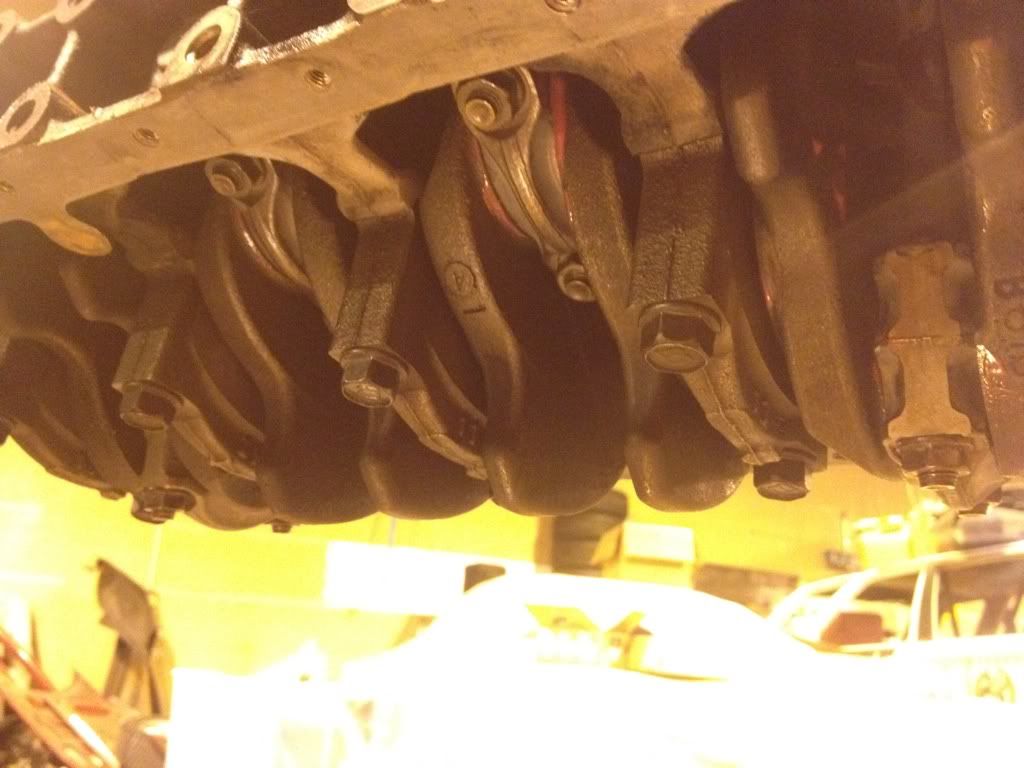
I also started the engine rebuild. After cleaning up the block, the crankshaft went back in without incident and the oil clearances looked great with the new bearings.

#69
Posted 03-04-2012 11:00 PM
Austin Robison
-
- Members
-
- 103 posts
Member
- Location:Palo Alto, CA
- Region:SFR
- Car Year:1991
- Car Number:47
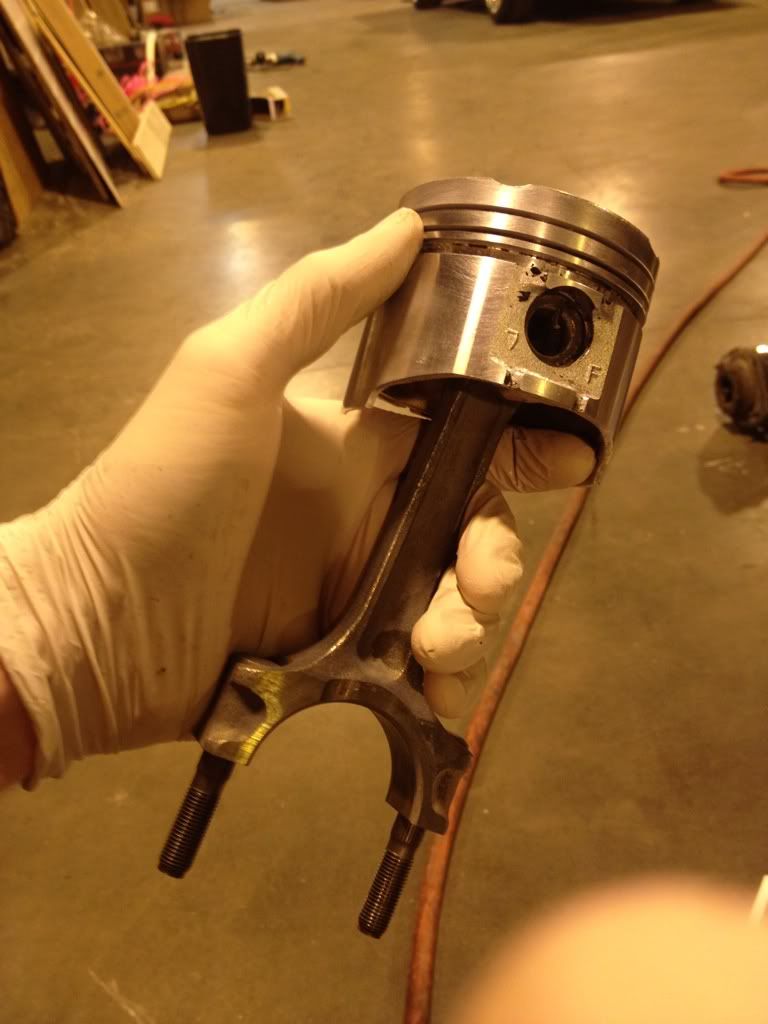
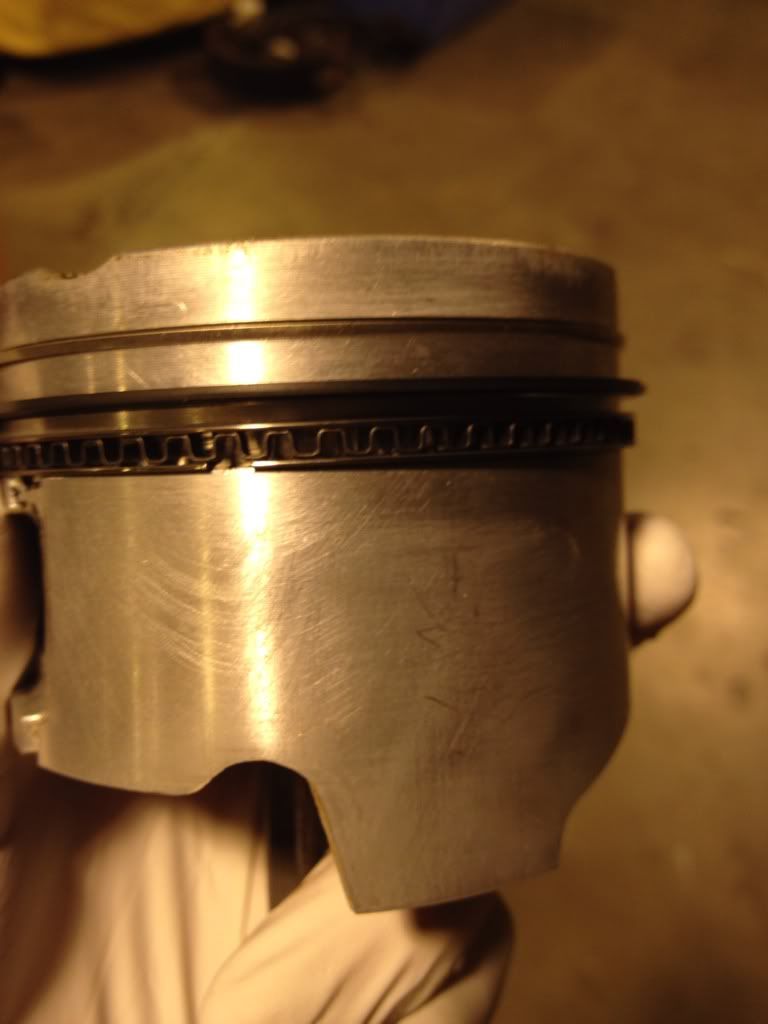
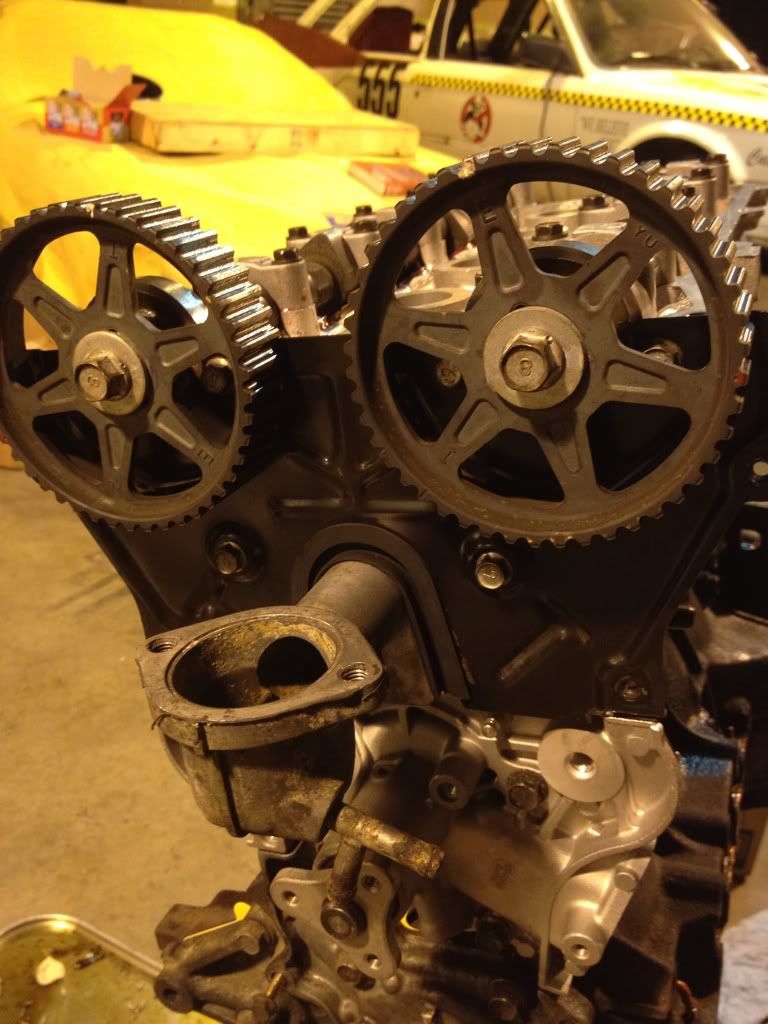
More interestingly, as I cleaned off the pile of carbon on top of the first piston I noticed a "10" stamped into the top. Ok, fine, I've got oversized pistons, no big deal with this year's rule change, though a little strange since I didn't remember the measurements of the cylinders I took to be in the oversized range (starting to question my calipers at this point). This is all well a good (other than having the wrong sized piston rings, but that's easy to fix) until I discover that I have three "10"s and one "20". Who puts mismatched pistons in an engine?
So...do I just grab another first oversized piston and call it good? Find a new block? Starting to look like it's going to be tough to be done by the first race
So...do I just grab another first oversized piston and call it good? Find a new block? Starting to look like it's going to be tough to be done by the first race
#70
Posted 03-05-2012 12:55 AM
Alberto
-

- Members
-
- 1,471 posts
Veteran Member
- Location:Mountain View, CA
- Region:SFR
- Car Year:1990
#71
Posted 03-05-2012 01:25 AM
Ron Alan
-
- Members
-
- 3,732 posts
Veteran Member
- Location:Northern CA
- Car Year:1995

#72
Posted 03-05-2012 02:26 PM
Austin Robison
-
- Members
-
- 103 posts
Member
- Location:Palo Alto, CA
- Region:SFR
- Car Year:1991
- Car Number:47
Yeah, an Attarco engine is on the list of possibilities for getting up and running. Easy enough to put my Haag head on it and call it a day. I think perhaps the next step is to go remeasure the cylinders and see if a .010" oversize will fit OK in the cylinder that had the .020". Might end up with lower compression in that cylinder, but wouldn't be the end of the world. What do you guys think?
#73
Posted 03-05-2012 03:56 PM
Danny Steyn
-
- SMembers
-
- 2,439 posts
Zulu rain warrior
- Location:Fort Lauderdale
- Region:FL
- Car Year:1999
- Car Number:39
Yeah, an Attarco engine is on the list of possibilities for getting up and running. Easy enough to put my Haag head on it and call it a day. I think perhaps the next step is to go remeasure the cylinders and see if a .010" oversize will fit OK in the cylinder that had the .020". Might end up with lower compression in that cylinder, but wouldn't be the end of the world. What do you guys think?
Austin - congrats on the build so far and on the helpful documentation of the process. WRT to the engine, if you're going to race you want the strongest possible engine so that it doesnt hold you back. Having put in so much time so far, I think it would be a big mistake just slapping it back together with the mismatched pistons. Do it right and you will have lots of fun racing ahead. Just slap it together and I predict you will do it again later and regret taking the easy way out. JMHO
Danny
Danny Steyn Racing | DSR YouTube Channel
Danny Steyn Photography | Adept Studios | Ocean Machinery | OPM Autosports | Rossini Racing Engines | G-Loc Brakes |
2 x SCCA Runoffs Champ | 1 x NASA National Champ | 6 x June Sprints Champ | 10 x ARRC Champ
1 x SCCA Super Sweep | 2 x Triple Crown | 4 x Hoosier Super Tour Points Champ | 6 x Majors Points Champ | 5 x SEDiv Driver of the Year


#74
Posted 03-05-2012 05:04 PM
Austin Robison
-
- Members
-
- 103 posts
Member
- Location:Palo Alto, CA
- Region:SFR
- Car Year:1991
- Car Number:47
Agreed, I'm trying to build it right the first time =)
I spoke with Ron a little earlier today, who told me that Mike Haag thinks I could still be ok and that the stampings might not be oversize markers. Time to go remeasure everything.
I spoke with Ron a little earlier today, who told me that Mike Haag thinks I could still be ok and that the stampings might not be oversize markers. Time to go remeasure everything.
#75
Posted 03-07-2012 03:15 AM
Austin Robison
-
- Members
-
- 103 posts
Member
- Location:Palo Alto, CA
- Region:SFR
- Car Year:1991
- Car Number:47
Ok, I plead temporary insanity.
I went back and measured the crap out of my pistons and block. Standard sized pistons, block has not been overbored and is well within spec for the standard piston size. Guess I just psyched myself out with those stampings
Anyway, I felt motivated after discovering that I was in fact, not totally screwed, and put the new rings on the pistons and bolted them to the crankshaft.
Easy-peasy...once I figured out that if you over tighten your ring compressor you will hate life.
Rinse and repeat:
#76
Posted 03-07-2012 03:16 AM
Austin Robison
-
- Members
-
- 103 posts
Member
- Location:Palo Alto, CA
- Region:SFR
- Car Year:1991
- Car Number:47
#77
Posted 03-07-2012 03:17 AM
Austin Robison
-
- Members
-
- 103 posts
Member
- Location:Palo Alto, CA
- Region:SFR
- Car Year:1991
- Car Number:47
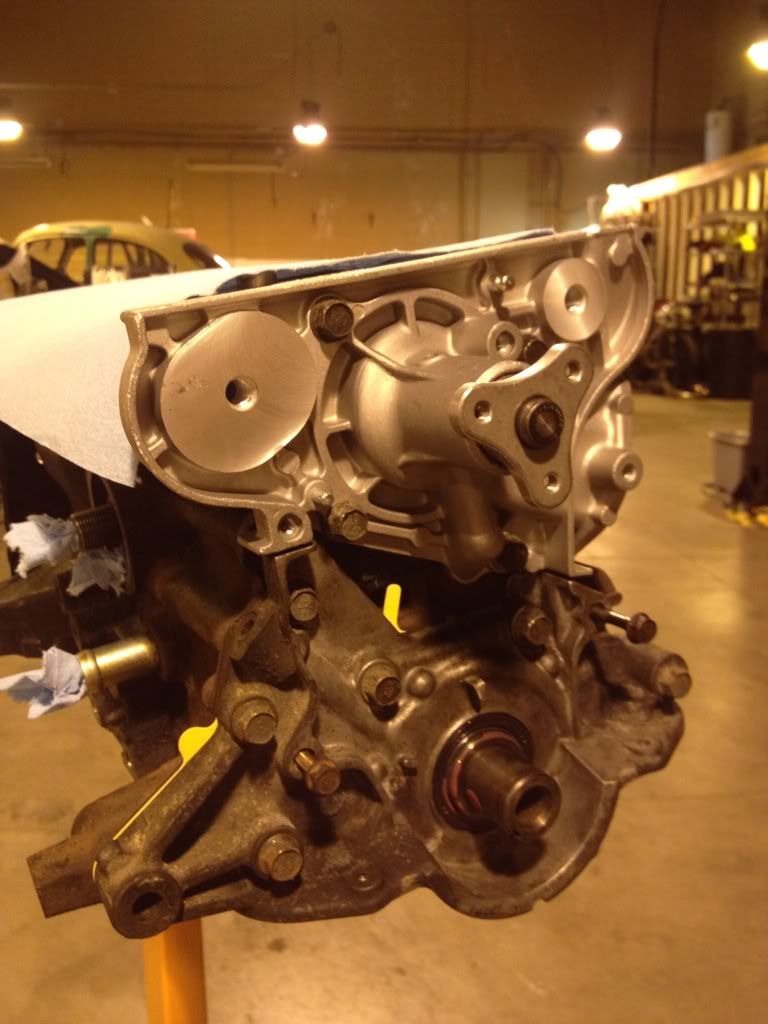
And for extra bonus points, I reattached the oil pump and a new water pump. The old oil pump looked go, so it just got a new seal, and the old water pump was a giant pile of rust.
#78
Posted 03-08-2012 12:02 AM
Alberto
-
- Members
-
- 1,471 posts
Veteran Member
- Location:Mountain View, CA
- Region:SFR
- Car Year:1990

#79
Posted 03-12-2012 01:22 AM
Austin Robison
-
- Members
-
- 103 posts
Member
- Location:Palo Alto, CA
- Region:SFR
- Car Year:1991
- Car Number:47
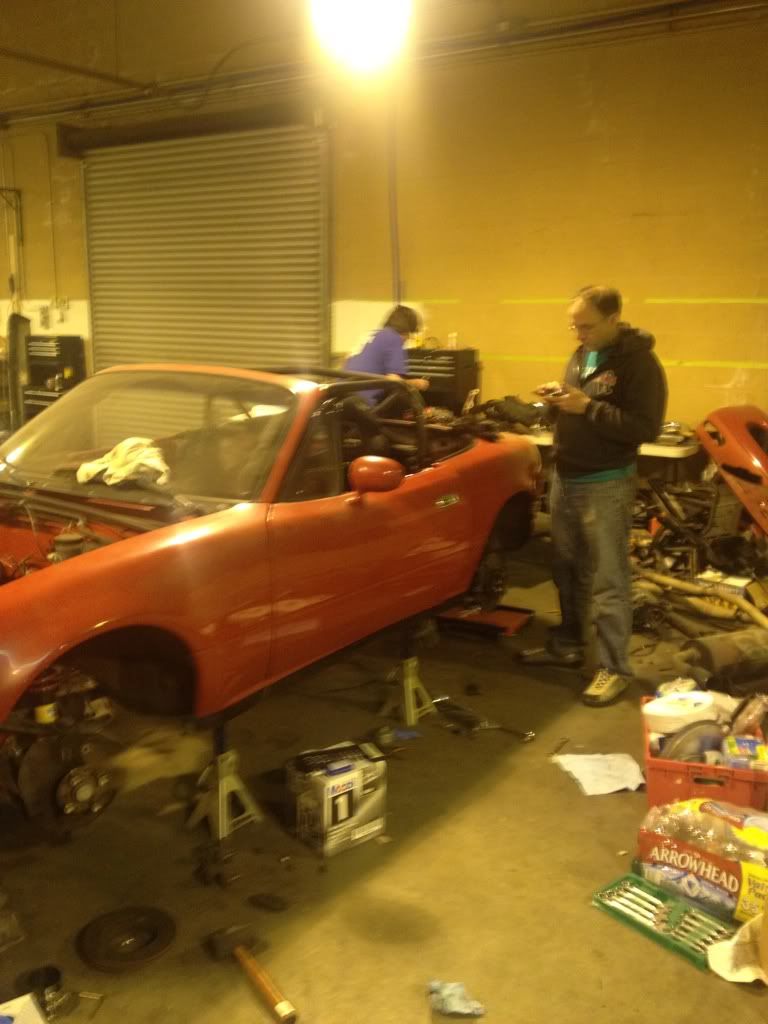
Many thanks to Alberto and Brandon this weekend for helping out!
We got a ton of work done:
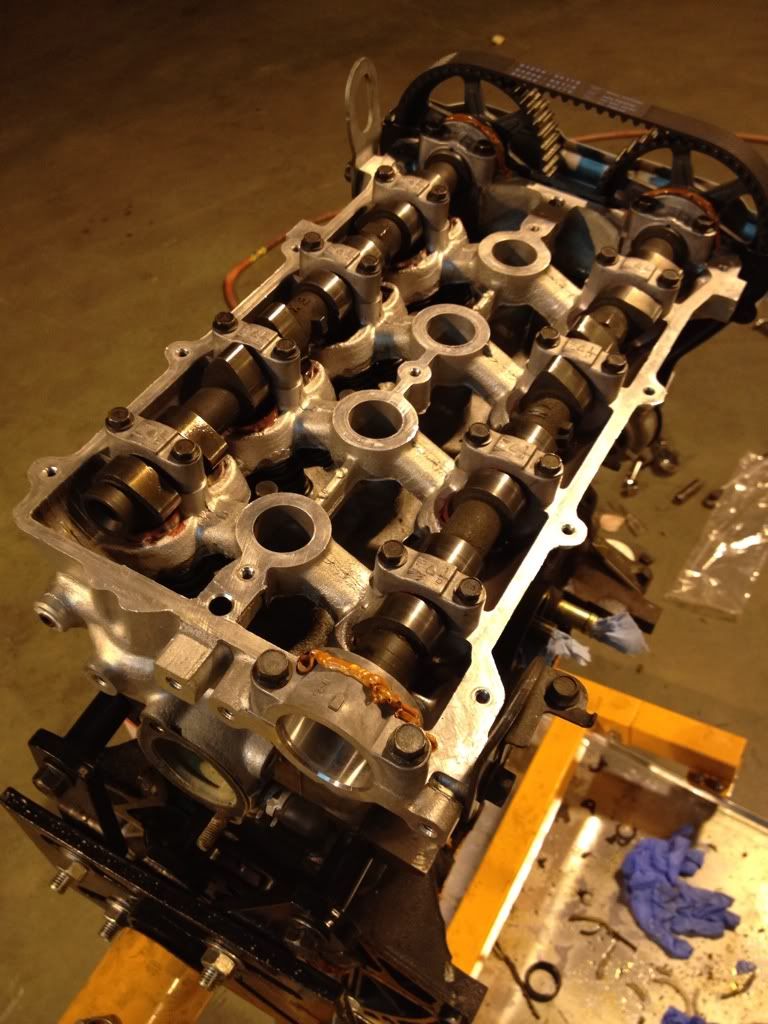
After a little work, Mike Haag's excellent head goes on:
Alberto and Brandon working on the drive axles:
Nice work, boys!
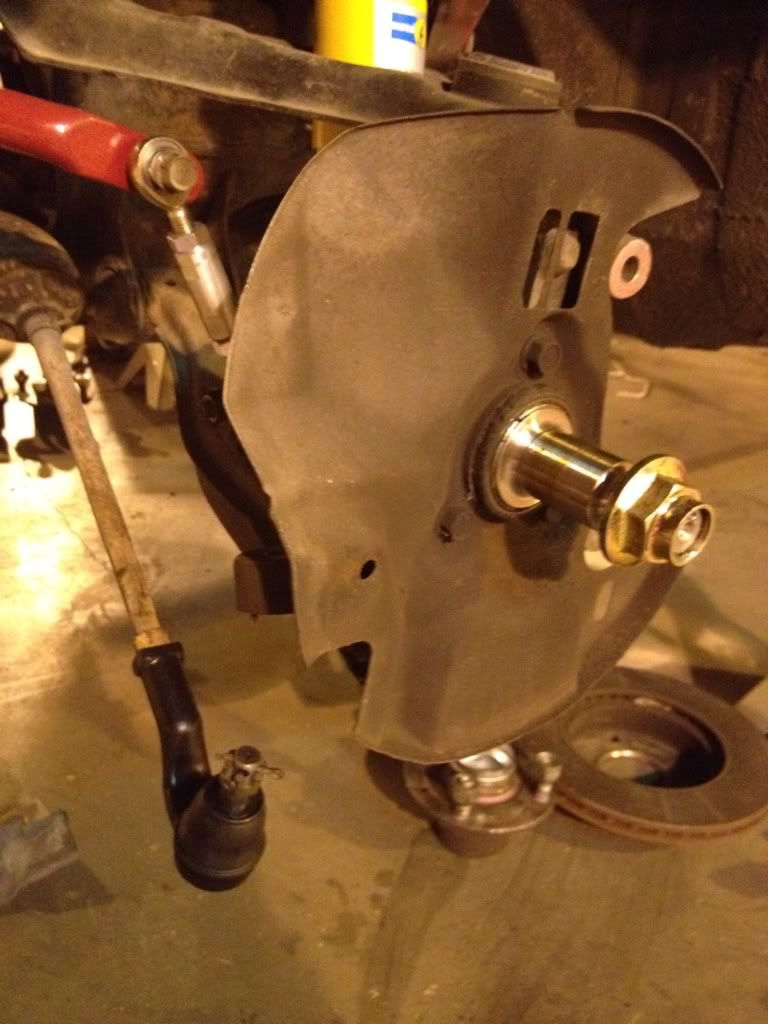
They also pulled the front hubs for repacking and put the R package tie rod ends on:
We got a ton of work done:
After a little work, Mike Haag's excellent head goes on:
Alberto and Brandon working on the drive axles:
Nice work, boys!
They also pulled the front hubs for repacking and put the R package tie rod ends on:
#80
Posted 03-12-2012 01:24 AM
Austin Robison
-
- Members
-
- 103 posts
Member
- Location:Palo Alto, CA
- Region:SFR
- Car Year:1991
- Car Number:47
Meanwhile, I was busy reassembling the engine:
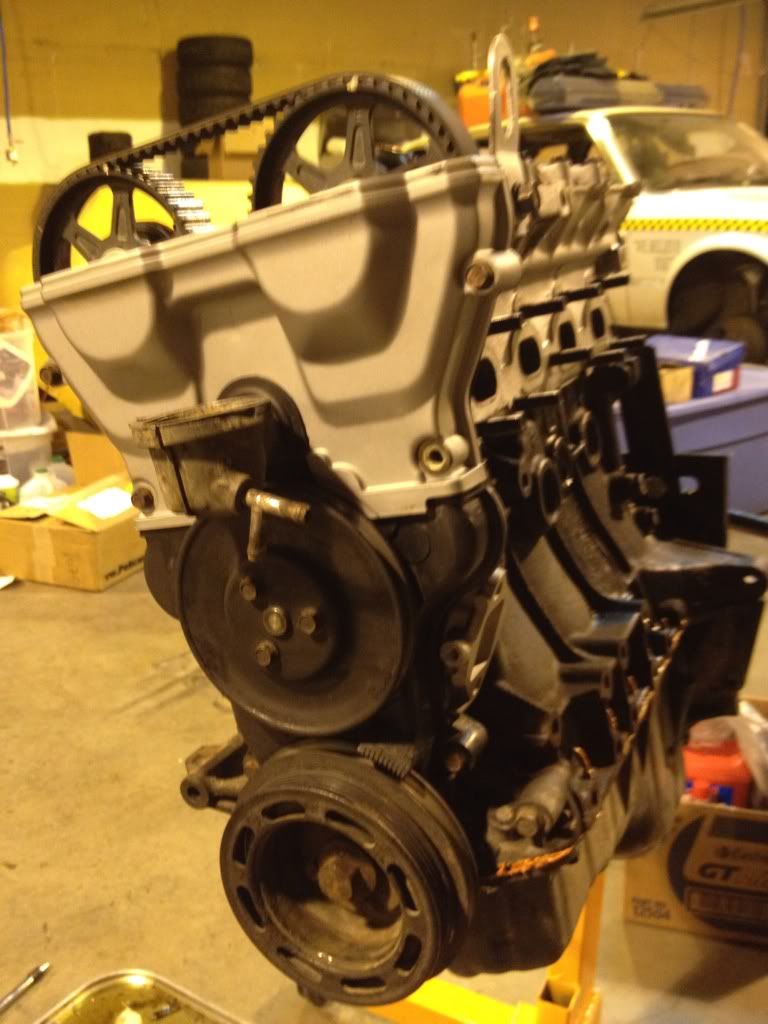
Bolting things onto the block went smoothly. No surprises here.
Bolting things onto the block went smoothly. No surprises here.

Also tagged with one or more of these keywords: build, na, scca, construction, 1991, 1.6L

|
Spec Miata →
Spec Miata Safety →
Cage fab shop in Southern CaliforniaStarted by luvin_the_rings , 09-14-2017 |
|
|
|
|
|
Spec Miata →
Spec Miata Garage →
Need help with 1.6L IdleStarted by ZeroX12 , 04-21-2017 |
|
|
|
|
|
Spec Miata →
Spec Miata (SM) →
Majors at Watkins GlenStarted by ack154 , 04-28-2016 |
|
|
|
|
|
Spec Miata →
Spec Miata Garage →
Questions on ECU Part numbersStarted by luvin_the_rings , 10-28-2015 |
|
|
|
|
|
Spec Miata →
Spec Miata (SM) →
Another newbie thread (Where do I get started)Started by AFlockhart1865 , 05-13-2015 |
|
|
0 user(s) are reading this topic
0 members, 0 guests, 0 anonymous users

