


 Sign In
 Create Account
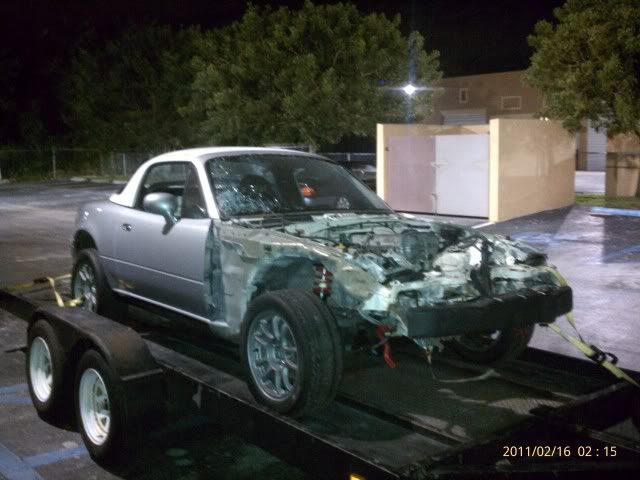
Its been a while since i have posted anything and since the previous forum was closed and archived i figured i would continue it here.
http://forum.specmia...=1;t=004451;p=0
that was the link from when i started.


1993 Spec Miata Build from RnR Racing

Started by
rob20rx7
, 03-21-2011 09:46 AM
#1

 Posted 03-21-2011 09:46 AM
rob20rx7
-
- Members
-

- 42 posts
Member
- Location:Miami, Florida
- Region:South East
- Car Year:1993
- Car Number:25
 Back to top
 Report
#2
Posted 03-21-2011 09:50 AM
rob20rx7
-
- Members
-
- 42 posts
Member
- Location:Miami, Florida
- Region:South East
- Car Year:1993
- Car Number:25
#3
Posted 03-21-2011 09:58 AM
rob20rx7
-
- Members
-
- 42 posts
Member
- Location:Miami, Florida
- Region:South East
- Car Year:1993
- Car Number:25
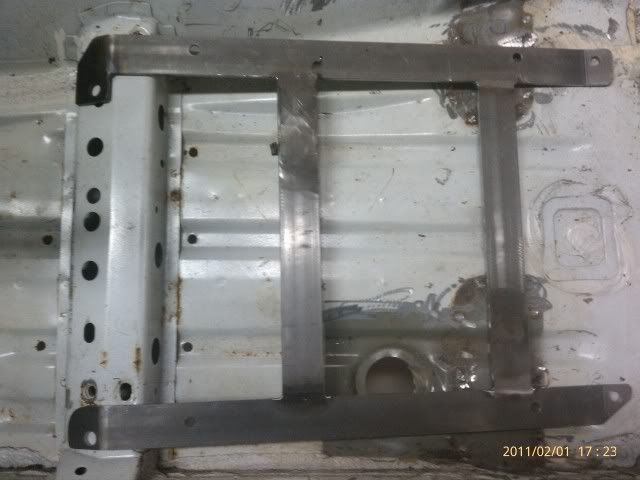
Here is the seat floor bracket i purchased from Tony over at www.store.awrracing.com
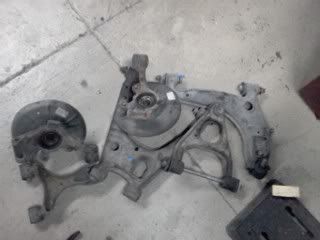
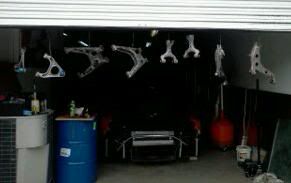
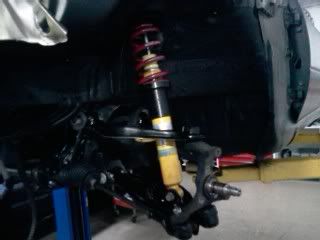
I did some work on the front suspension
Old...
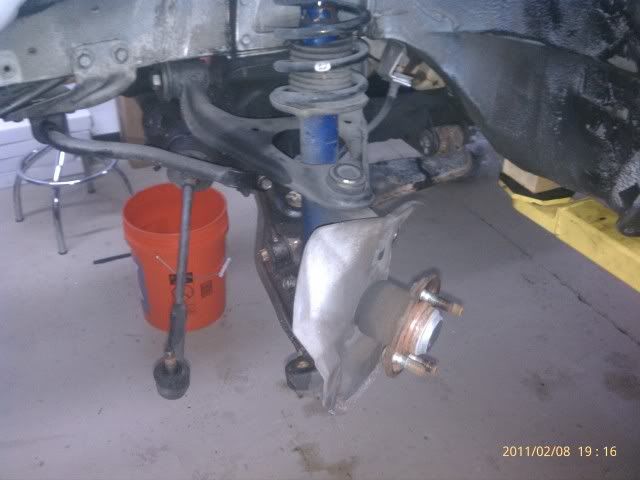
New...
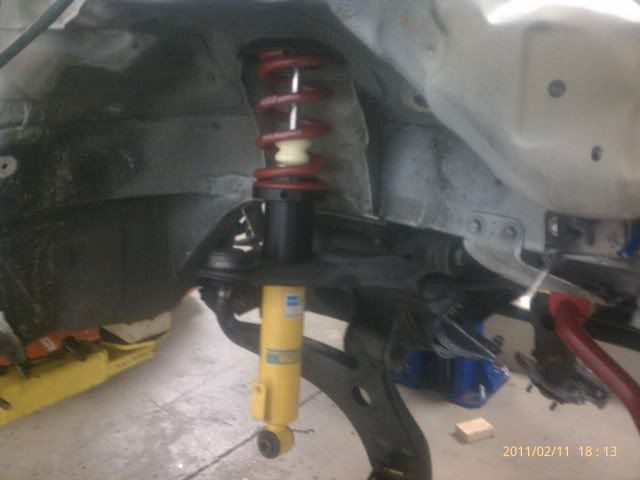
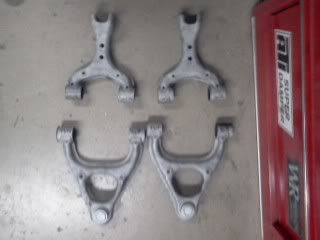
I did some work on the front suspension
Old...
New...
#4
Posted 03-21-2011 10:00 AM
rob20rx7
-
- Members
-
- 42 posts
Member
- Location:Miami, Florida
- Region:South East
- Car Year:1993
- Car Number:25
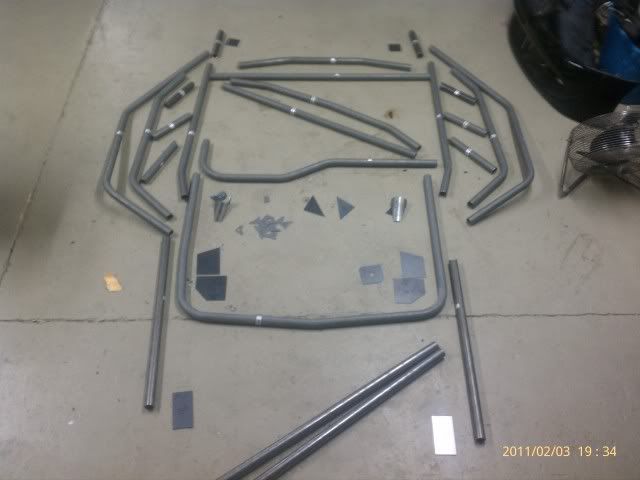
I knew i didnt have much time to get this car ready if i want to make the June race at Homestead so i decided to send the car off to Jaime Chassis in west palm beach to have the roll cage installed. Its actually ready today and will be picking it up tommorow. 
#5
Posted 03-24-2011 10:20 AM
rob20rx7
-
- Members
-
- 42 posts
Member
- Location:Miami, Florida
- Region:South East
- Car Year:1993
- Car Number:25
Picked up the car from Jaime Chassis! Trully a work of art. This guy does some real nice work.


#6
Posted 03-24-2011 10:22 AM
rob20rx7
-
- Members
-
- 42 posts
Member
- Location:Miami, Florida
- Region:South East
- Car Year:1993
- Car Number:25


#7
Posted 04-22-2011 09:51 AM
rob20rx7
-
- Members
-
- 42 posts
Member
- Location:Miami, Florida
- Region:South East
- Car Year:1993
- Car Number:25
Roll cage is now painted and the blower fan mounting point has been modified and moved over about 2 inches to accomodate the passanger side down tube. The dash was also prepped and fitted and painted.


#8
Posted 04-22-2011 09:53 AM
rob20rx7
-
- Members
-
- 42 posts
Member
- Location:Miami, Florida
- Region:South East
- Car Year:1993
- Car Number:25
The Brakes have been taken apart, sandblasted, painted and rebuilt. Ready to install with new pads and Rotors
Before

After!

Before
After!
#9
Posted 04-22-2011 09:56 AM
rob20rx7
-
- Members
-
- 42 posts
Member
- Location:Miami, Florida
- Region:South East
- Car Year:1993
- Car Number:25
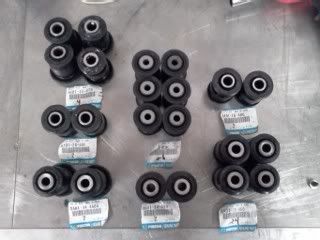
After going through the suspension i noticed that the bushing in the left rear upright was coming out so i decided to go ahead and order the bushing kit from Mazdaspeed and replace all 22 bushings next week. This will be fun... NOT!


#10
Posted 04-27-2011 10:45 AM
rob20rx7
-
- Members
-
- 42 posts
Member
- Location:Miami, Florida
- Region:South East
- Car Year:1993
- Car Number:25
Bushing Kit didnt come in yet but my friend and I were able to get some other work done last night.
I re-routed the main power wire and mounted the master switch
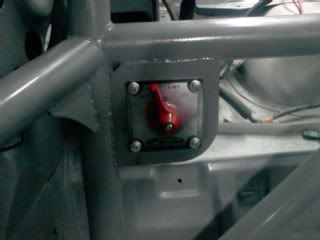
I ran the wire in through the firewall on the passanger side and then along the frame rail to the rear switch
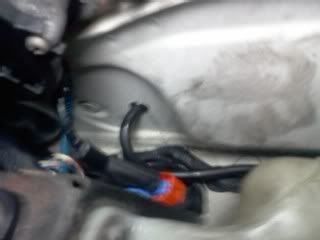
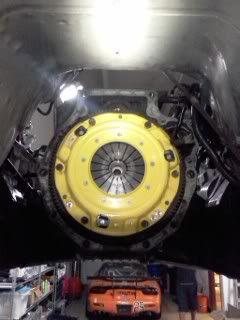
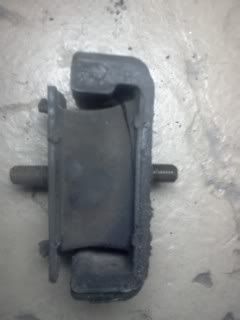
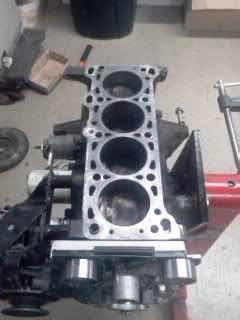
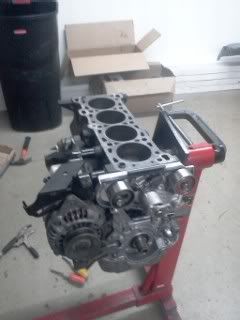
We mounted the new ACT Clutch and Pressure plate kit and then replaced both motor mounts for Mazda OEM Mounts. these things were in bad condition. The driver side mount was completely split.
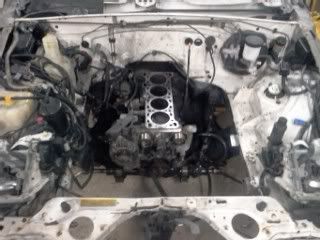
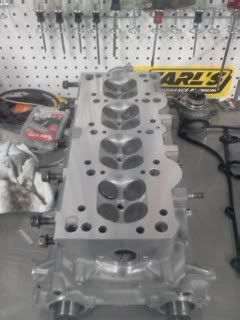
Last we removed the Engine Head. Im going to drop it off at the machine shop so they can go through it.
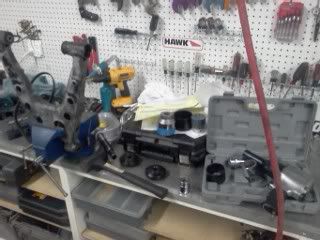
Thursdays plan it to sandblast the suspension arms and then press bushings.
I re-routed the main power wire and mounted the master switch
I ran the wire in through the firewall on the passanger side and then along the frame rail to the rear switch
We mounted the new ACT Clutch and Pressure plate kit and then replaced both motor mounts for Mazda OEM Mounts. these things were in bad condition. The driver side mount was completely split.
Last we removed the Engine Head. Im going to drop it off at the machine shop so they can go through it.
Thursdays plan it to sandblast the suspension arms and then press bushings.
#11
Posted 05-14-2011 10:51 AM
rob20rx7
-
- Members
-
- 42 posts
Member
- Location:Miami, Florida
- Region:South East
- Car Year:1993
- Car Number:25
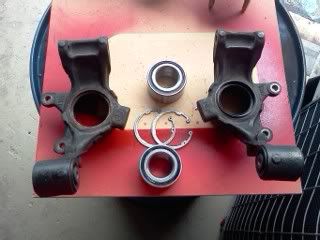
Suspension has been pulled, Sanblasted, New OEM bushings installed and then re-painted Black.

#12
Posted 05-14-2011 10:58 AM
rob20rx7
-
- Members
-
- 42 posts
Member
- Location:Miami, Florida
- Region:South East
- Car Year:1993
- Car Number:25
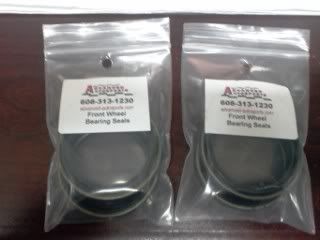
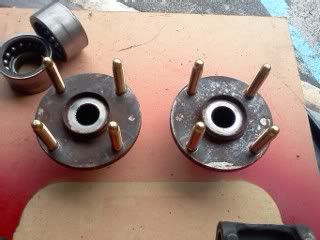
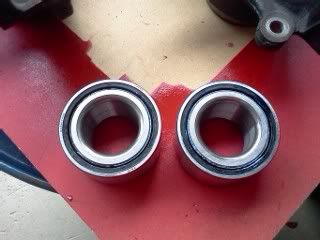
Front Hubs Repacked and seald with new seals from Dave at AA. then rear hub bearings relaced with new OEM and all wheel studs replaced with ARP long bolts.
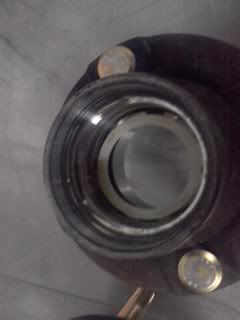
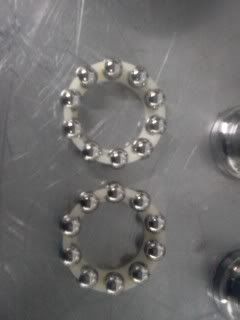
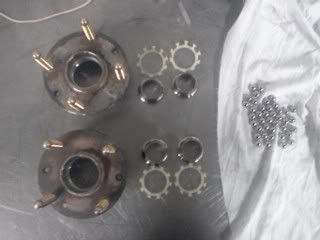
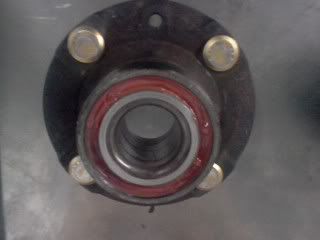
Rear hubs blasted and repainted with long Studs installed and new bearings

Rear hubs blasted and repainted with long Studs installed and new bearings
#13
Posted 05-14-2011 11:06 AM
rob20rx7
-
- Members
-
- 42 posts
Member
- Location:Miami, Florida
- Region:South East
- Car Year:1993
- Car Number:25
Suspension Installed with new cam bolts.
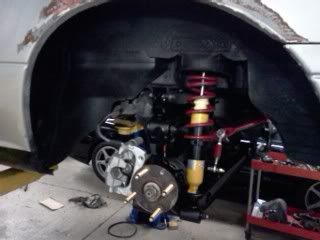
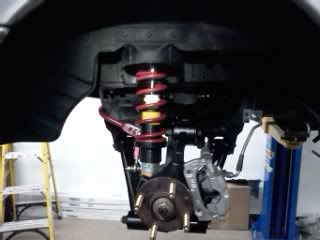

New boots installed on De-powered rack and pinion

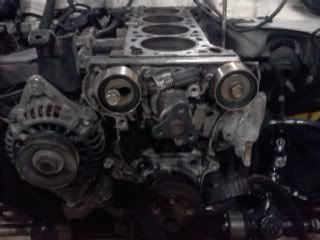
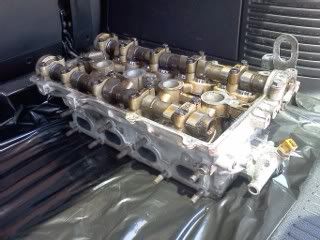
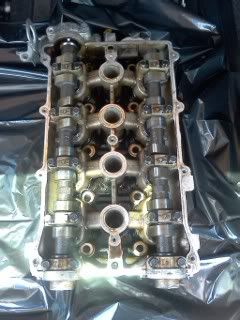
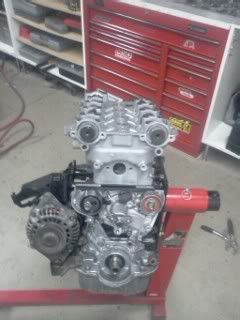
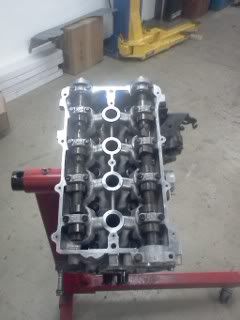
Engine Head is back and rebuilt. Im installing new tensioners and timing belt along with new water pump.
New boots installed on De-powered rack and pinion
Engine Head is back and rebuilt. Im installing new tensioners and timing belt along with new water pump.
#14
Posted 05-14-2011 01:00 PM
Alberto
-

- Members
-
- 1,471 posts
Veteran Member
- Location:Mountain View, CA
- Region:SFR
- Car Year:1990


#15
Posted 05-14-2011 02:13 PM
dstevens
-

- SMembers
-
- 1,404 posts
Veteran Member
- Location:Vegas
- Region:LVR
How much did they charge you to blast your control arms? I tried a couple of places around here and they wanted a couple hun and a week or so. I went ahead and did them myself.
#16
Posted 05-30-2011 12:31 PM
rob20rx7
-
- Members
-
- 42 posts
Member
- Location:Miami, Florida
- Region:South East
- Car Year:1993
- Car Number:25
How much did they charge you to blast your control arms? I tried a couple of places around here and they wanted a couple hun and a week or so. I went ahead and did them myself.
I did the sand blasting myself. we have a blast cabinet at our shop so that worked out nice. i cant imagine it costing more than $100.00. i did it in just under 2 hours
#17
Posted 05-30-2011 01:29 PM
dstevens
-
- SMembers
-
- 1,404 posts
Veteran Member
- Location:Vegas
- Region:LVR
It was 16 parts total. Hubs, spindles, uprights and A arms. Prior I'd only had a soda rig but these were so rusted I got a 30 gal siphon and it perked them right up.
#18
Posted 07-07-2011 02:39 PM
rob20rx7
-
- Members
-
- 42 posts
Member
- Location:Miami, Florida
- Region:South East
- Car Year:1993
- Car Number:25
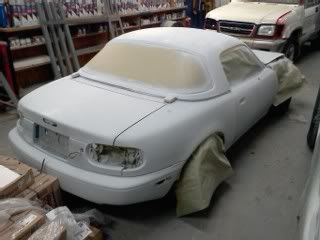
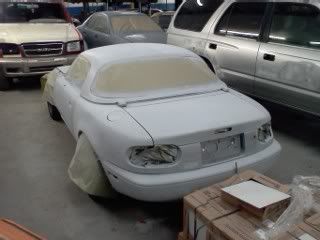
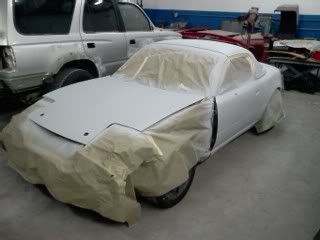
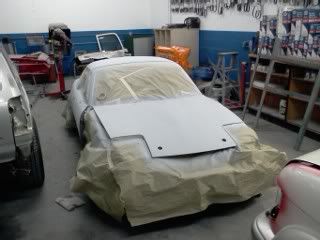
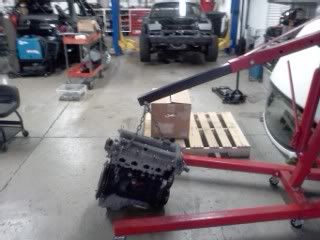
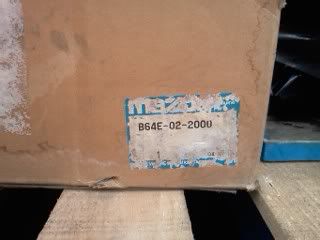
The Miata was finished and raced at the Homestead SCCA Enduro in June. Car ran good and stayed together. Thats always a good sign. LOL! Now its off to the paint shop for the final colors and as for the Motor.... after some comparison and shopping around. I decided to go with a 1.6 Rossini engine. I have a couple of Local friends that run this setup and it seems to work for them. After speaking with Mike himself. I was sold. Also going to be doing the Torsen Swap. Should be a really fun car to drive and have fun with out there.
Attached Files
-
 264363_193163760733795_100001205185479_567368_1256768_n.jpg 57.92KB
16 downloads
264363_193163760733795_100001205185479_567368_1256768_n.jpg 57.92KB
16 downloads
-
262759_193163834067121_100001205185479_567371_8327147_n.jpg 72.51KB
13 downloads
-
261246_193164824067022_100001205185479_567394_3267806_n.jpg 50.85KB
12 downloads
#19
Posted 07-07-2011 02:45 PM
rob20rx7
-
- Members
-
- 42 posts
Member
- Location:Miami, Florida
- Region:South East
- Car Year:1993
- Car Number:25
#20
Posted 07-07-2011 02:46 PM
rob20rx7
-
- Members
-
- 42 posts
Member
- Location:Miami, Florida
- Region:South East
- Car Year:1993
- Car Number:25

1 user(s) are reading this topic
0 members, 1 guests, 0 anonymous users

