My method with a little more detail:
Remove driveshaft
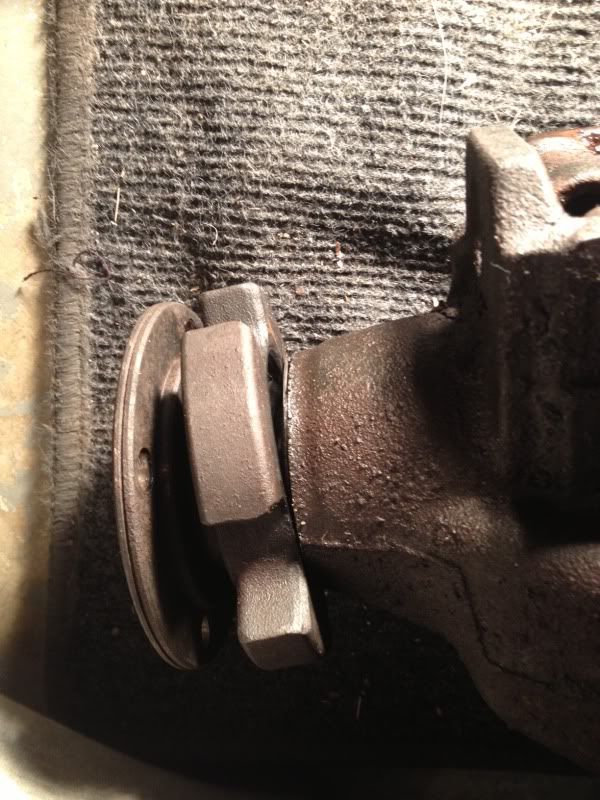
use center punch to mark location of shaft, nut and flange. All in a row, so they go back together in the same location.
You should have about 1.5 threads showing off the tip of pinion shaft, pay attention.
Remove nut, remove washer, and tap off flange.
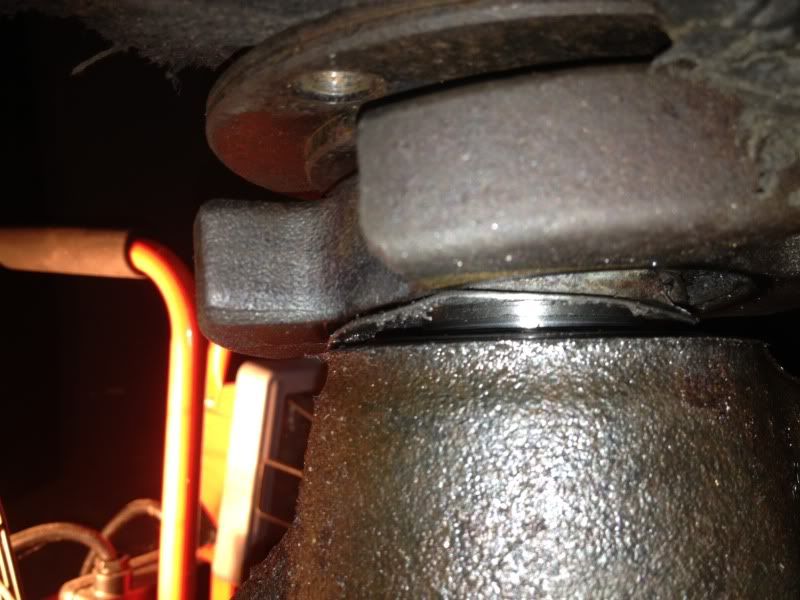
I do not have a bearing puller big enough to remove the balancer as one piece.
I mount the flange in a drill press and using a 2.5" hole saw, cut through the rubber.
You could probably stop here. I use my clam shell bearing seperater on the press to remove the inner sleeve of the balancer.
Install a new pinion seal if you feel so inclined.
Reinstall flange while lining it up with the marks.
Install washer and nut. Tighten untill the 3 marks line up, and the shaft has the correct number of threads showing. Then go about 1/8" tighter. Not 1/8 turn, 1/8th inch. I was taught this 20 years ago and have never had an issue when going that hair tighter.
Reinstall driveshaft. I would recomend new Advanced Autosports drive shaft bolts/nuts made by ARP. But that's just me !!!!
Top off or change the fluid.
I also have a tool for holding the pinion flange in place when loosening or tightening the pinion nut.
dave
Dave Wheeler
Advanced Autosports, the nations most complete Spec Miata shop
Author, Spec Miata Constructors Guide, version 1 and 2.0
Building Championship winning cars since 1995
4 time Central Division Spec Miata Champion car builder 2012-2013-2014-2017
Back to Back June Sprints Spec Miata 1-2 finishes 2016 and 2017
5 time June Sprints winner in Mazda's
6 Time Northern Conference Champion Car Builder
2014 SCCA Majors National point Champion car builder
2014 SCCA Runoffs winner, T4 (Bender)
2014 Central Division Champion, ITS (Wheeler)
2013 Thunderhill 25 hour winning crew chief
2007 June Sprints winner, (GT1, Mohrhauser)
Over 200 race wins and counting.
www.advanced-autosports.com
dave@advanced-autosports.com
608-313-1230


 Sign In
 Create Account


 Back to top
 Report


