I thought it might be worth putting up a few pictures from repainting my car. The current paint has been on the car for a few years and was starting to look pretty beat up. After colliding with a brake marker a few races ago and doing a number on the hood I decided it was time for a repaint.
I also thought this might be helpful in case others are wondering how the repaint process goes. This is something that can be done in a garage.
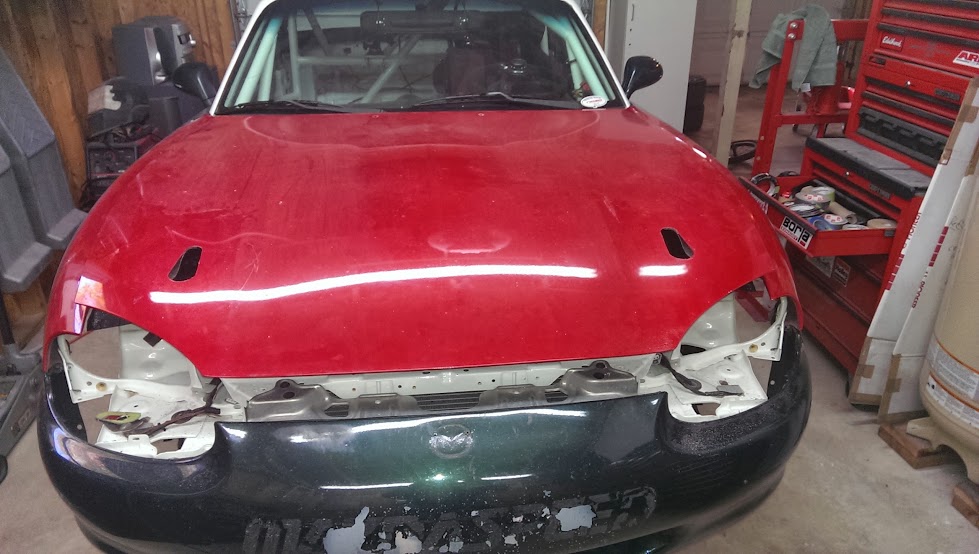
First, here's a picture of the car as it started.

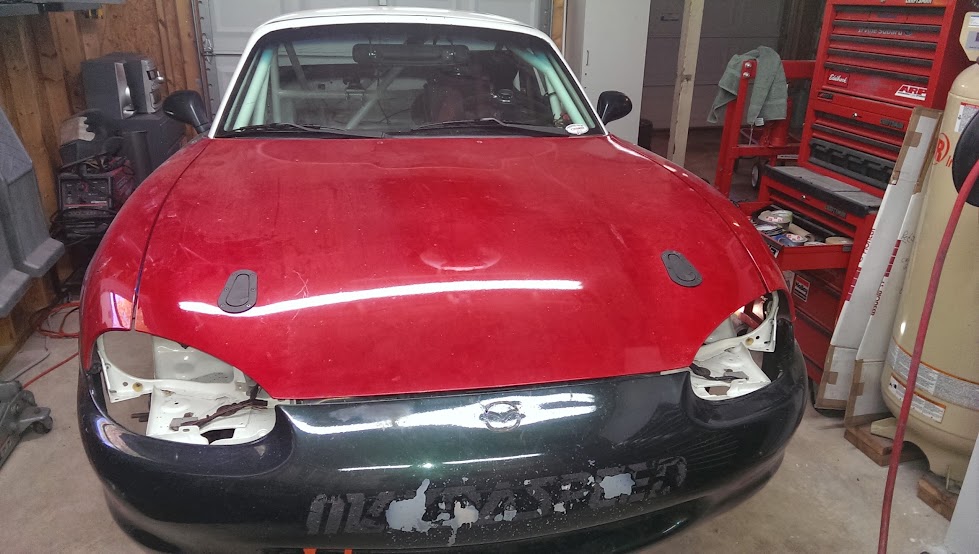
Here's the concept for the finished product.

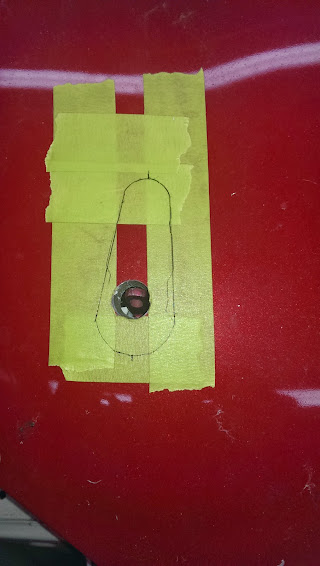
I started by sourcing a new hood and front fenders. I fitted these and cut the holes for the hood pins.
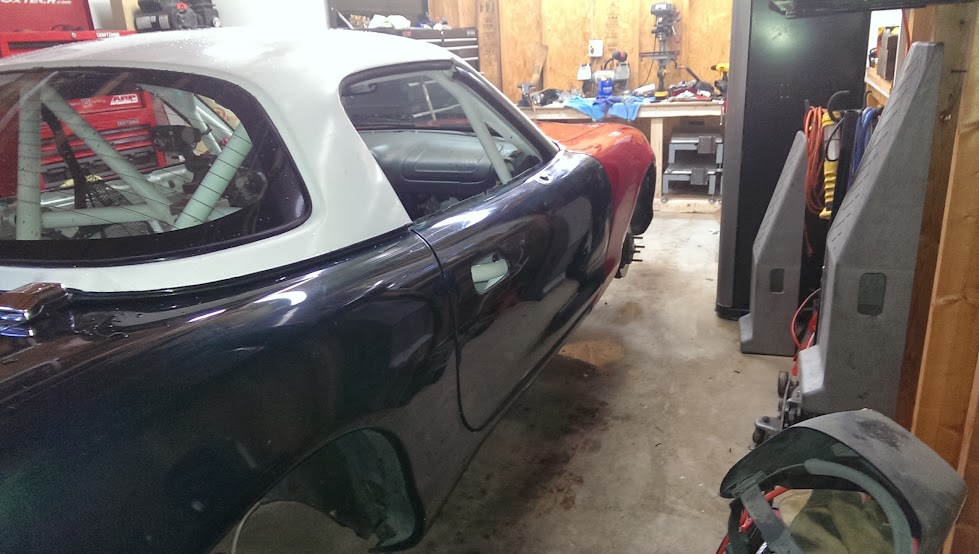
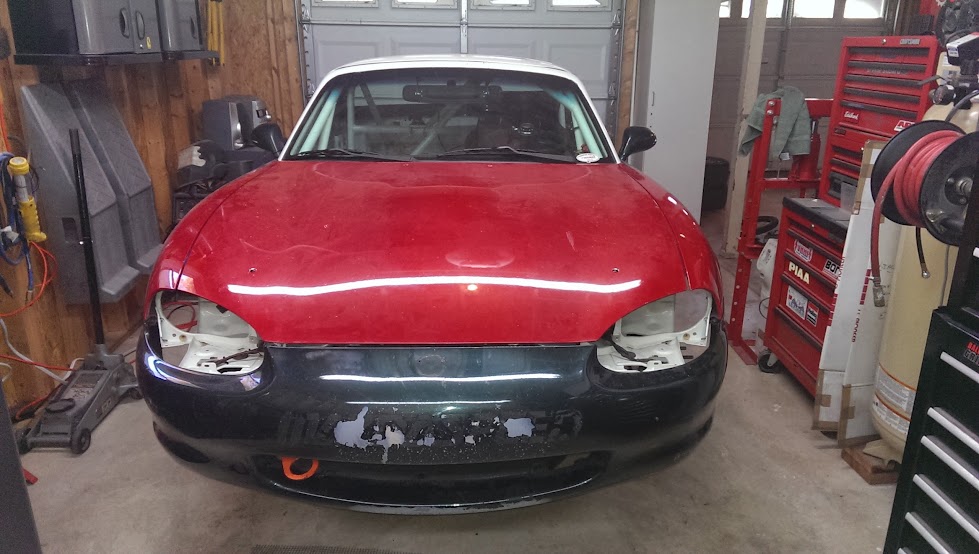
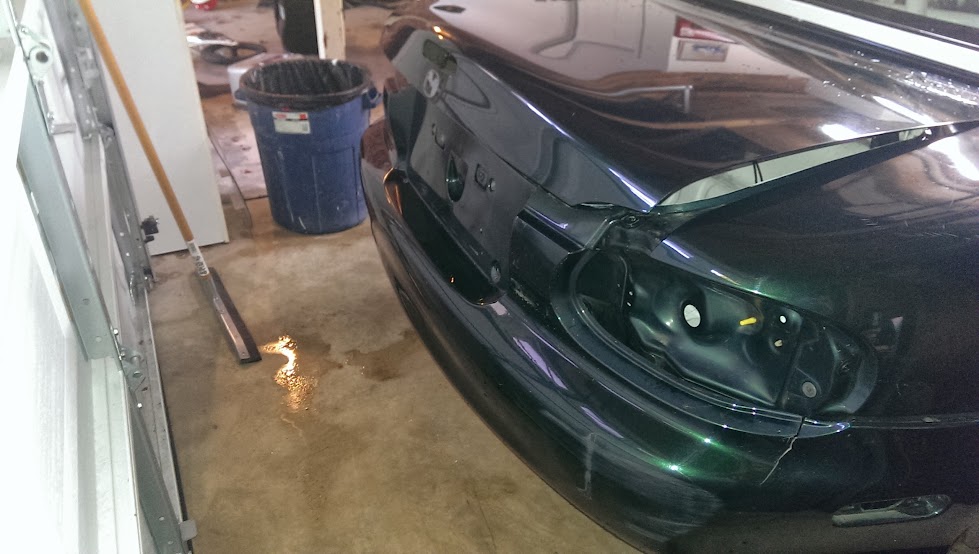
You can see some slight damage on the rear bumper.

Miata Repaint
#1

 Posted 11-02-2013 05:45 PM


#2

 Posted 11-02-2013 05:59 PM

After test fitting all the panels the next step is to wash the car really well with dawn dish soap, and then to wipe it down with a good wax and grease remover. I use one from HOK. This ensures that when you start doing bodywork and sanding you aren't grinding dirt into the panels.
Setting up some plastic to cut down on the dust.
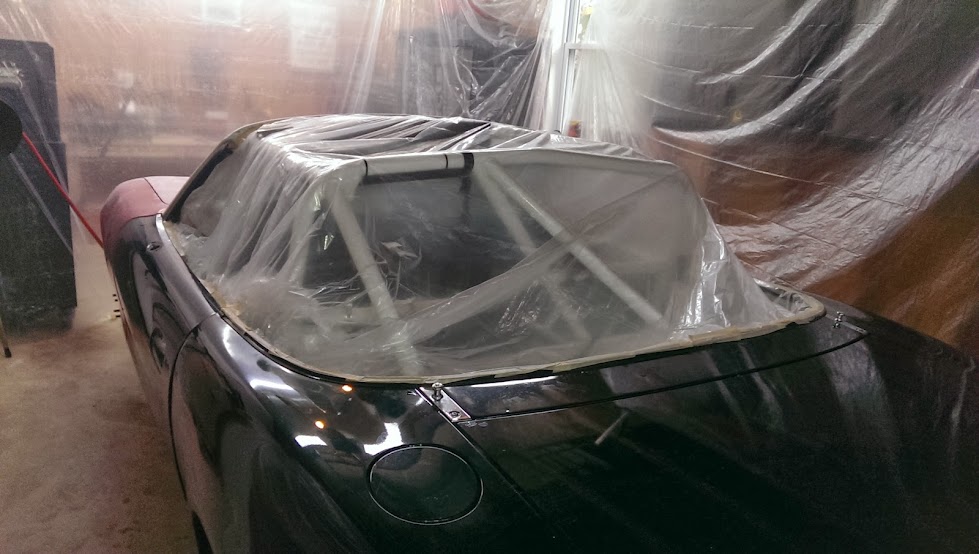
It helps to have a good D/A sander for this step. I start by sanding the panels with 220 grit. If the paint is in decent shape you don't need to remove it, just cut though the clear and give the new stuff some bite.

It's also a good idea to make a note of all the dings before you start sanding. They'll be harder to find once you take the gloss off.

If you have areas that need bondo, sand with 80 grit to help it adhere. I once tried to insert this door into someone's fender, so it needed a little work. I started by hammering down the high spots with a hammer and dolly.

After cutting with 80 grit, you can put a skim coat of body filler on the low spots. Less is more here, and helps cut down on the sanding.
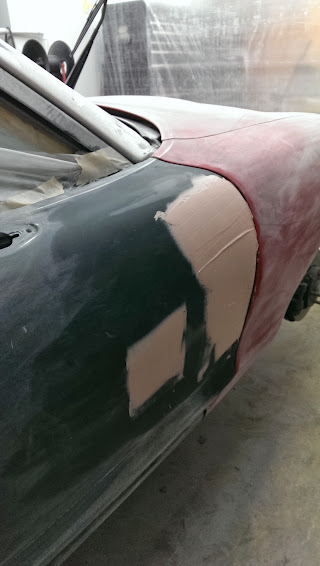
The new fender had a slight ding.

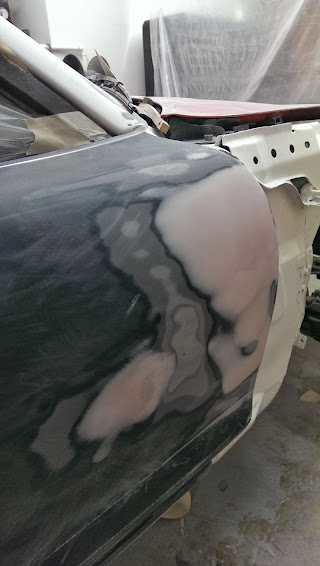
After the bondo dries, I sanded it with a block. You can see a slight high spot where the block sanded down to metal. I left it, because ... racecar.
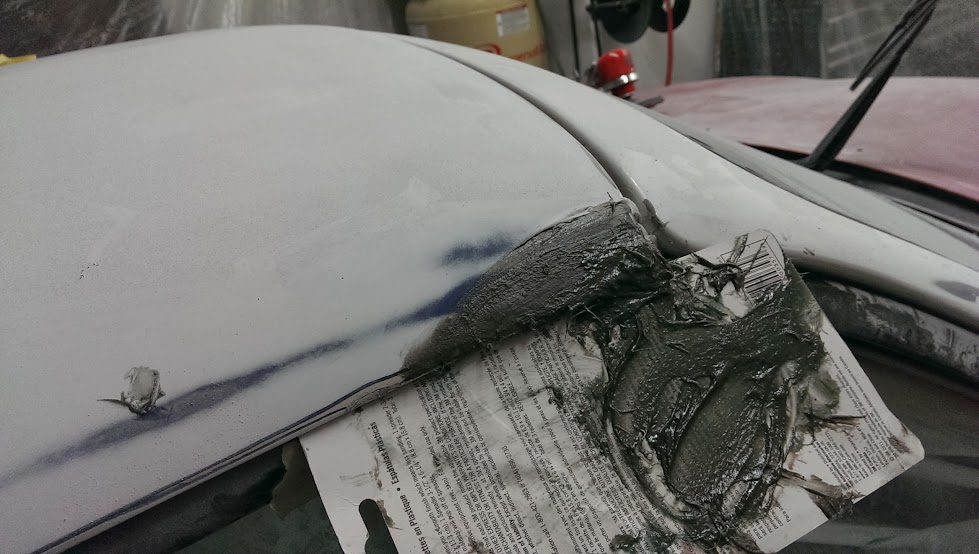
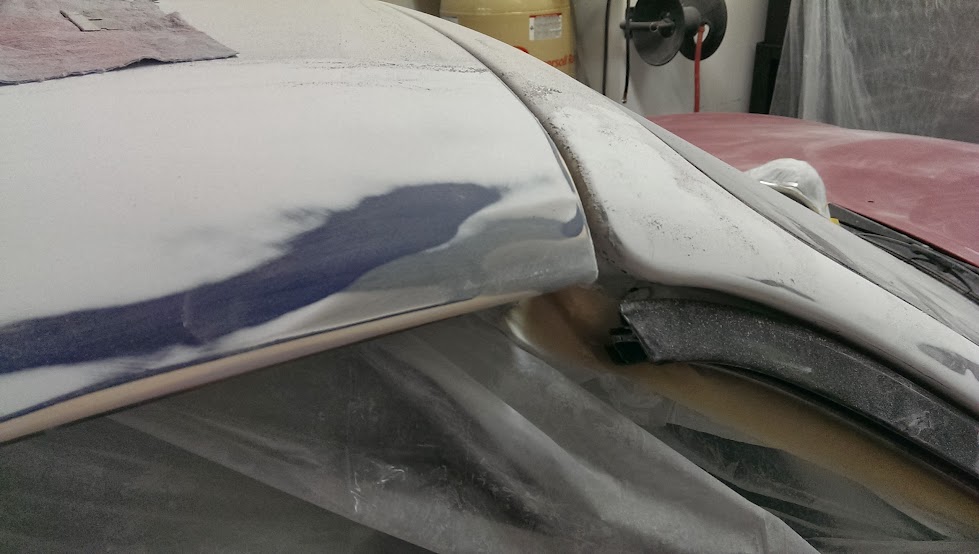
Previous owner had dropped the hardtop on the ground and chipped the corner. I repaired it using a body filler that has fiberglass cloth in it.


#3

 Posted 11-02-2013 05:59 PM

I repaired the bumper with a plastic welder and epoxy filler.

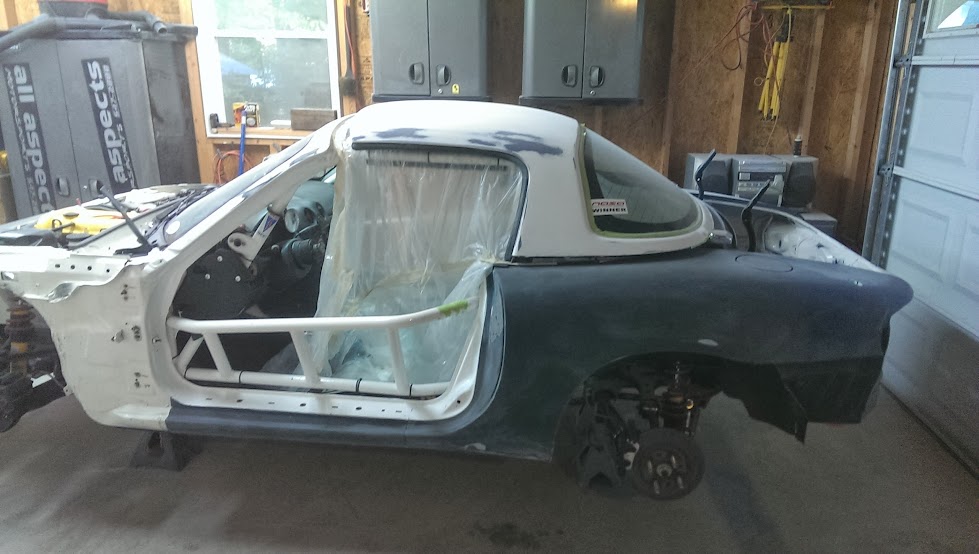
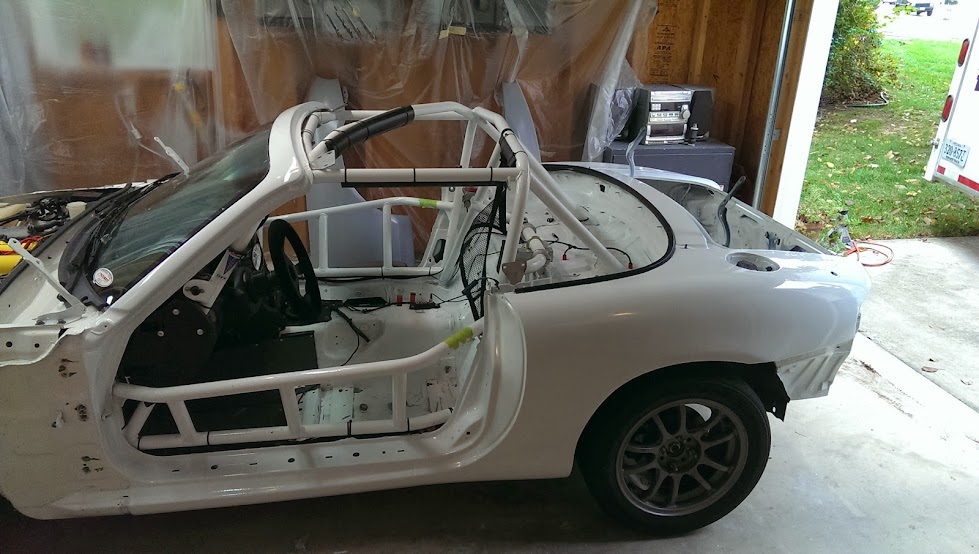
After the bodywork is done, I took the car apart.

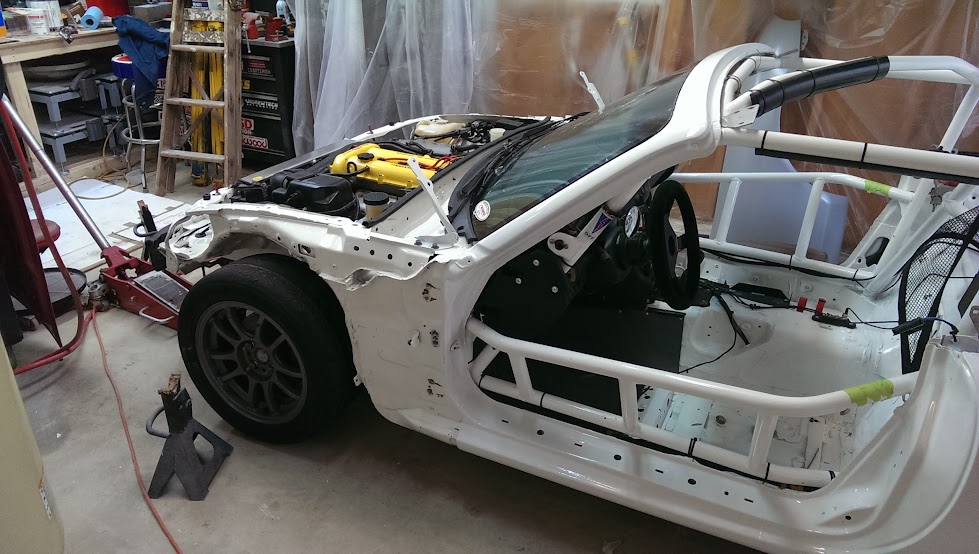
You can see my nice white engine compartment I did last winter.


#4

 Posted 11-02-2013 06:01 PM

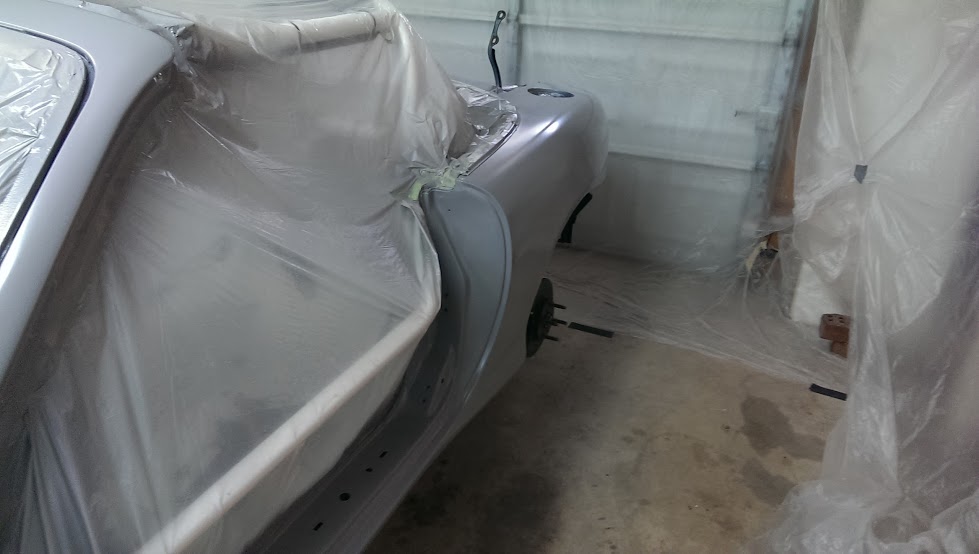
Now we start priming. All the products I'm using I got from TCPGlobal. The primer is a 2K urethane high build type.
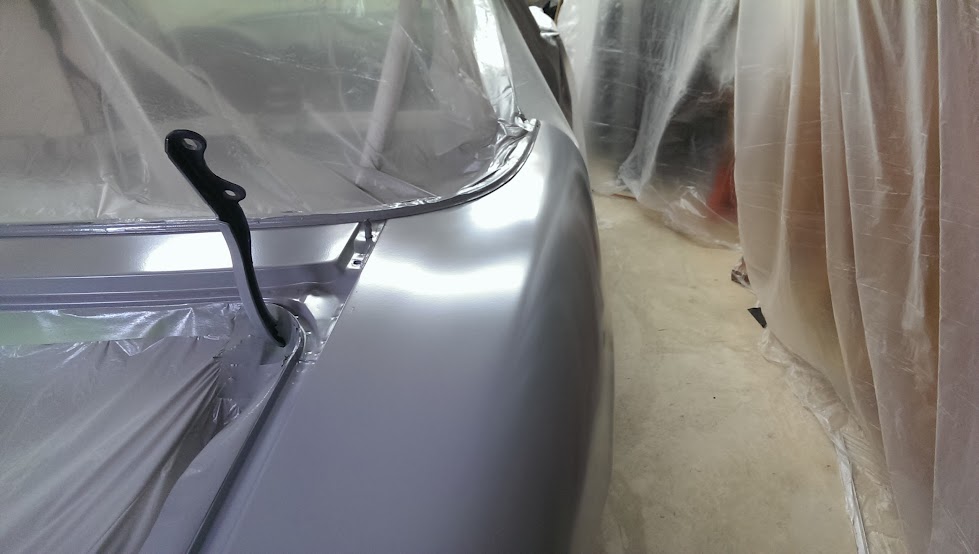
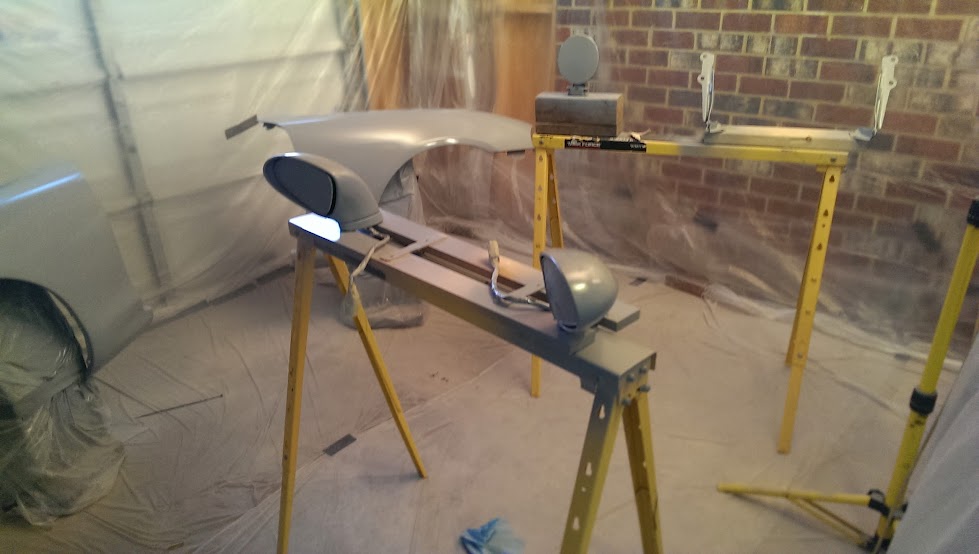
You can see the fixtures used to hold the gas cap and mirrors.


#5

 Posted 11-02-2013 06:06 PM

Now we start sanding. For the large panels I used 400 grit on a rubber block. If it was a nicer car I would start with a much lower grit (180 or so) to ensure the panels were perfectly flat. Here, I just wanted to knock down the waves and any grit in the primer. I also use a glazing putty to fill any rock chips.
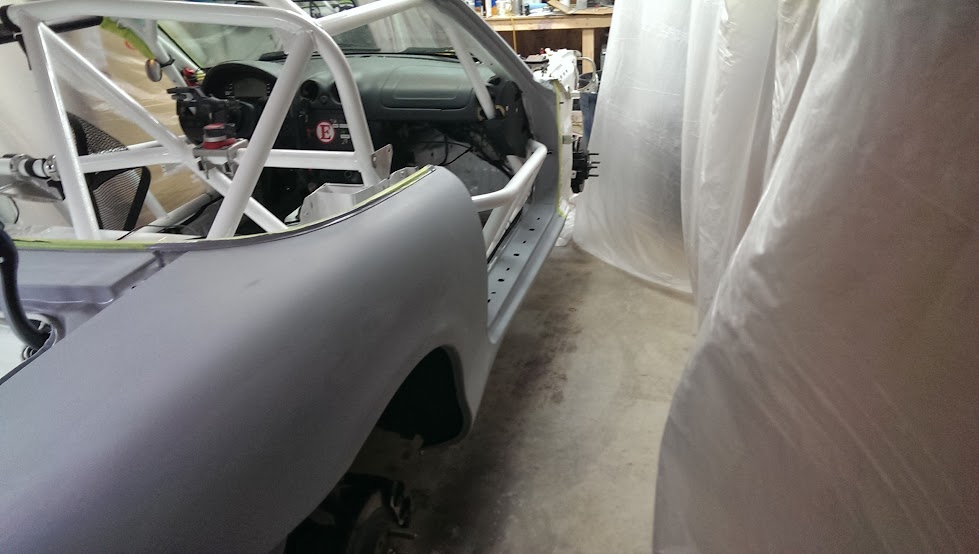
We remask for the color. Otherwise, the dried primer with flake off the plastic when the gun hits it and fall into the paint. I'm using a 2 stage paint, so separate base and clear. This is just preference, but I don't like spraying single stage paints on large panels. It's hard to get a consistent gloss.

In the process of re-masking

Base coat on. If there's any problems here, you can spot sand (wet) with 600 grit and touch up.


And on goes the clear. The key here is a wet coat to avoid the dry look.
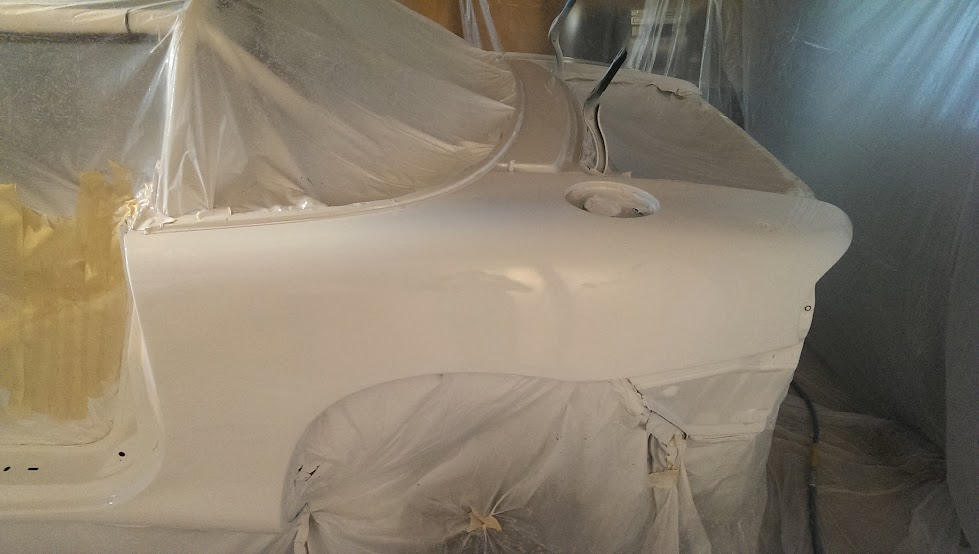
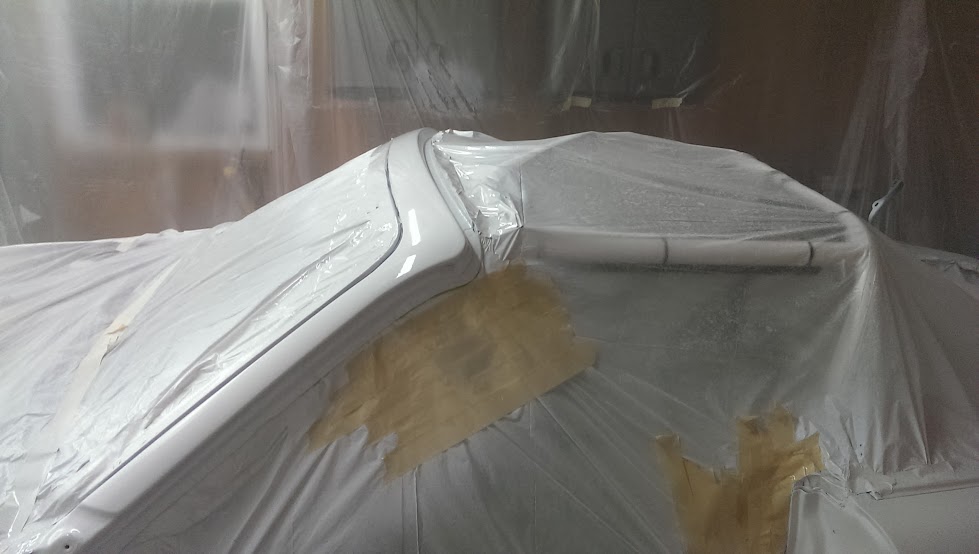
Small parts were done on the other side of the garage.


#6

 Posted 11-02-2013 06:08 PM

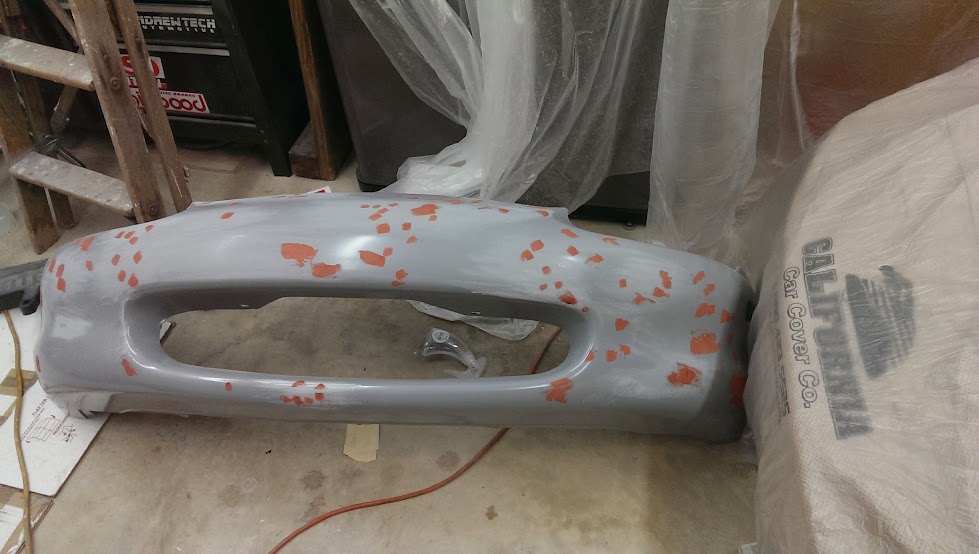
Continued with the priming. You can see the glazing putty on the bumper filling the rock chips.
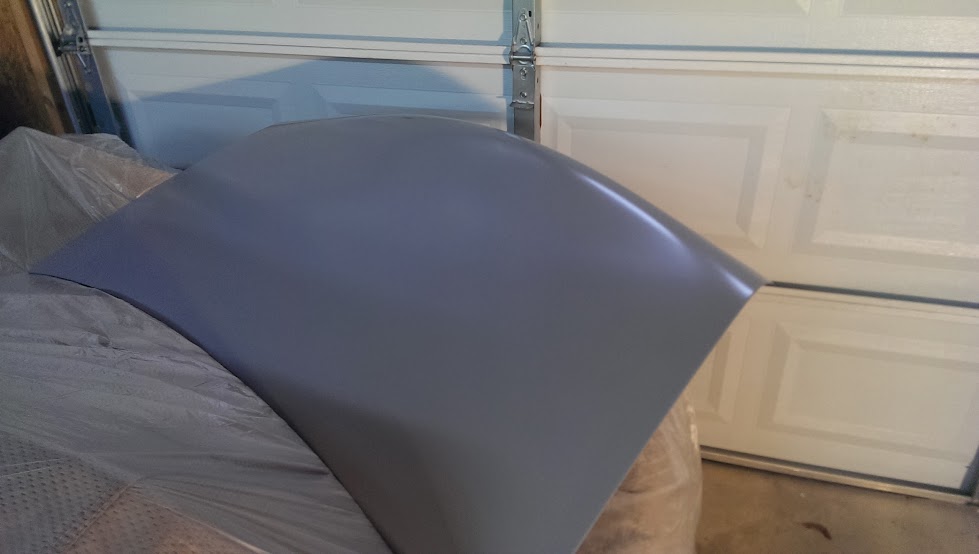
99 percent of this will be sanded off.
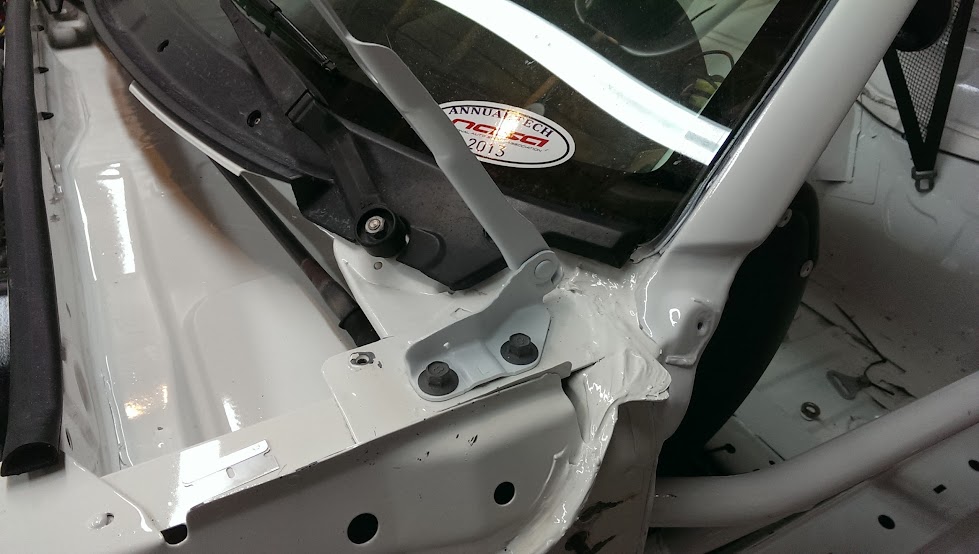
The tape comes off the car.

I even painted the hood hinges.


#7

 Posted 11-02-2013 06:11 PM

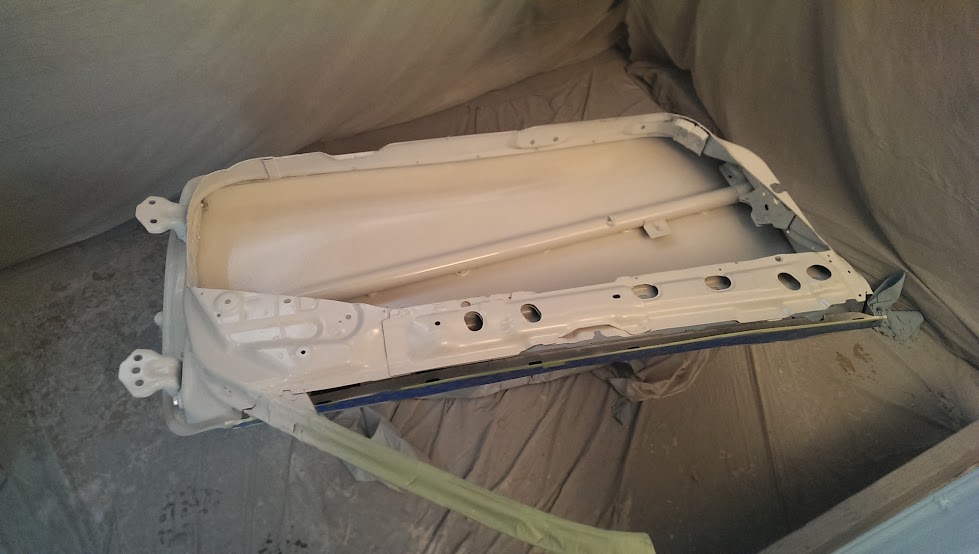
I painted the back side of the doors and underside of the hood and decklid with single stage left over from the engine compartment. If you do this, make sure to mask the front. The overspray will give you adherence problems if you don't. The other side of these panels have already been primed and sanded at this point.


#8

 Posted 11-02-2013 06:14 PM

I then painted the other side of the panels. I forgot to snap a picture. Messed up the clear on the hood with small run. I'll block it flat tomorrow and hopefully stay out of the color. Then I can just scuff the rest of the hood and reclear.
Next I painted the bumpers. I hate painting bumpers. It helps to have a plan before you start spraying. I do the mouth first, then the edges, and then finally the face of the bumper. You need to move fairly quickly so the paint always hits a wet edge.
In my case, I'm wrapping most of them with vinyl so it doesn't matter as much.
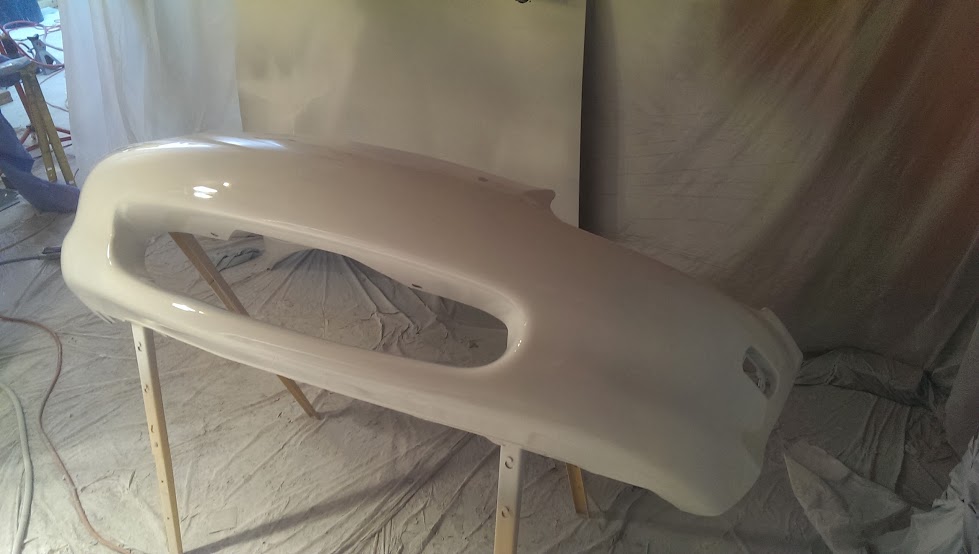
That's where I am currently. Tomorrow morning I plan to prime the hard top. Then I'll fix the hood and re-clear. If there's time I'll shoot do the color on the top and be done.
Any questions, feel free to ask.
Duncan


#9

 Posted 11-02-2013 06:48 PM

Very nice Duncan. Way to make us all feel bad! Or maybe good after those first couple little "bumps" ![]()
Ron
RAmotorsports


#10

 Posted 11-02-2013 07:14 PM

OK, this is some serious garage work ;-) I love the design, it's going to look great!


#11

 Posted 11-02-2013 11:40 PM

#12

 Posted 11-03-2013 02:59 PM

How many hours do you have into it at this point?
More than 50, less than 100 so far. It'll probably be somewhere around 75 by the time I'm done. Even on a quick job like this there's a lot of work. Once you start painting there's a considerable amount of standing around as well, as you have to allow each coat time to flash before laying down the next one.
I re-cleared the hood today. Looks much better. It's drying right now. I primed the hardtop, but then ran out of hardener so I'm done for a few days.
I'll prep the hardtop for paint tomorrow but until I get the hardener for the clear I'll have to take a break. Just as well, as the temperature is supposed to drop below the 50's here.
Duncan


#13

 Posted 11-03-2013 05:22 PM

Duncan, this is looking great. Can't wait to see the finished product. I was just about to start tackling this myself since my season is essentially over for the year (will be on business travel for the last race next week). My plan is just to do the front bumper which has a lot of large paint chips. Can you tell me what kind of filler you used for the plastic bumper sand what is the general process to do this? My paint is chipping off bad. Do I need to chip as much of it off as possible before filling to keep it intact?

#14

 Posted 11-03-2013 05:43 PM

Duncan, this is looking great. Can't wait to see the finished product. I was just about to start tackling this myself since my season is essentially over for the year (will be on business travel for the last race next week). My plan is just to do the front bumper which has a lot of large paint chips. Can you tell me what kind of filler you used for the plastic bumper sand what is the general process to do this? My paint is chipping off bad. Do I need to chip as much of it off as possible before filling to keep it intact?
Ryan,
Glazing putty works well for filling the chips in the bumper. Make sure to buy the two part putty, not the one part cheaper Bondo stuff. Bondo actually makes a two part you can find in most auto stores and even Home Depot, but other manufactures make similiar/better products.
I would sand the bumper with 400 grit wet. You can use 240ish on the parts where it's flaking and feather it out. Try not to sand off the paint if it's not flaking off. Once all the loose paint is off and the bumper is scuffed, I would prime it with a decent 2K urethane high build primer. Wet sand this with 400 grit. It's at this point you can use the glazing putty to fill and chips that the primer doesn't fill. Then spot prime over the glazing putty spots, sand again, and you're ready for paint.
What do you have equipment wise? Compressor? Spray gun?
Oh, and by 2K, I mean a product with a hardener. None of the spray can products are going to hold up, especially on a bumper.
Duncan


#15

 Posted 11-03-2013 05:49 PM

Hard top in primer. Will start sanding tomorrow.
Re-cleared the hood. Much better.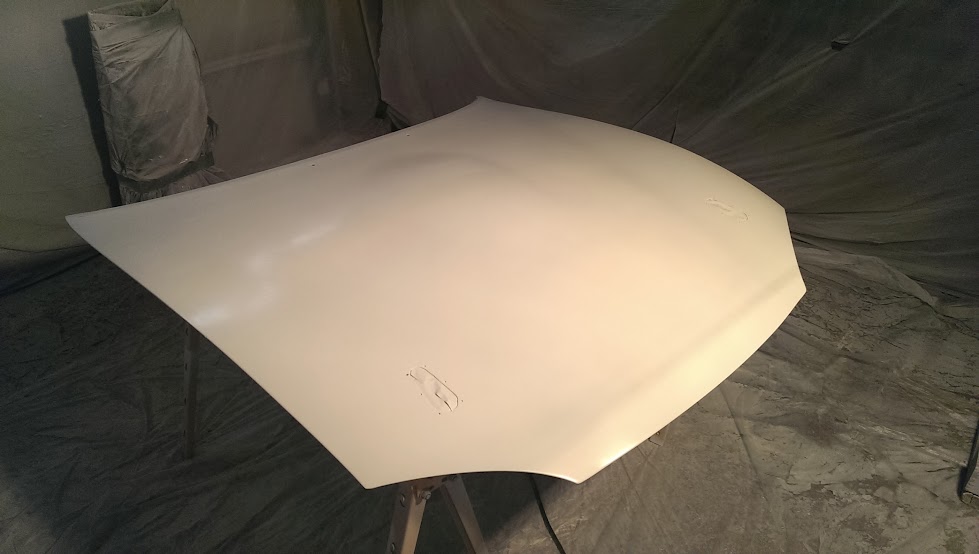
Helps to have a practice panel to verify the gun settings.
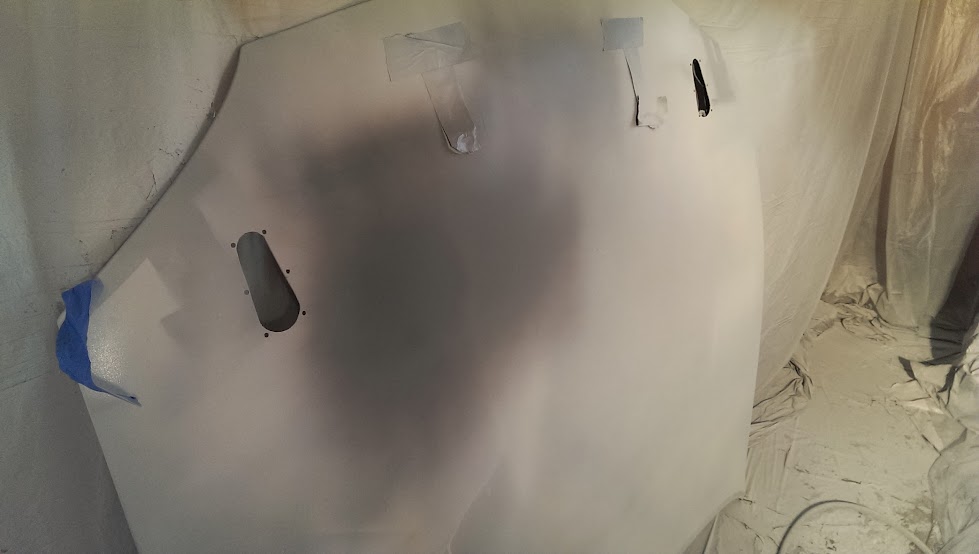


#16

 Posted 11-03-2013 08:59 PM

I have compressor and access to a friend's spray gun. I just pulled the bumper yesterday and was thinking about either doing it myself or bringing it in to a bodyshop. So your post was perfect timing to inspire doing it myself. But I've never done it so would have to research the materials and paint type and any other tools I'd need to buy.

#17

 Posted 11-04-2013 06:58 AM

Very nice. However, I would be concerned that the bondo will not survive the first contact.
Ryan W. Check with your local auto body supply. They should carry an adhesion promoter made specifically for urethane bumpers. Or.... I see Maaco advertising 'bumper specials' for $200. You may be surprized to find that the paint and supplies will not be much less.


#18

 Posted 11-04-2013 10:42 AM

So your post was perfect timing to inspire doing it myself. But I've never done it so would have to research the materials and paint type and any other tools I'd need to buy.
Funny enough, this thread has inspired me to not attempt painting the car myself. ![]() That's a lot of work...
That's a lot of work...
FYI, Sherwin Williams has an automotive paint and supply retail store in Santa Clara. The materials are indeed expensive....

#19

 Posted 11-04-2013 10:57 AM

When I asked my friend for the spray gun he said to me, "sure, but I've also got a guy that will do the whole thing for really cheap"....

#20

 Posted 11-04-2013 11:05 AM

Very nice. However, I would be concerned that the bondo will not survive the first contact.
Ryan W. Check with your local auto body supply. They should carry an adhesion promoter made specifically for urethane bumpers. Or.... I see Maaco advertising 'bumper specials' for $200. You may be surprized to find that the paint and supplies will not be much less.
What bondo are you talking about? Glazing putty is not body filler. It's just filling small rock chips. I don't have a shot with it sanded down but we're talking about chips less than 1/8" in diameter. On using body filler on bumpers, bondo brand doesn't adhere to plastic, but they make fillers that will. If used appropriately (thin) they'll hold up fine even under some bumping.
Adhesion promoter is only needed if you're painting a raw bumper. I like BullDog.
I agree that if you're just painting a bumper it's probably cheaper to just have someone else do it. The economics of doing your own painting really only start to tip your way if you do a lot of it. Then you can buy materials in bulk and start saving money. Buying sandpaper, primer, and paint in small quantities is expensive.


1 user(s) are reading this topic
0 members, 1 guests, 0 anonymous users


 Sign In
 Create Account


 Back to top
 Report


