Sign In
 Create Account


New 01 VVT Build
Posted by
FTodaro
,
11-08-2015
·
2,430 views
November 5, 2015
I am going to post some pictures along the way of my new VVT build. I started this project before I decided to do the blog so i will not have pictures of some of the early steps in the process. I had a prior VVT that was wrecked so I am working this project with the cars side by side, swapping from old to the new car.
This is a winter project for me so i can afford to take my time and pay attention to detail. This is the 5th car I have built, so with each effort I find ways to do things better than before.
I will tell you that my goal of this build is to construct a car that is capable and reliable. So i will not be spending much time or money to paint all the parts and so on. Alan in the blog below did a fantastic job on is car. this will be more of a How to Blog.
First the Car.
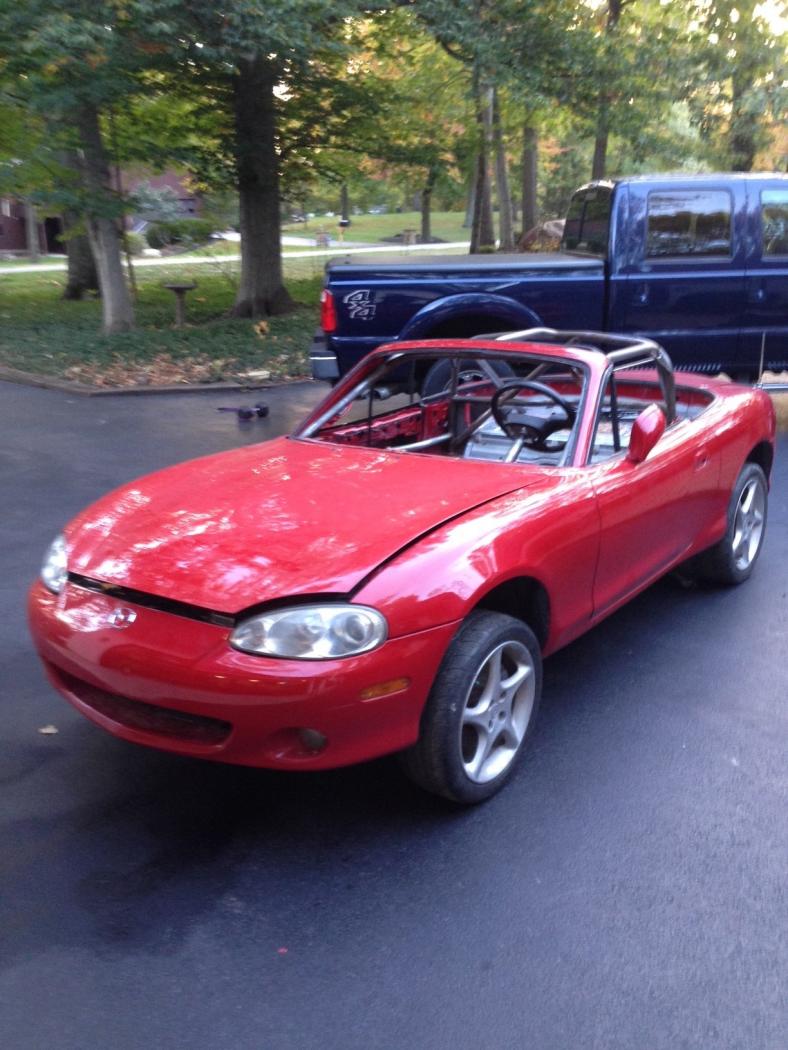
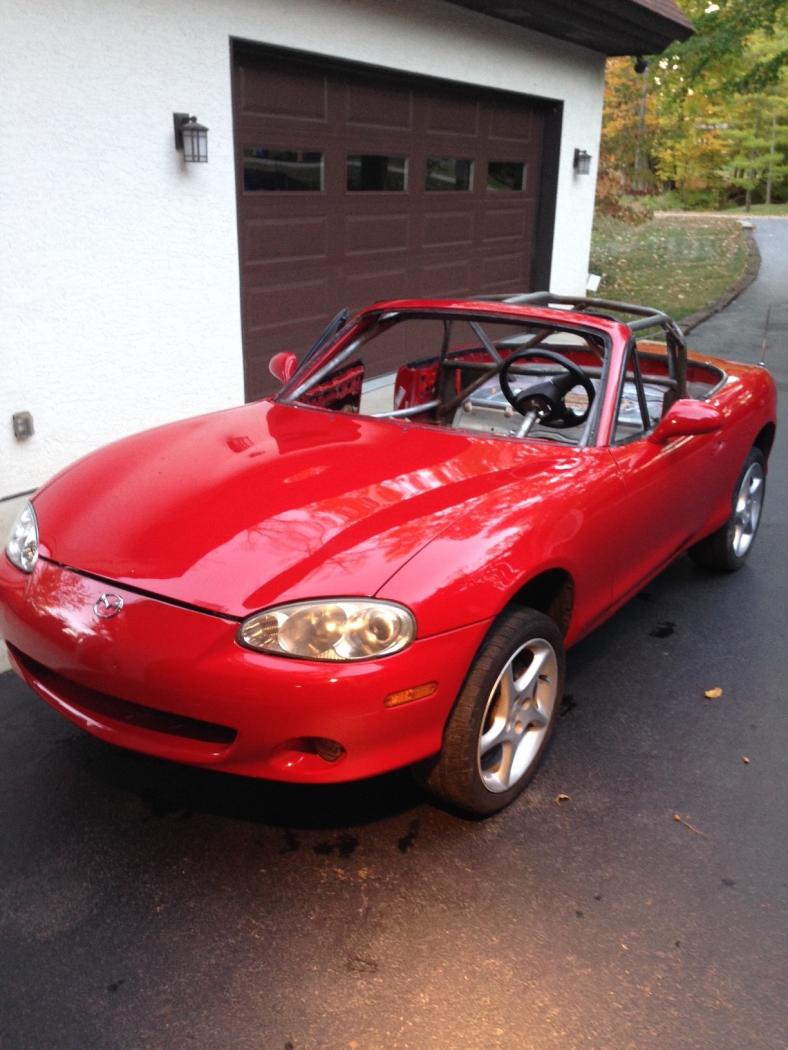
This is a 2001 VVT that came from down south. Not sure of the miles but it looks to be a clean car and judging from what i see, it looks to be a low mileage garage queen. The paint was in excellent shape.
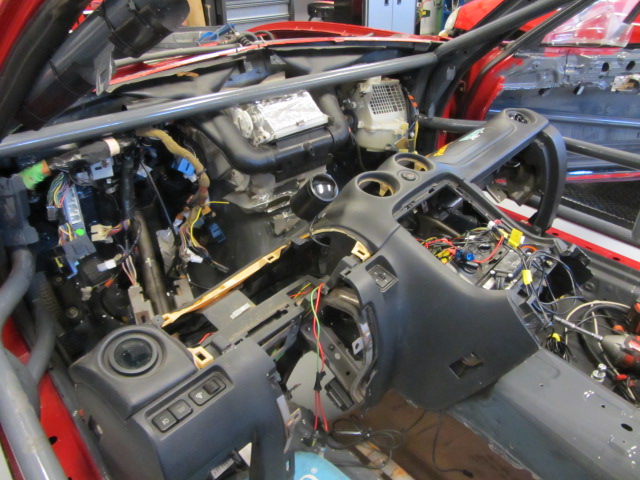
As you can see from this shot on the engine Room, it was pretty clean.

The Car was purchased for me by Jim at Eaststreet and the cage was installed. Because i have a complete race car(damaged) all i needed was a tub and a cage so I had him pull the drive train and strip it. Install the cage and ship it to me.
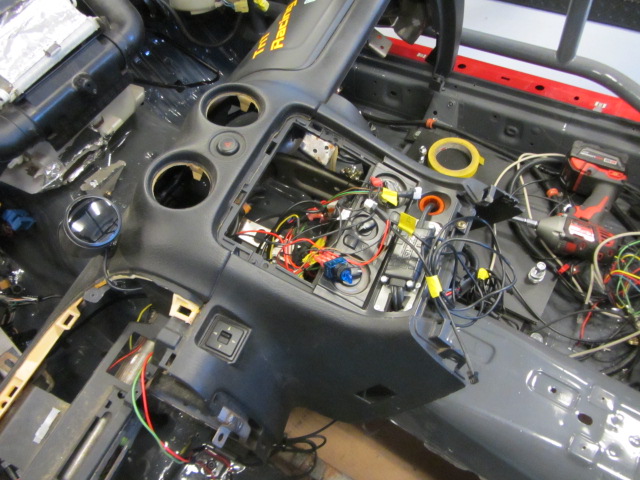
This car was a flood car so every wire in it will be replaced. I will be doing things that normally do not need to be replaced on a build due to the flood issue.
11/8/15
Ok today I dug into the wiring. Ralph, Help