Jump to content

Photo

NorCal '91 NA Spec Miata Build

- - - - - build na scca construction 1991 1.6L

  • Please log in to reply
123 replies to this topic

#21
Austin Robison

Austin Robison

    Member

  • Members
  • PipPipPip
  • 103 posts
  • Location:Palo Alto, CA
  • Region:SFR
  • Car Year:1991
  • Car Number:47
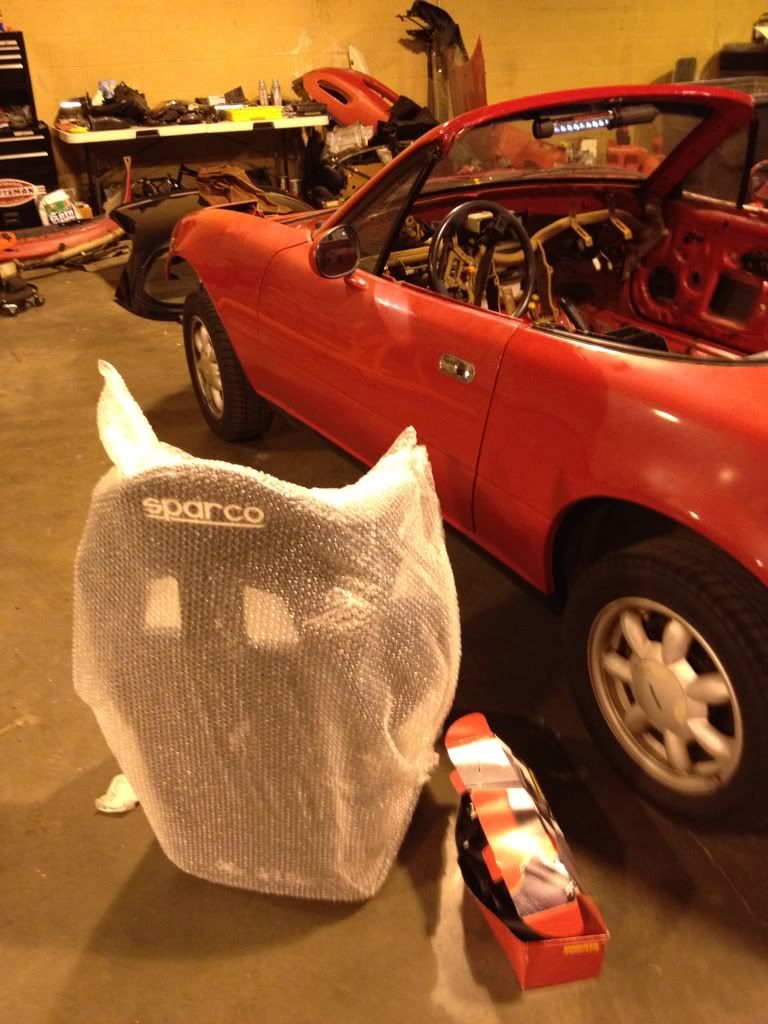
Got a bunch of work done this weekend. The car's headed off to TC in the morning for cage, seat, net and harness installation.


Got the exhaust off without much hassle. It looked pretty crazy getting to the bolts that attach the down pipe to the manifold, so I just impacted the bolts off at the cat. Those were some seriously heat-cycle stuck bolts...

Posted Image

After the exhaust, I removed the driveshaft. Four bolts off at the differential and some whacking with a deadblow and it comes right off.

Posted Image

Posted Image

#22
Austin Robison

Austin Robison

    Member

  • Members
  • PipPipPip
  • 103 posts
  • Location:Palo Alto, CA
  • Region:SFR
  • Car Year:1991
  • Car Number:47
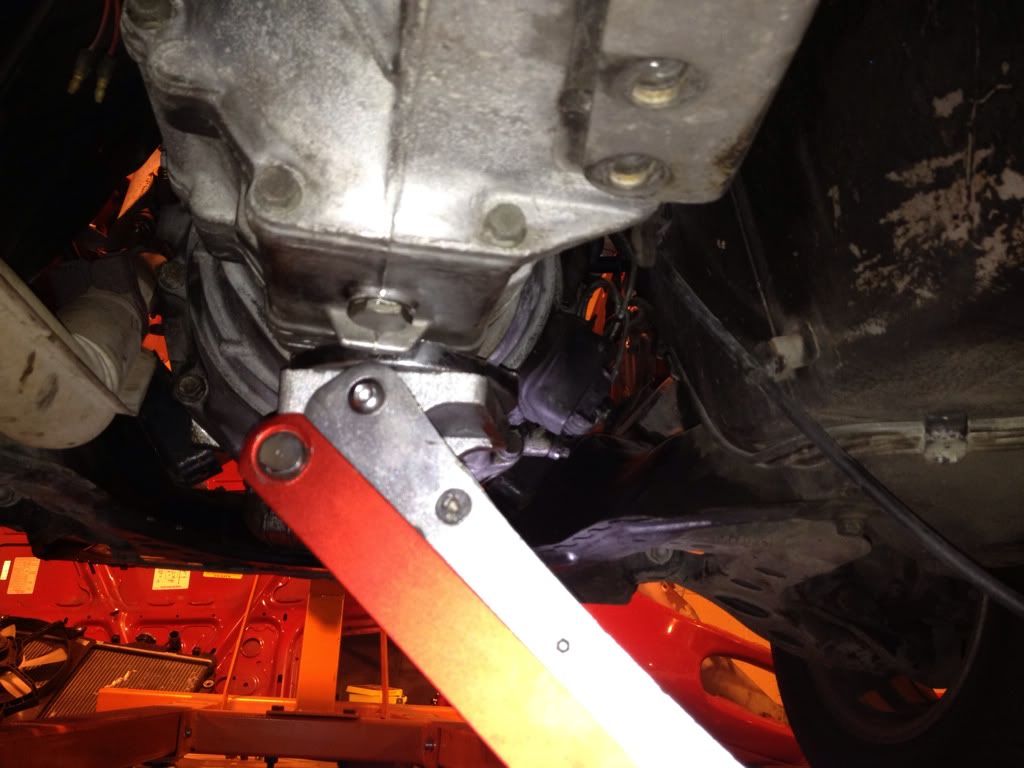
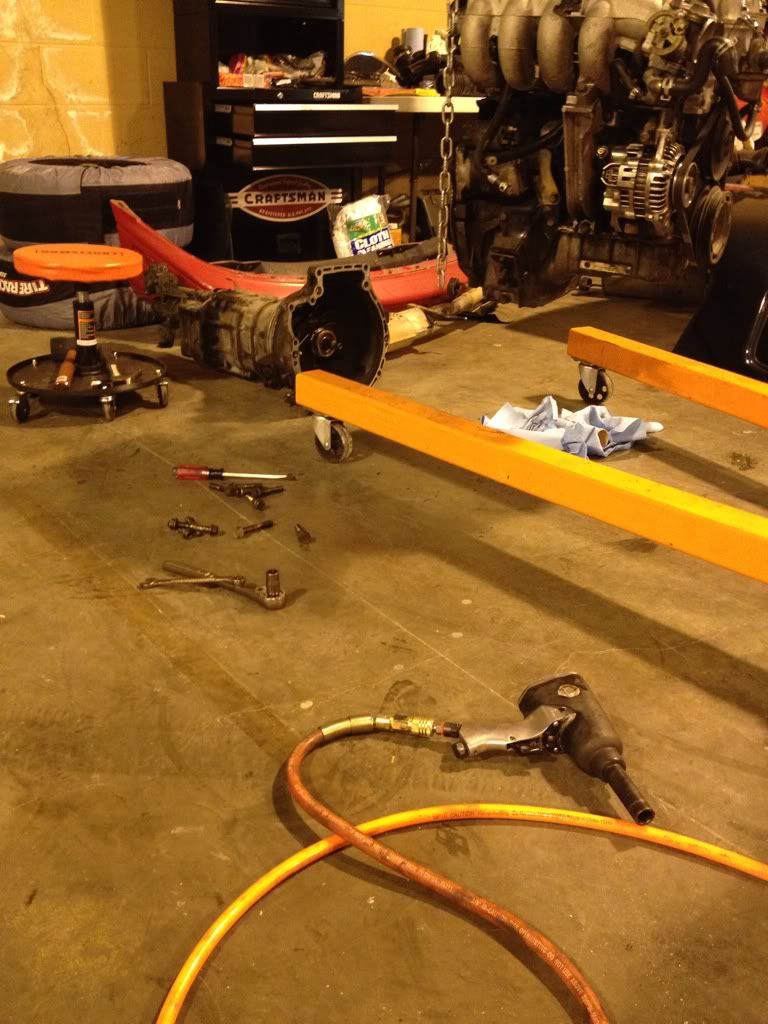
With the exhaust and driveshaft out of the way, I unbolted the transmission from the PPF and stuck a jack under it.

Posted Image

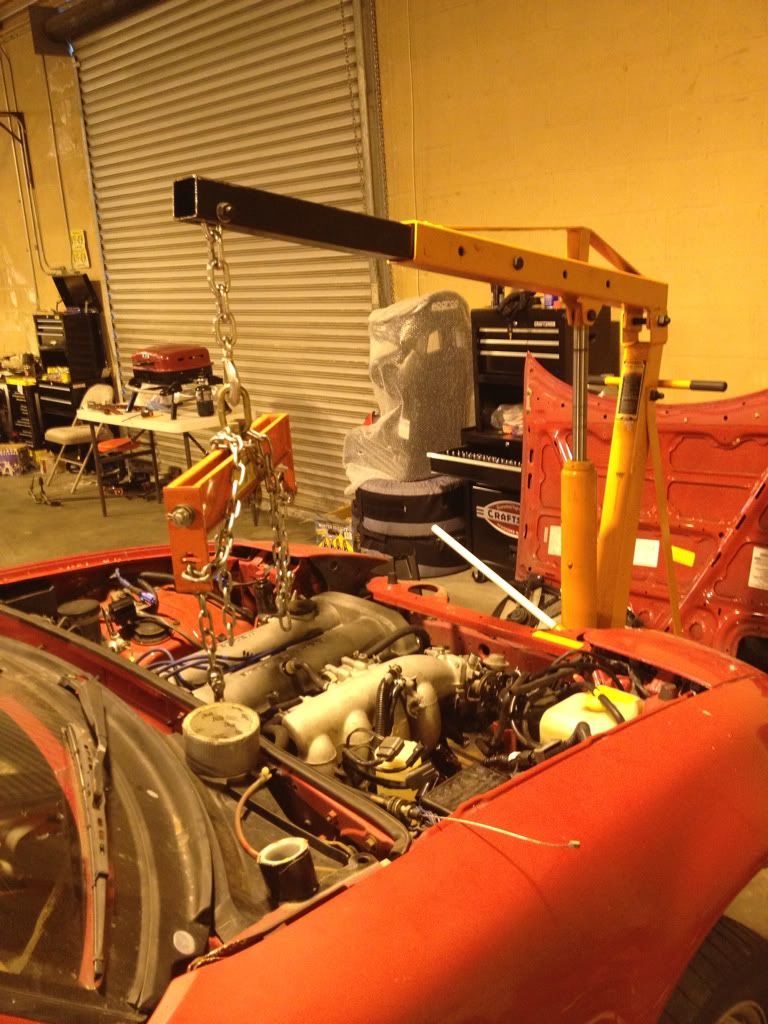
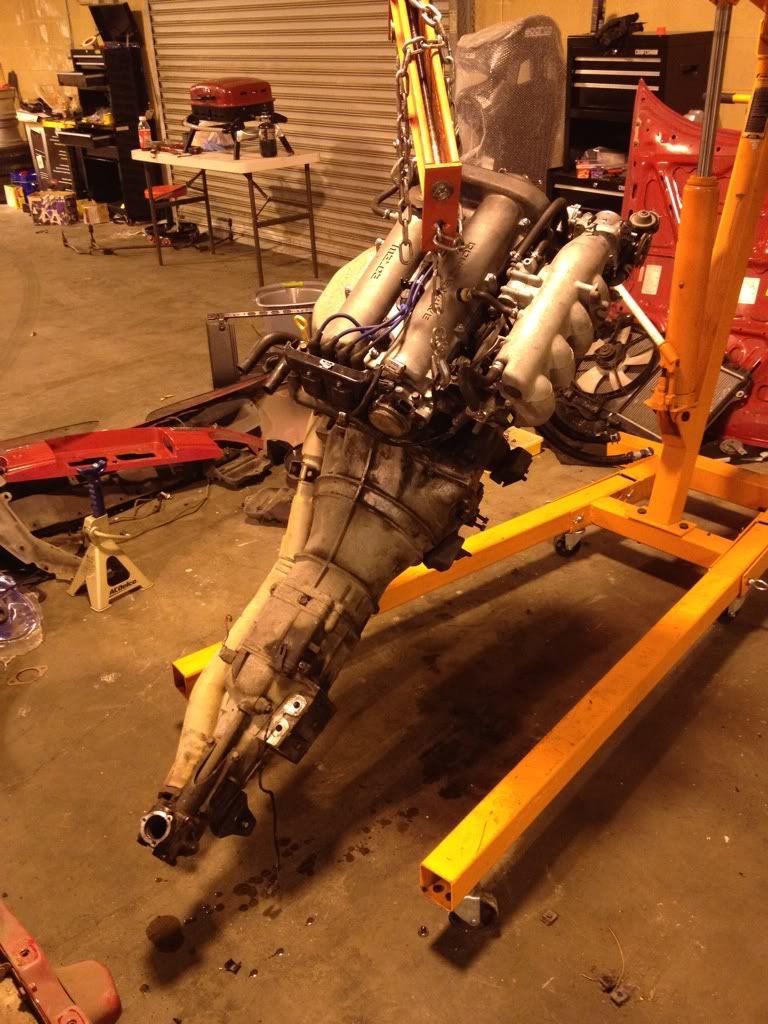
Then hooked up the engine hoist.

Posted Image

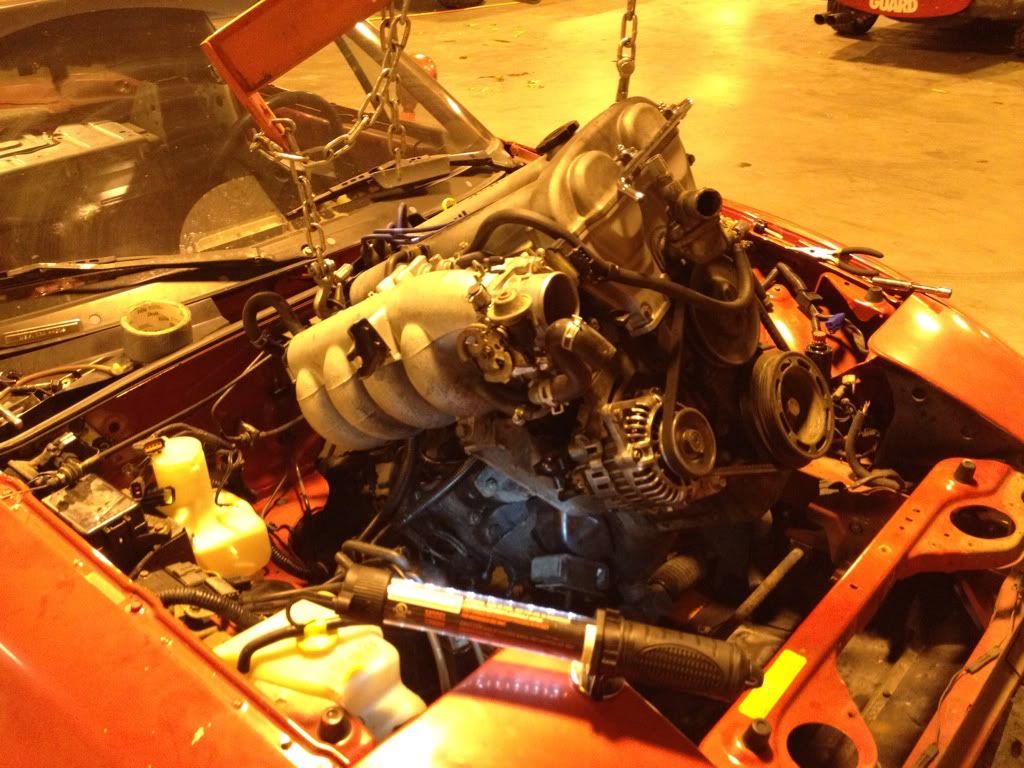
I had the car up on jackstands when I started this process. I recommend putting the car back on the ground so you can get a better angle with your crane. I was fighting with this thing for a while until I lowered the car (the engine was getting nice and stuck on the firewall, because I could pulled it up and out...only up and backwards...)

#23
Austin Robison

Austin Robison

    Member

  • Members
  • PipPipPip
  • 103 posts
  • Location:Palo Alto, CA
  • Region:SFR
  • Car Year:1991
  • Car Number:47
The trick here was to pull the PPF to the side and to get the engine off one of the mounts so I could maneuver it correctly. The load-balancer was key. I also noticed that the PPF will bend down quite a ways (which was convenient for dropping the transmission) on the differential mounts. Probably not the best for those bushings...

Posted Image

#24
Austin Robison

Austin Robison

    Member

  • Members
  • PipPipPip
  • 103 posts
  • Location:Palo Alto, CA
  • Region:SFR
  • Car Year:1991
  • Car Number:47
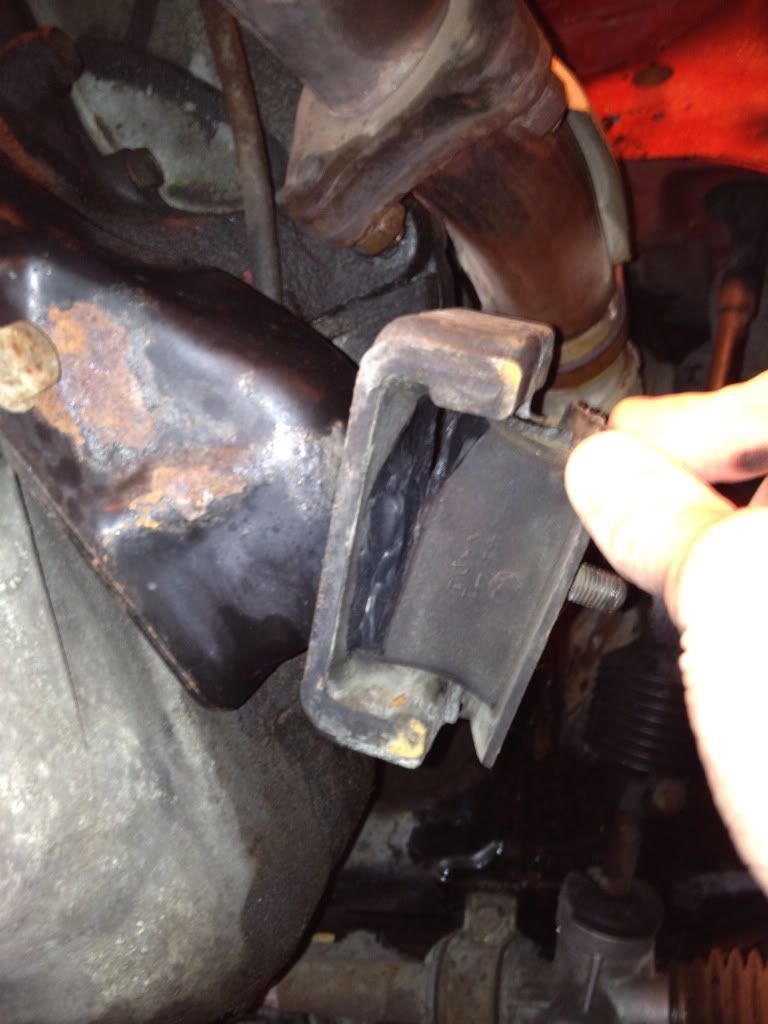
And only one of the motor mounts was sheared. I'll be grabbing the comp. parts from Mazdaspeed on Alberto's recommendation for replacements.

Posted Image

#25
Austin Robison

Austin Robison

    Member

  • Members
  • PipPipPip
  • 103 posts
  • Location:Palo Alto, CA
  • Region:SFR
  • Car Year:1991
  • Car Number:47
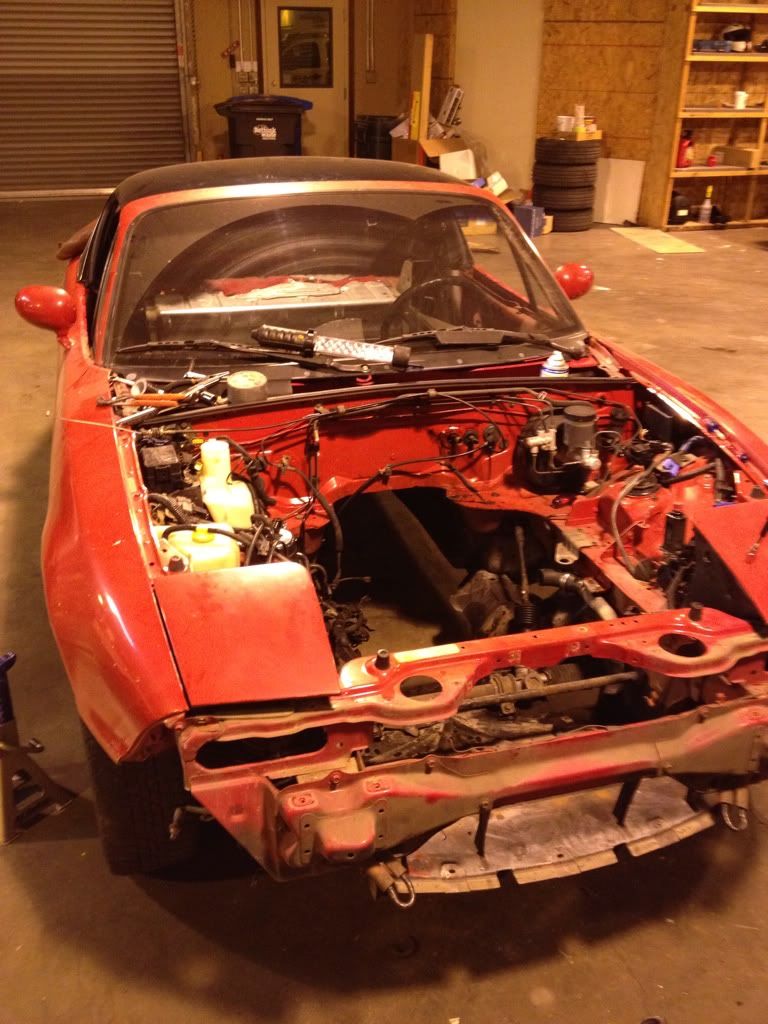
Looks kind of lonely with nothing in the bay...

Posted Image

Posted Image

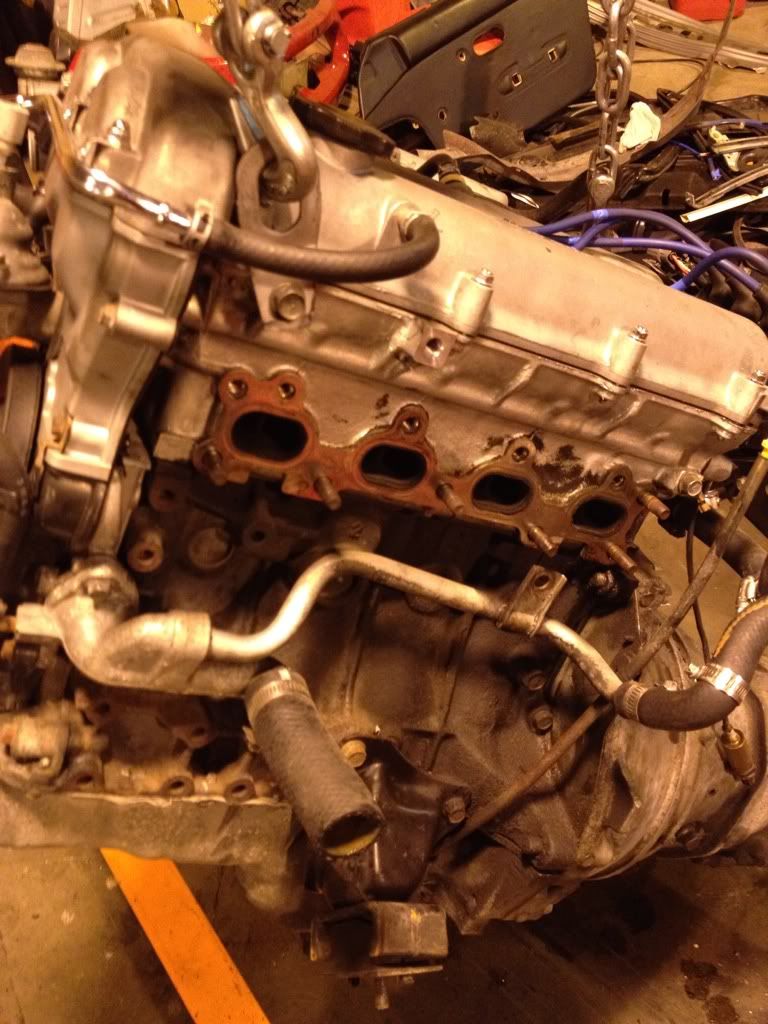
Taking the exhaust manifold off let me see a whole bunch of carbon buildup in the manifold, the exhaust ports and all over the valves...Awesome.

Posted Image

#26
Austin Robison

Austin Robison

    Member

  • Members
  • PipPipPip
  • 103 posts
  • Location:Palo Alto, CA
  • Region:SFR
  • Car Year:1991
  • Car Number:47
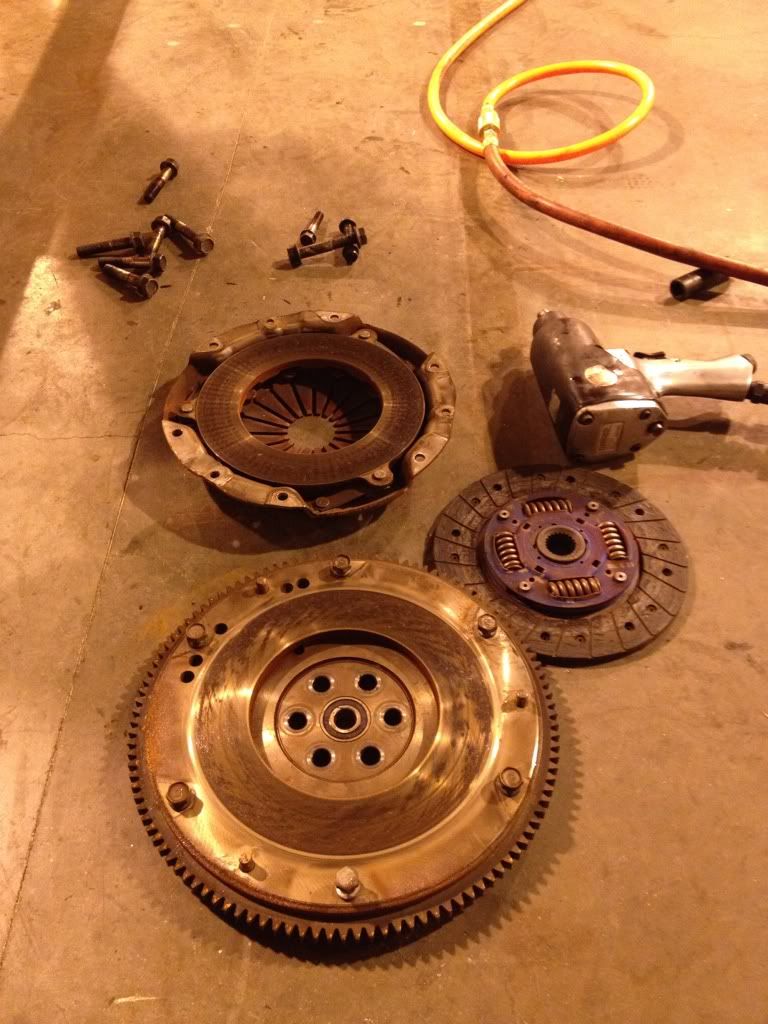
I love air tools so much. I think it took me about 15 minutes to take the transmission off and completely disassemble the clutch and flywheel assembly.

Posted Image

The clutch looks like it's in pretty decent shape. Left some grossness on the flywheel that I should machine off. I'm planning on installing the ACT pressure plate and four puck clutch when I button this all back together.

Posted Image

#27
Austin Robison

Austin Robison

    Member

  • Members
  • PipPipPip
  • 103 posts
  • Location:Palo Alto, CA
  • Region:SFR
  • Car Year:1991
  • Car Number:47
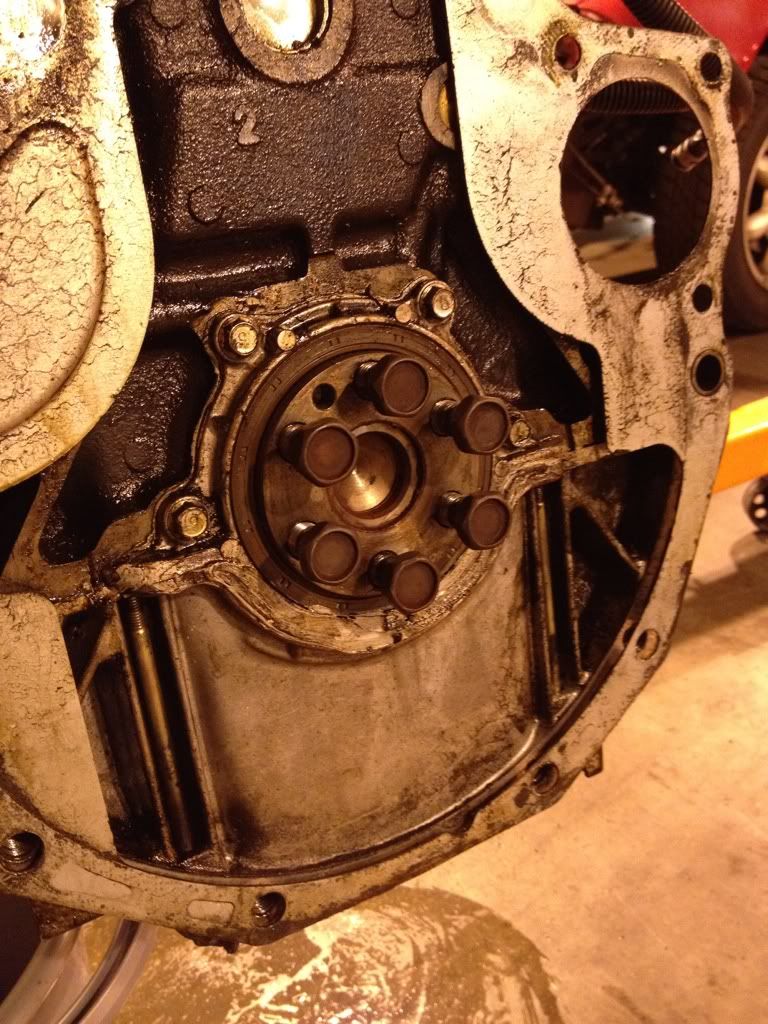
There's a bit of oil seepage coming from...somewhere. The rear main seals on these engines are something that I should replace while I've got it all apart, right? Timing belt, seals...what other parts do people usually change when they're tearing one of these down?

Posted Image

#28
Austin Robison

Austin Robison

    Member

  • Members
  • PipPipPip
  • 103 posts
  • Location:Palo Alto, CA
  • Region:SFR
  • Car Year:1991
  • Car Number:47
All ready to load up and tow to Milpitas tomorrow!

Posted Image

#29
Doug007

Doug007

    Member

  • Members
  • PipPipPip
  • 100 posts
  • Location:United States
  • Region:TX

And only one of the motor mounts was sheared. I'll be grabbing the comp. parts from Mazdaspeed on Alberto's recommendation for replacements.


FYI, I don't believe the comp engine mounts are legal for SM. Stock engine mounts only. As they say, if the GCR doesn't say you can do it, you can't... (same thing with suspension bushings)

#30
Todd Green

Todd Green

    Veteran Member

  • SMembers
  • PipPipPipPipPip
  • 569 posts
  • Location:SLC
  • Region:Utah
  • Car Year:1990
  • Car Number:60

FYI, I don't believe the comp engine mounts are legal for SM. Stock engine mounts only. As they say, if the GCR doesn't say you can do it, you can't... (same thing with suspension bushings)


From the GCR:

9.1.8.m. The Mazdaspeed motor mount, part NAY1-39-040 is allowed.
  • Alberto likes this

NASA Utah SM Director

We have a Winnah! - Won their 1st race... Congratulations! Donor - Made PayPal donation Endurance race winner - Any endurance race wins Bona fide - A bonafide Spec Miata driver Series Champ - Won a points based series in a Spec Miata

#31
Alberto

Alberto

    Veteran Member

  • Members
  • PipPipPipPipPip
  • 1,471 posts
  • Location:Mountain View, CA
  • Region:SFR
  • Car Year:1990
Might as well do the rear main seal. It's cheap and easy and you're there. :)

The rear of my motor looked the same way. Probably oil from the valve cover gasket and/or Cam Angle Sensor (o-ring). Both tend to leak at some point in the car's life.

Might as well do the t-belt. I did on my car with the help of the Bay Area Miata Driver's club on a tech day. Had never in my life done a timing belt, or a rear main seal, clutch or pulled a motor until I got this car. My car was leaking like crazy from the front of the motor. Replaced the crank seal and the cam seals when I did the timing belt. Some of the BAMD peeps have the tools you need to do this job. I'm sure they'll let you borrow them or do it during a tech day. http://www.bayareamiatadrivers.com/ Assuming someone on here doesn't have them and offer to let you borrow them. :)

There is also a seal for the input shaft of the trans that you may want to replace.

Clean that bell housing while you're at it. :) I got mine clean just by wiping it down hard with paper towel. If I tried to use any sort of liquid/chemical cleaner, the gunk stuff would gunk up and be harder to get off. I hate working on dirty parts...
Bona fide - A bonafide Spec Miata driver

#32
Austin Robison

Austin Robison

    Member

  • Members
  • PipPipPip
  • 103 posts
  • Location:Palo Alto, CA
  • Region:SFR
  • Car Year:1991
  • Car Number:47

Might as well do the rear main seal. It's cheap and easy and you're there. :)


I think I might end up replacing a lot more in there, I can't help myself ;)

#33
Austin Robison

Austin Robison

    Member

  • Members
  • PipPipPip
  • 103 posts
  • Location:Palo Alto, CA
  • Region:SFR
  • Car Year:1991
  • Car Number:47
Started tearing down the engine this afternoon. Did a leak down test (cold, since engine's out of the car) with unsurprising results. About 15% for all cylinders dry and about 5% with some oil poured in. The exhaust valves seemed to be the source of the 5% leak (lots of burbling and oil spewing). Is that the seats or the springs? (Or is that normal leakage from the head?)

What do crate/built motors typical produce for cold values? How much leakage is typically stopped by allowing the engine to warm up and seal the cylinders better? Worth a ring job while I've got the whole thing pulled apart? Will certainly be doing valves.

#34
Austin Robison

Austin Robison

    Member

  • Members
  • PipPipPip
  • 103 posts
  • Location:Palo Alto, CA
  • Region:SFR
  • Car Year:1991
  • Car Number:47
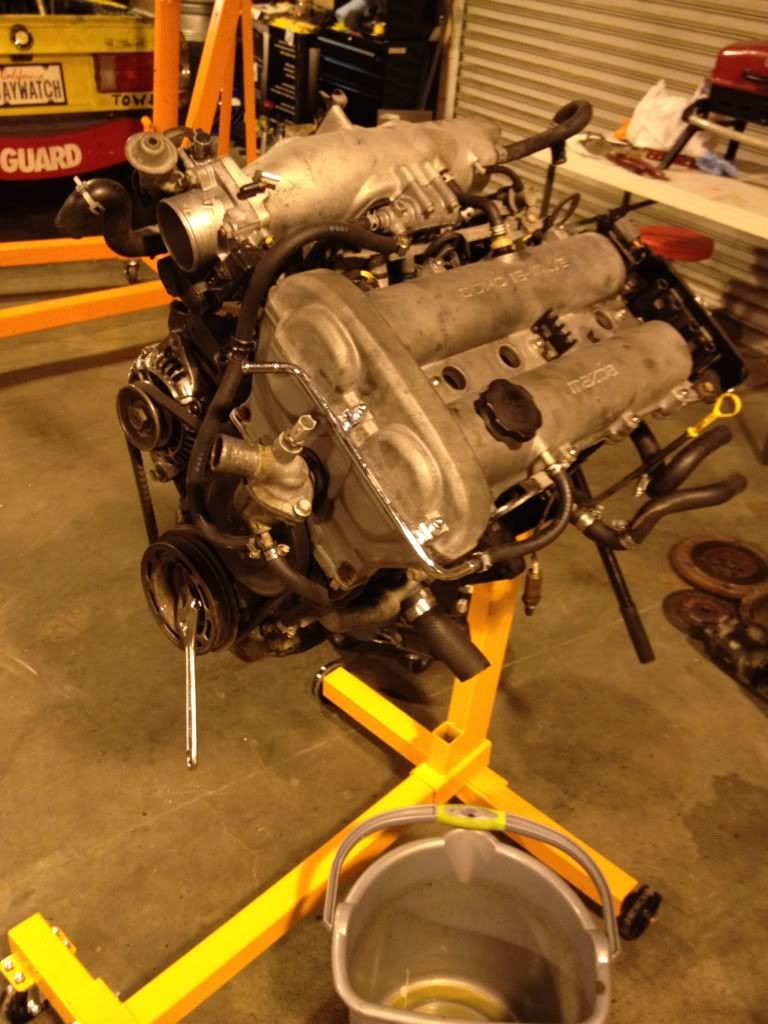
Engine stand to the rescue:

Posted Image

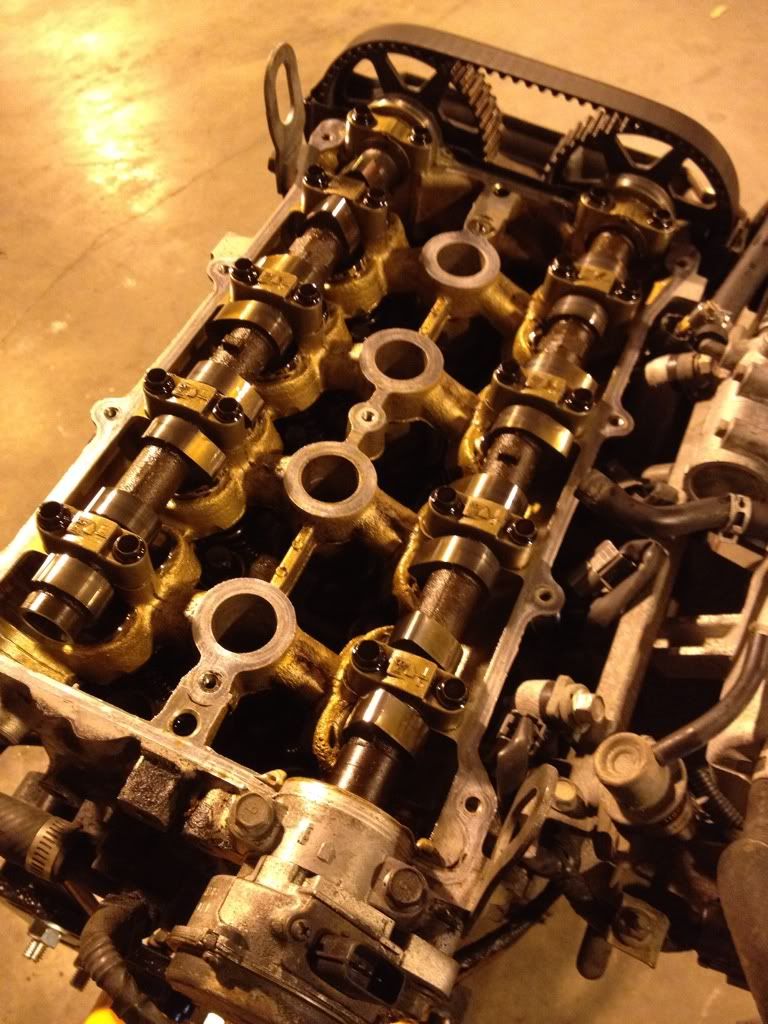
Reasonably clean under the valve cover:

Posted Image

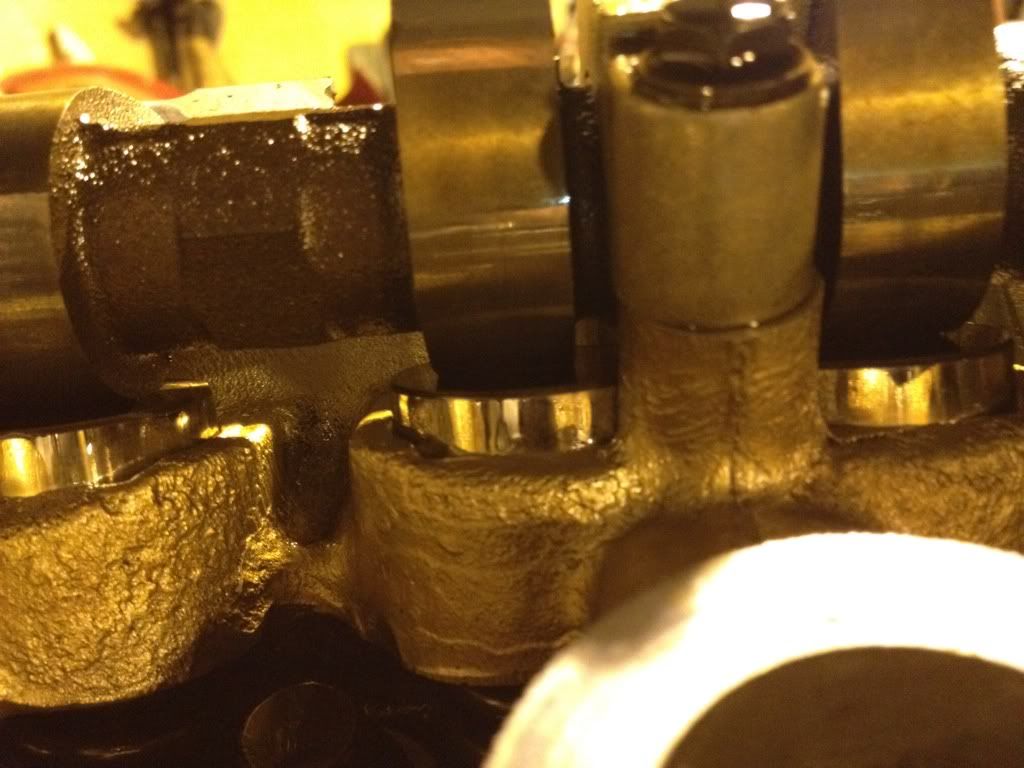
Didn't see any gaps where the HLA's weren't rising all the way back to the cam lobe:

Posted Image

#35
Austin Robison

Austin Robison

    Member

  • Members
  • PipPipPip
  • 103 posts
  • Location:Palo Alto, CA
  • Region:SFR
  • Car Year:1991
  • Car Number:47
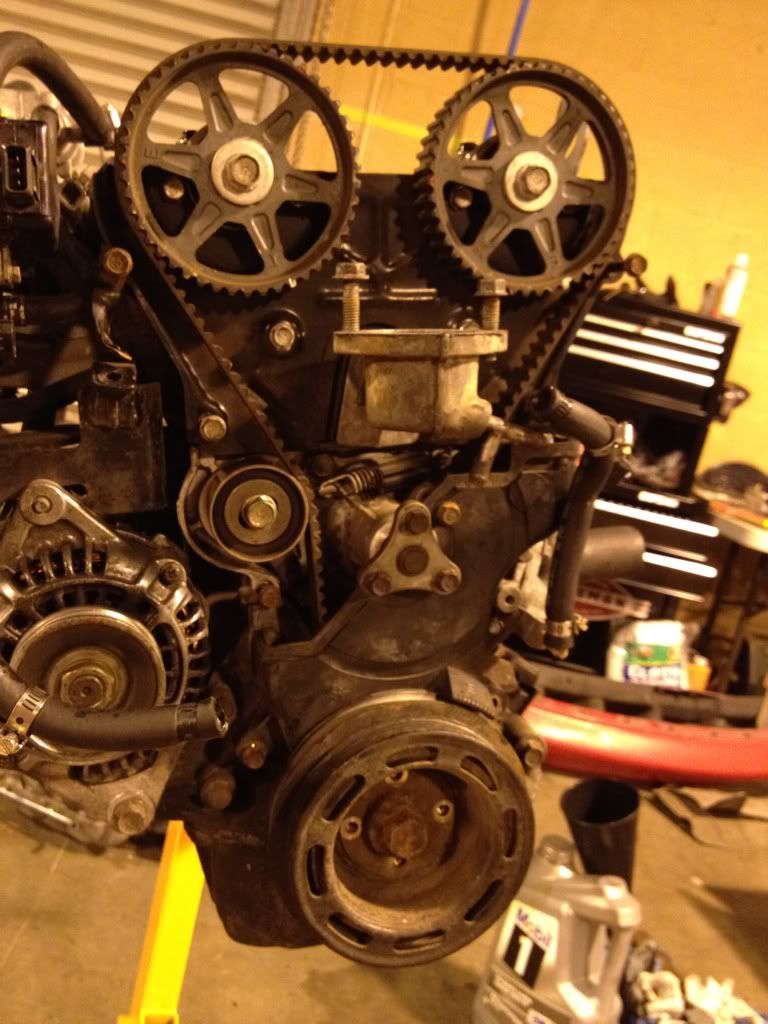
Timing belt looked pretty new, actually. Will still replace due to paranoia.

Posted Image

Getting the crank bolt off was pretty easy with a 700 ftlb impact wrench, too ;)

#36
Austin Robison

Austin Robison

    Member

  • Members
  • PipPipPip
  • 103 posts
  • Location:Palo Alto, CA
  • Region:SFR
  • Car Year:1991
  • Car Number:47
Also, what's with the four bolts on the crank pulley? They don't hold anything on, and they don't go into the crankshaft gear.

#37
Austin Robison

Austin Robison

    Member

  • Members
  • PipPipPip
  • 103 posts
  • Location:Palo Alto, CA
  • Region:SFR
  • Car Year:1991
  • Car Number:47
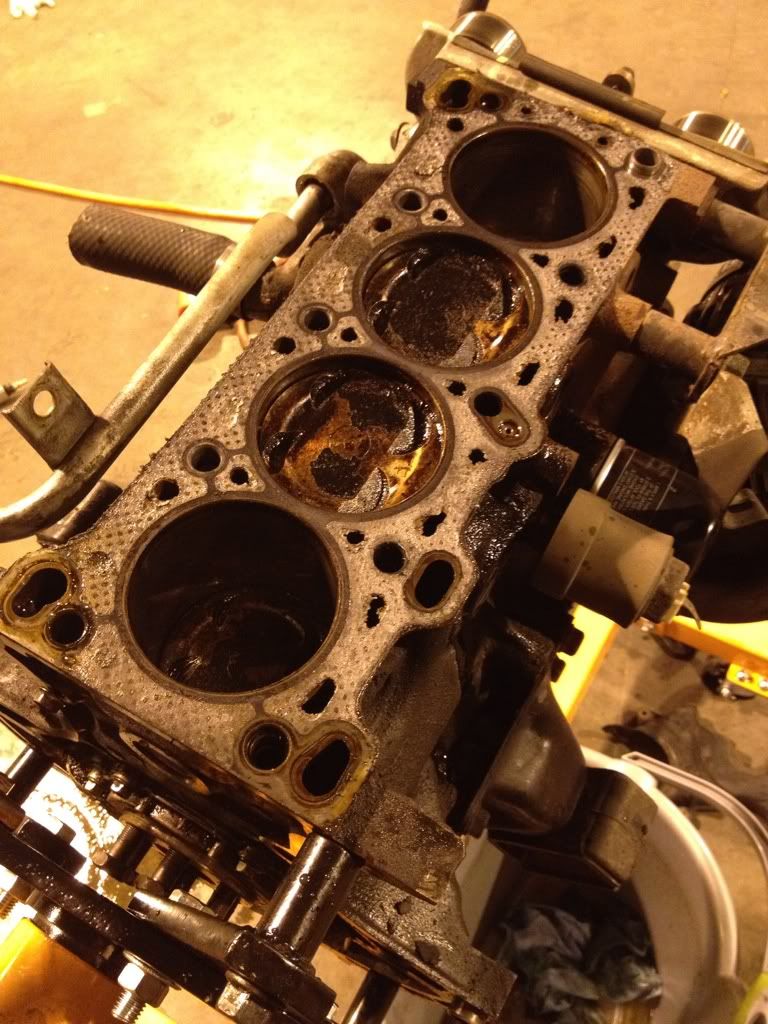
Taking the head off is easy, once you remember the giant support arm connecting the intake manifold to the block...

Posted Image

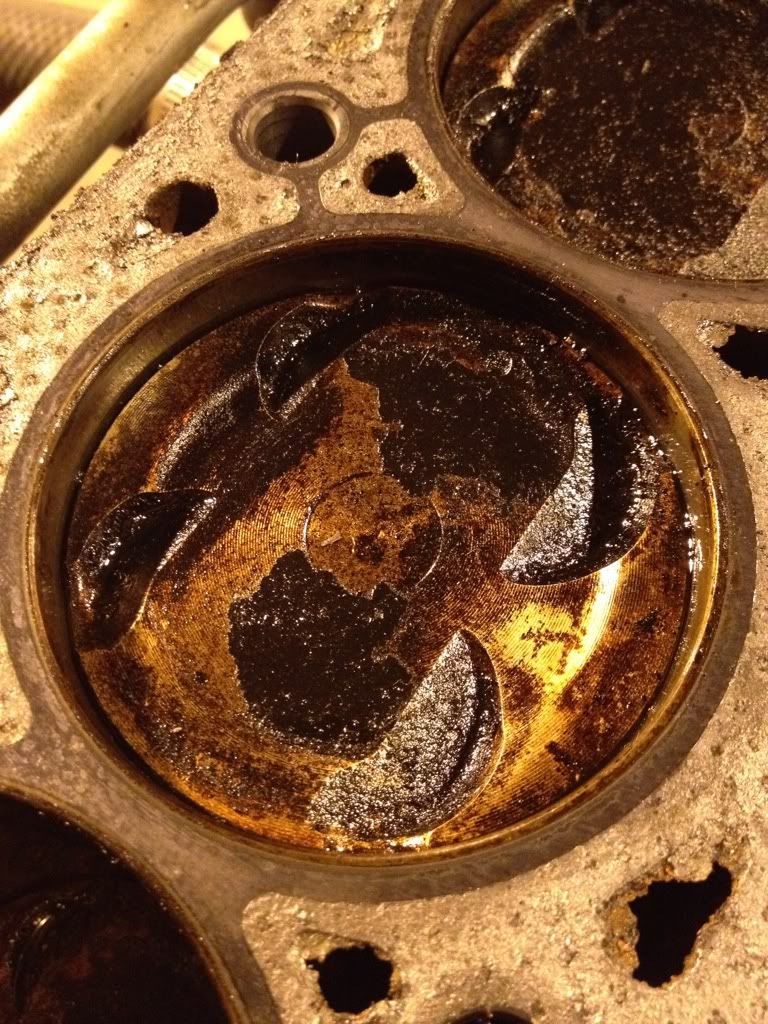
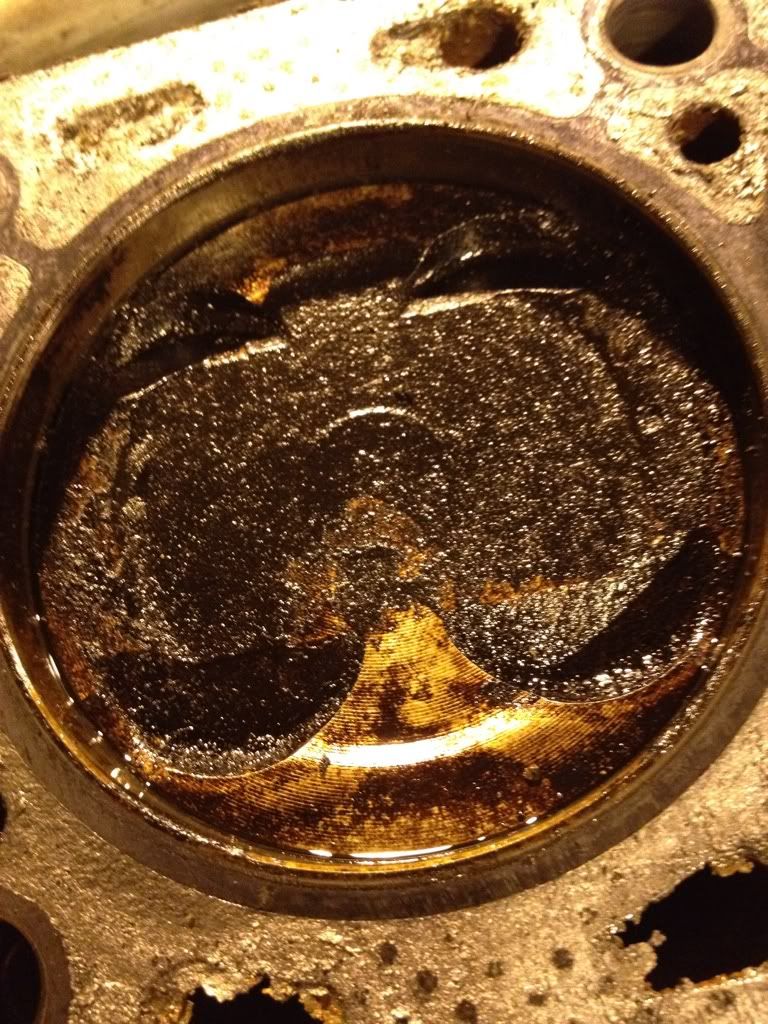
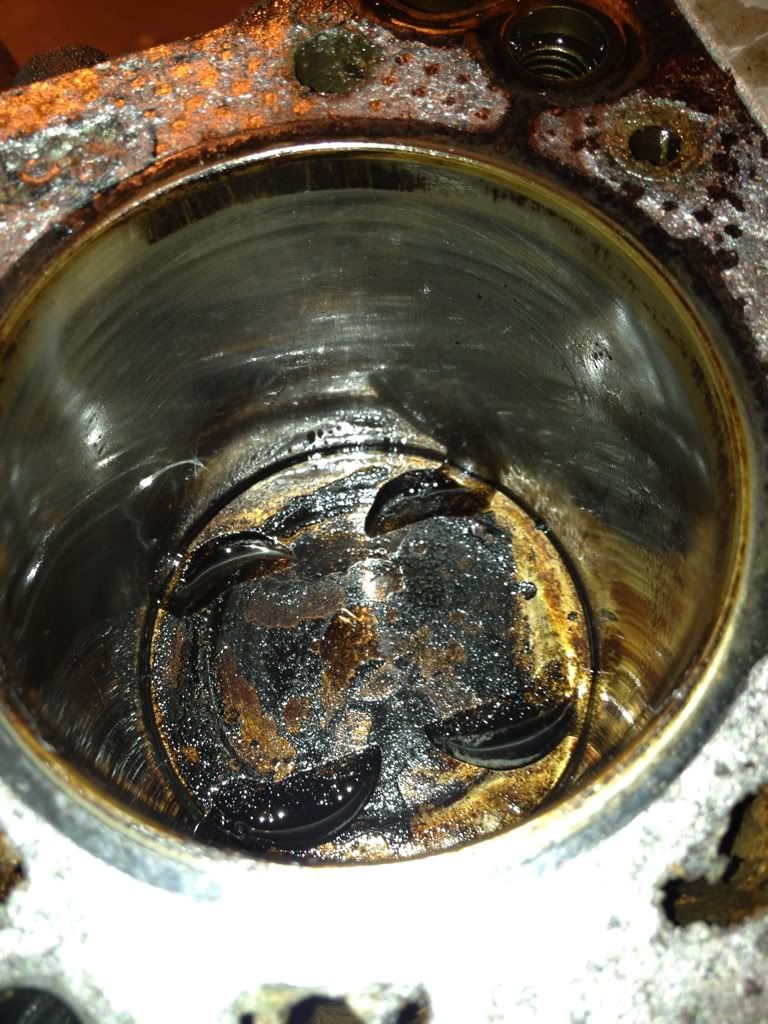
Medium gross. Lots of oil residue from the leak down test (after mopping it up). Some carbon build up, but nothing too serious looking.

#38
Austin Robison

Austin Robison

    Member

  • Members
  • PipPipPip
  • 103 posts
  • Location:Palo Alto, CA
  • Region:SFR
  • Car Year:1991
  • Car Number:47
Posted Image

Posted Image

Posted Image

Posted Image

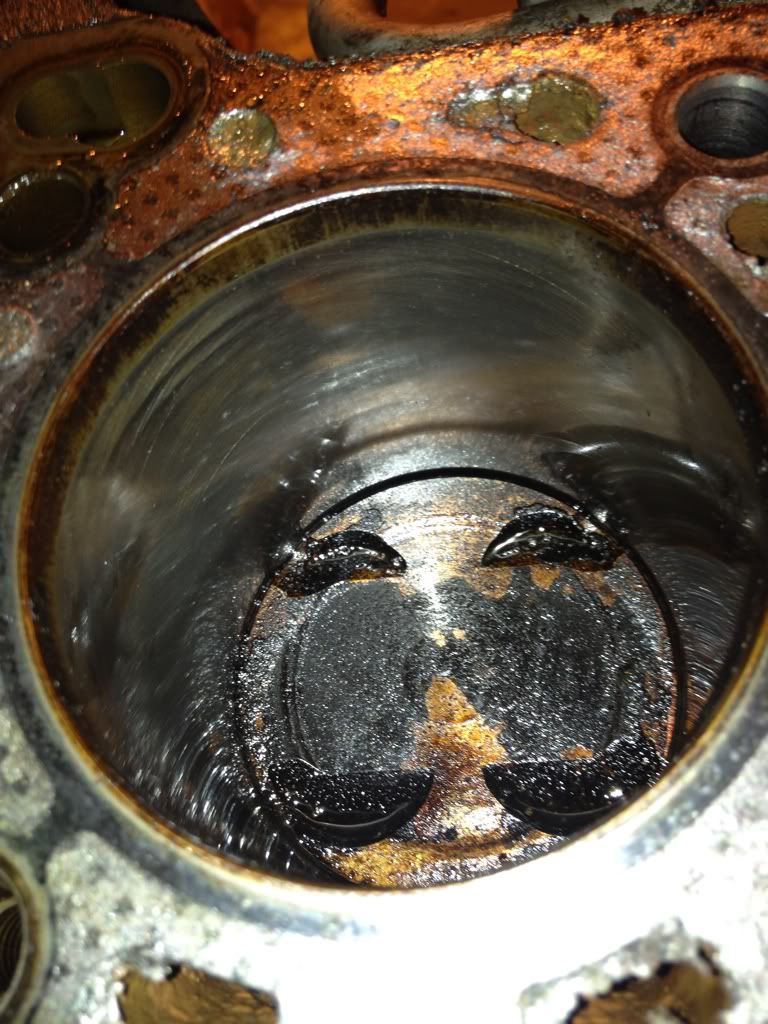
Cross hatching on the cylinder walls looked OK, despite what the flash on my camera would suggest. Nothing in there I could catch a fingernail on.

#39
Austin Robison

Austin Robison

    Member

  • Members
  • PipPipPip
  • 103 posts
  • Location:Palo Alto, CA
  • Region:SFR
  • Car Year:1991
  • Car Number:47
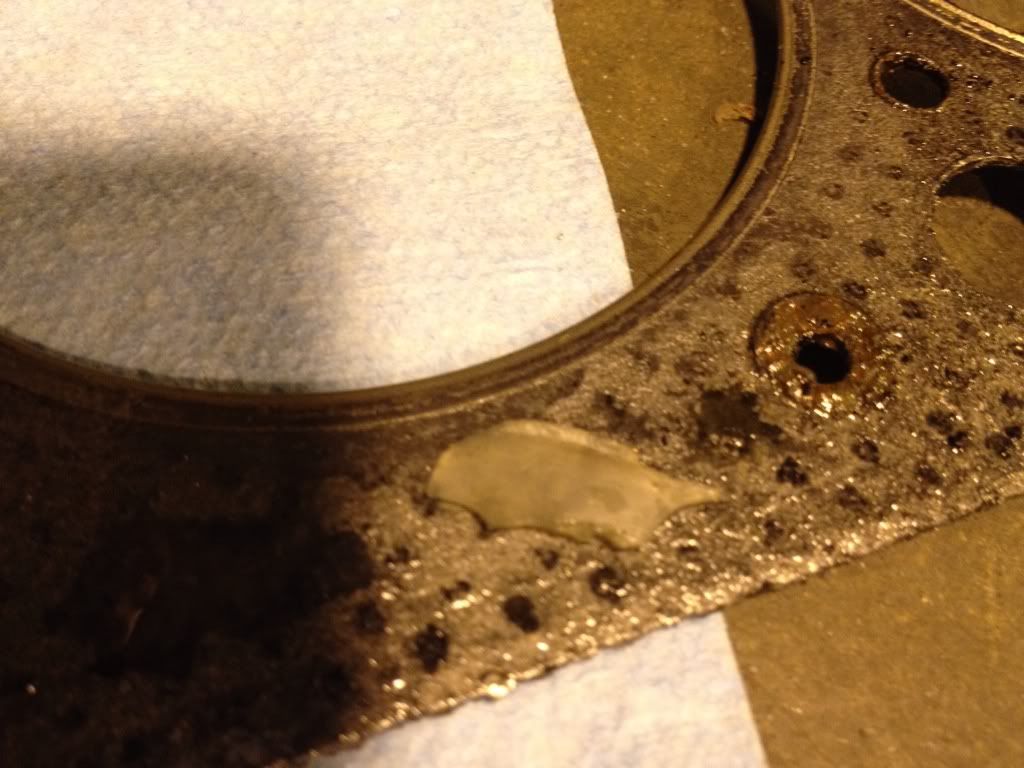
I also found this hunk of silicone sealant stuck in one of the coolant passages, awesome...

Posted Image

#40
Austin Robison

Austin Robison

    Member

  • Members
  • PipPipPip
  • 103 posts
  • Location:Palo Alto, CA
  • Region:SFR
  • Car Year:1991
  • Car Number:47
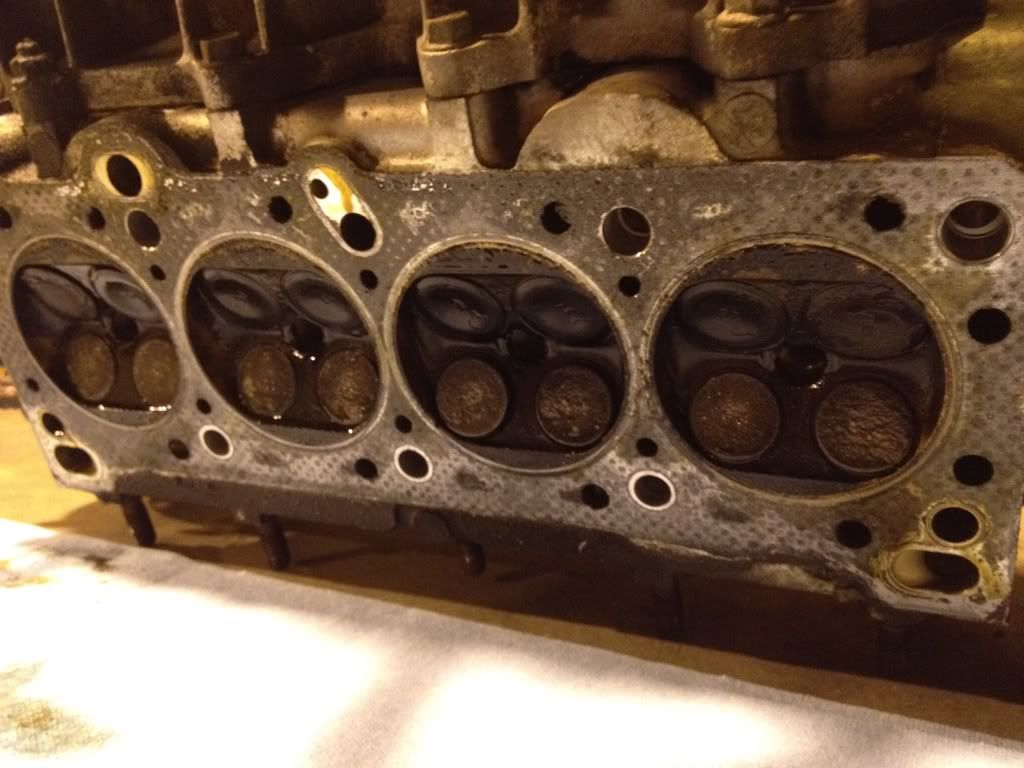
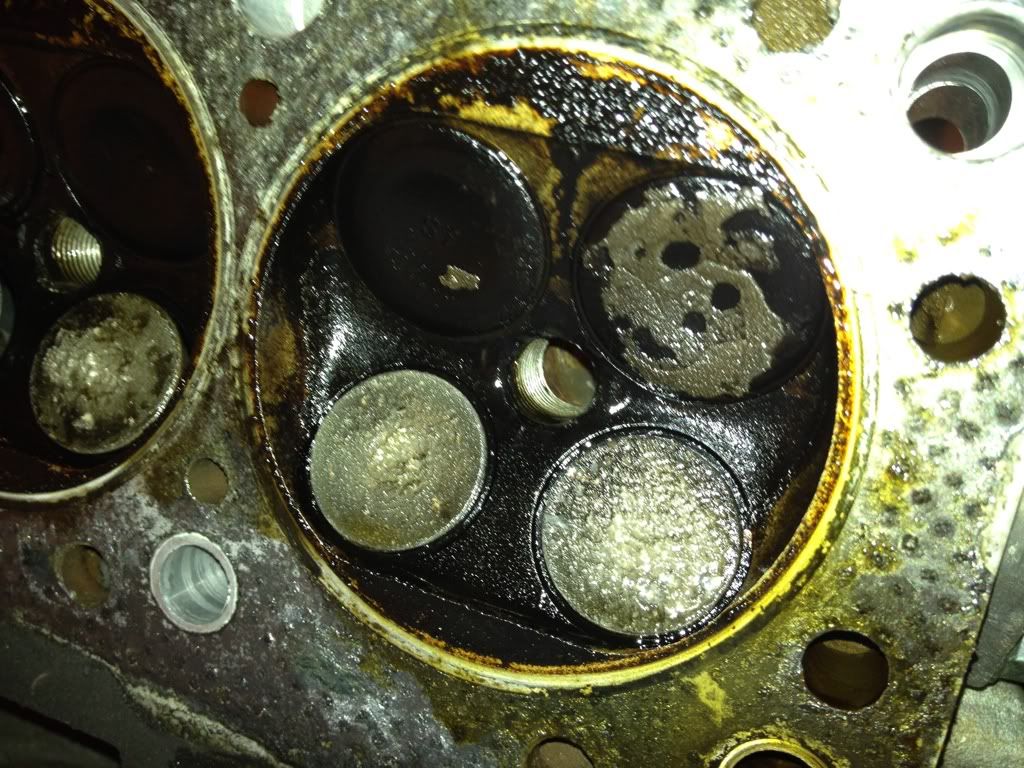
Bottom of the head looks pretty good, too:

Posted Image

Posted Image


Also tagged with one or more of these keywords: build, na, scca, construction, 1991, 1.6L

1 user(s) are reading this topic

0 members, 1 guests, 0 anonymous users