


 Sign In
 Create Account

#81

 Posted 03-12-2012 01:26 AM
Austin Robison
-
- Members
-

- 103 posts
Member
- Location:Palo Alto, CA
- Region:SFR
- Car Year:1991
- Car Number:47
 Back to top
 Report
#82
Posted 03-12-2012 01:27 AM
Austin Robison
-
- Members
-
- 103 posts
Member
- Location:Palo Alto, CA
- Region:SFR
- Car Year:1991
- Car Number:47

#83
Posted 03-12-2012 01:28 AM
Austin Robison
-
- Members
-
- 103 posts
Member
- Location:Palo Alto, CA
- Region:SFR
- Car Year:1991
- Car Number:47
#84
Posted 03-12-2012 01:32 AM
Austin Robison
-
- Members
-
- 103 posts
Member
- Location:Palo Alto, CA
- Region:SFR
- Car Year:1991
- Car Number:47
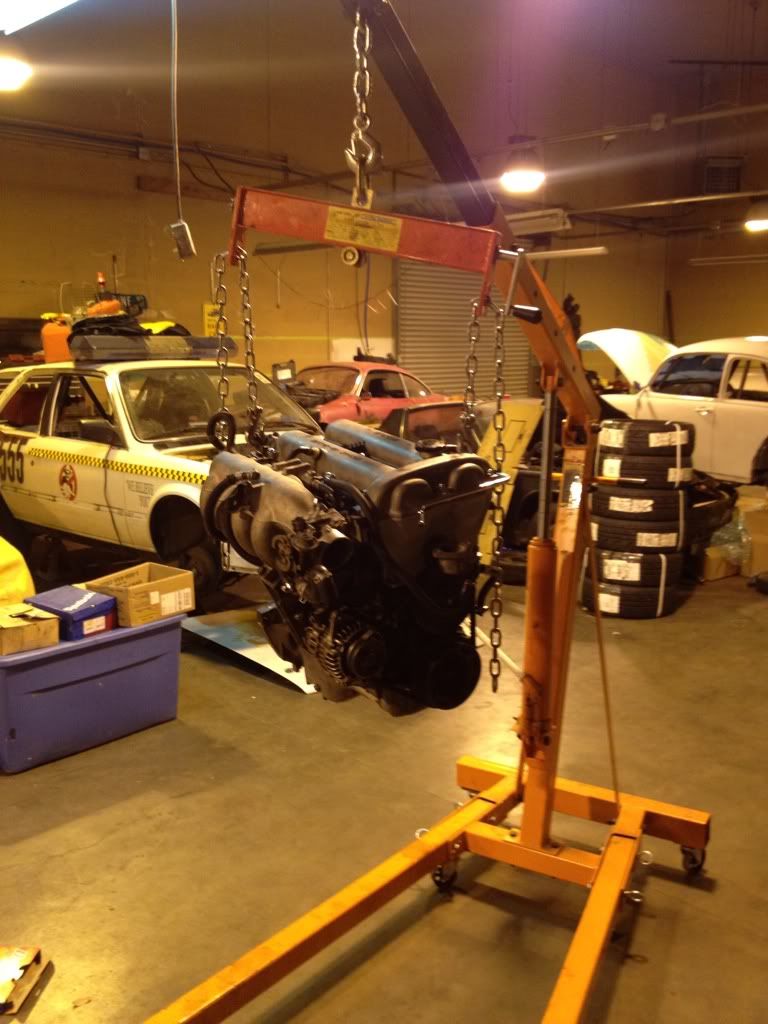
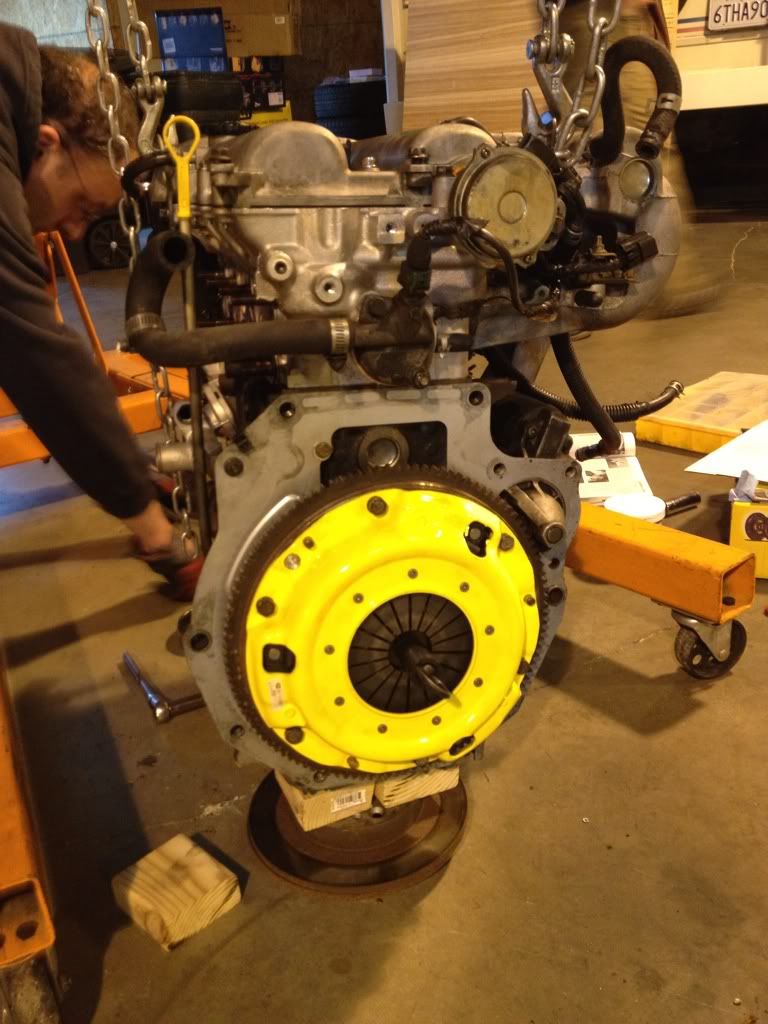
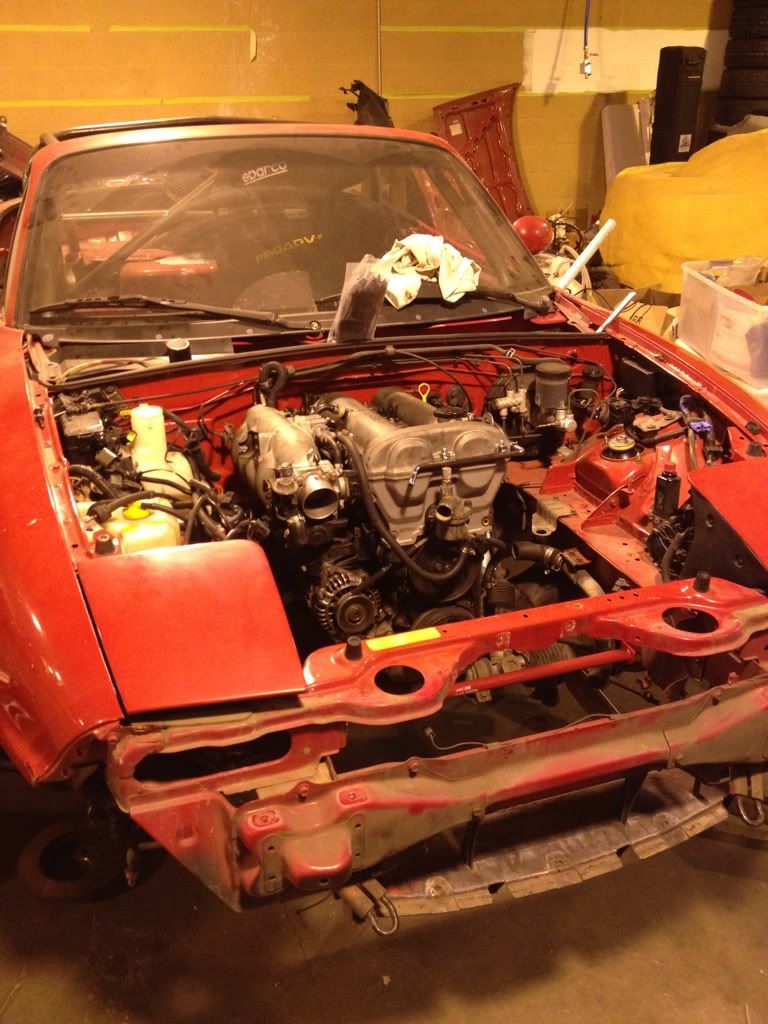
Sunday, Alberto and I got the engine the rest of the way back together and ready for the transmission.
Man that ACT plate is bright:
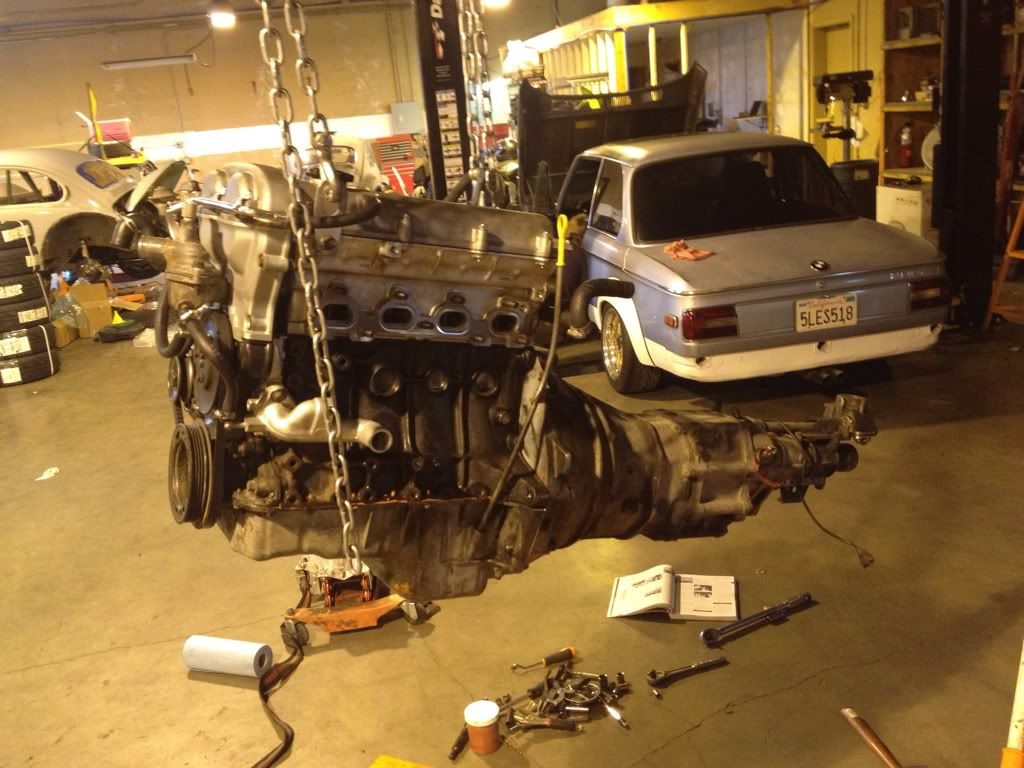
Transmission on:
And ready to go home:
Man that ACT plate is bright:
Transmission on:
And ready to go home:
#85
Posted 03-12-2012 01:34 AM
Austin Robison
-
- Members
-
- 103 posts
Member
- Location:Palo Alto, CA
- Region:SFR
- Car Year:1991
- Car Number:47
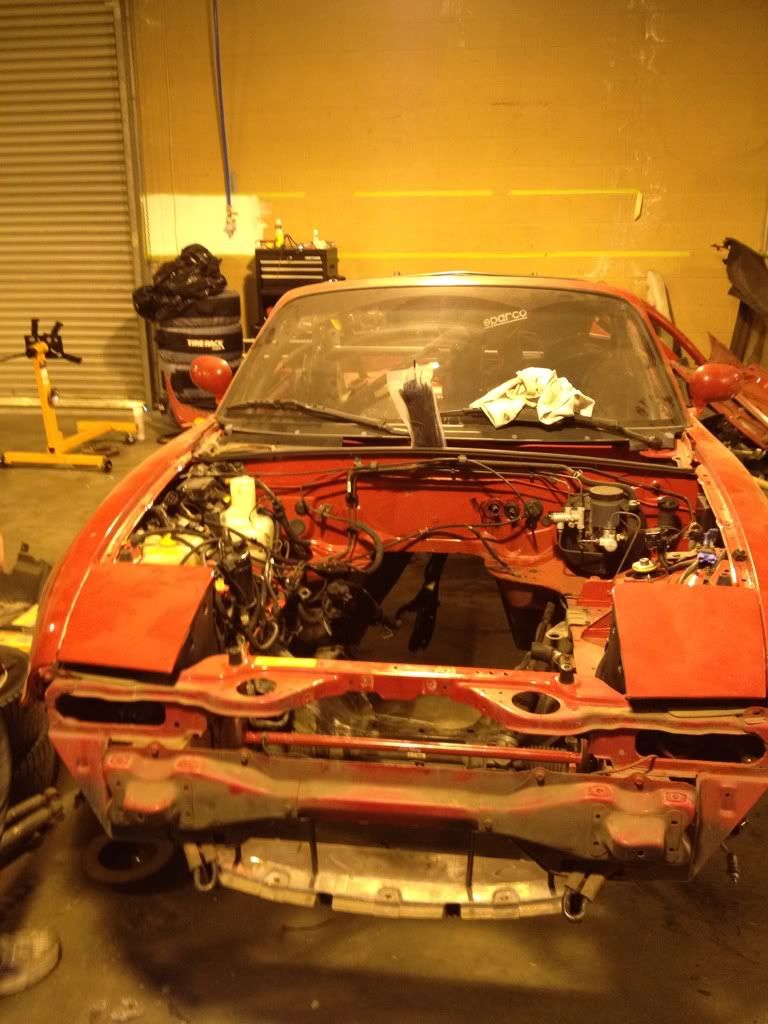
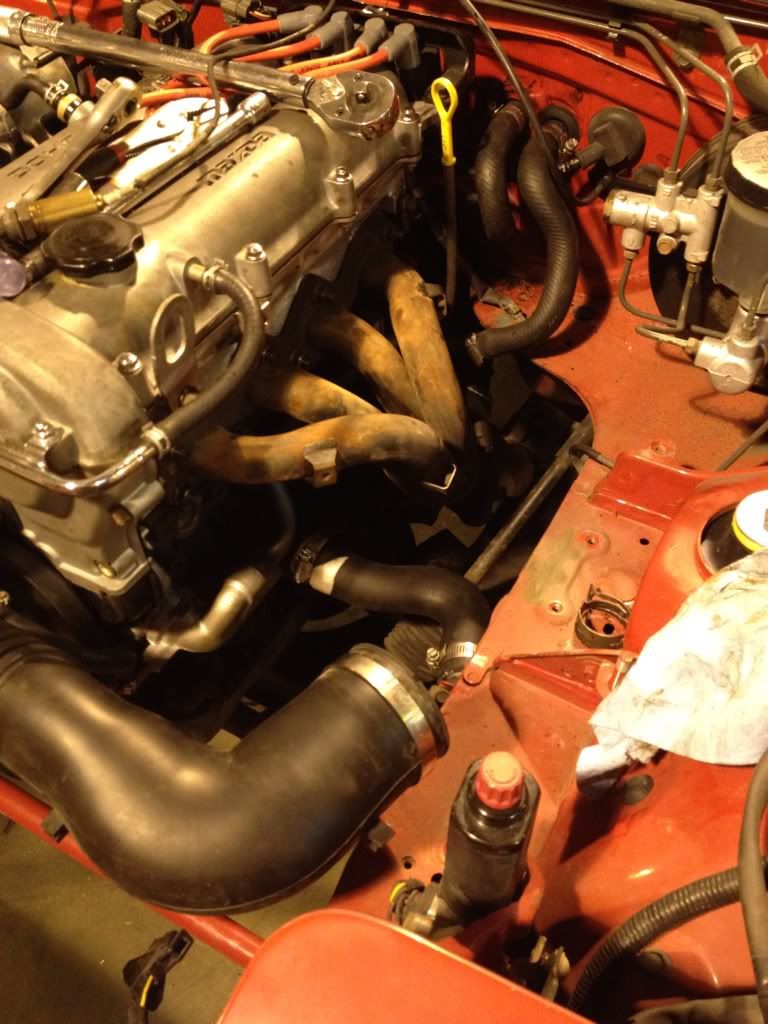
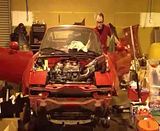
And after a bit of finagling, the engine was in, transmission bolted to the PPF and the wiring harness reconnected:
#86
Posted 03-12-2012 01:37 AM
Austin Robison
-
- Members
-
- 103 posts
Member
- Location:Palo Alto, CA
- Region:SFR
- Car Year:1991
- Car Number:47
#87
Posted 03-12-2012 01:38 AM
Austin Robison
-
- Members
-
- 103 posts
Member
- Location:Palo Alto, CA
- Region:SFR
- Car Year:1991
- Car Number:47
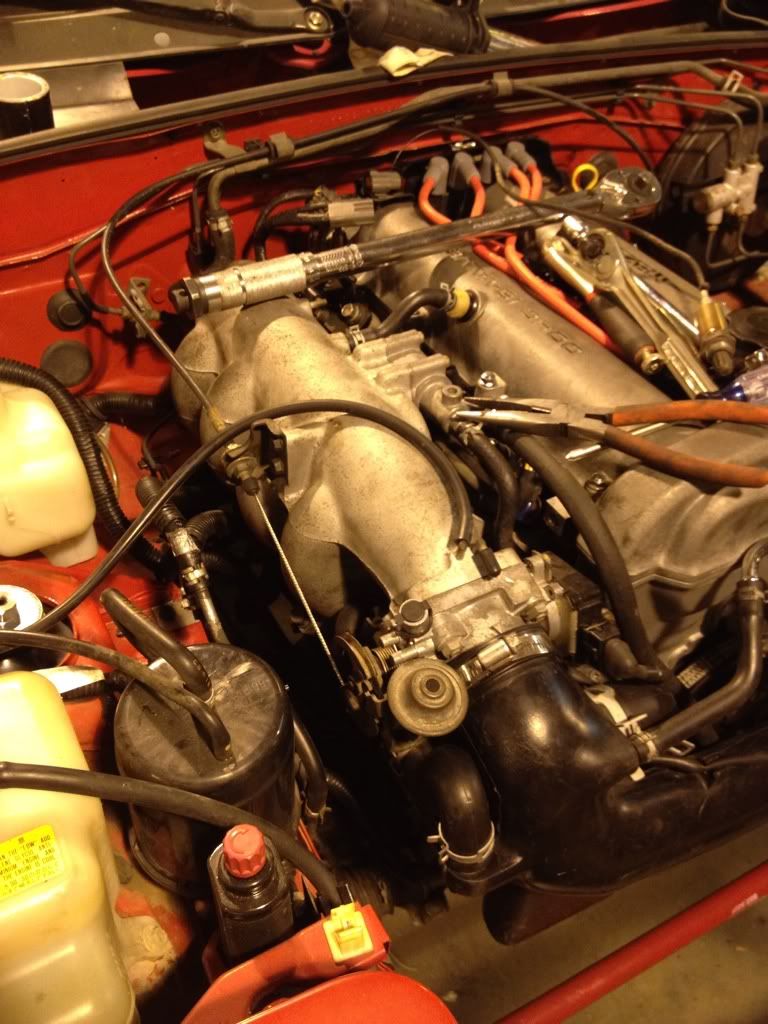
Ok, so here's a question. How do these SPX2 intakes mount? Do I need to fab something to hold this guy to the old mounting posts the original air filter housing would have been attached to?
#88
Posted 03-12-2012 01:40 AM
Austin Robison
-
- Members
-
- 103 posts
Member
- Location:Palo Alto, CA
- Region:SFR
- Car Year:1991
- Car Number:47
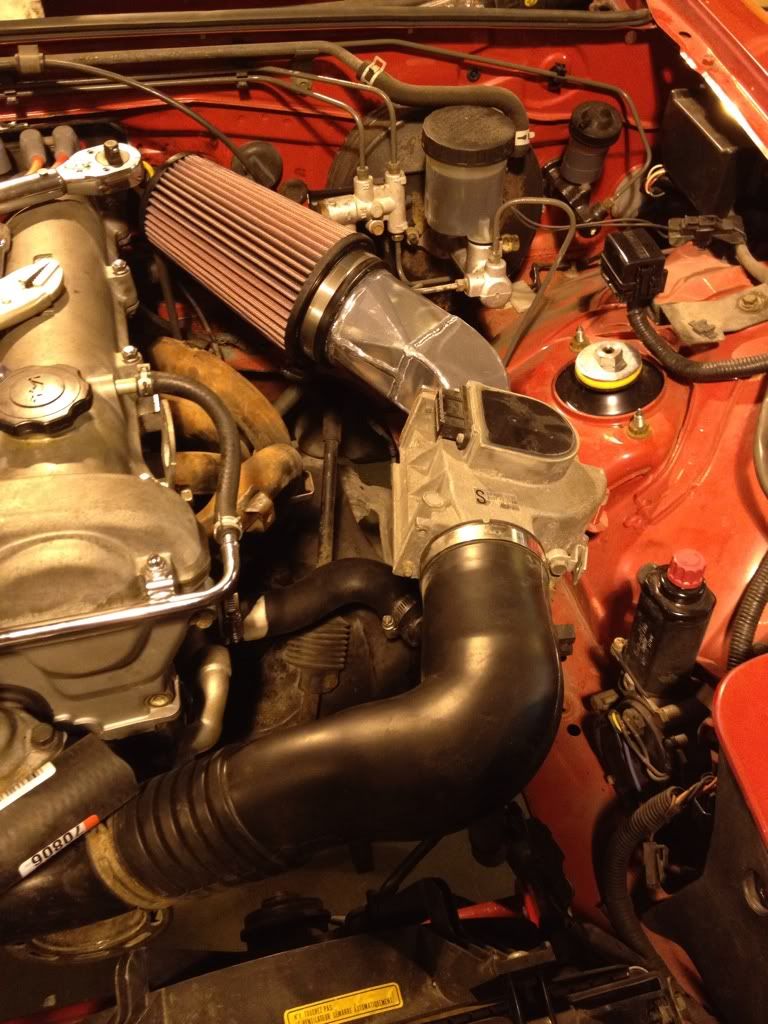
Also, for that aluminum heater hose pipe with the o-ring on in; does that need silicone sealant when it goes in?
#89
Posted 03-12-2012 10:58 AM
Alberto
-

- Members
-
- 1,471 posts
Veteran Member
- Location:Mountain View, CA
- Region:SFR
- Car Year:1990
Ok, so here's a question. How do these SPX2 intakes mount? Do I need to fab something to hold this guy to the old mounting posts the original air filter housing would have been attached to?
Did you buy it new? If so, it should have come with two long L shaped brackets to hold the AFM.
Dr. Dan gave me one of those intakes (Thanks Dan!) last year and I had to buy the brackets separately from the guy that fabs the intake in TX. $20.
I was half expecting that you would be posting an update where you had started the car last night. So close!

#90
Posted 03-12-2012 01:59 PM
Austin Robison
-
- Members
-
- 103 posts
Member
- Location:Palo Alto, CA
- Region:SFR
- Car Year:1991
- Car Number:47
Did you buy it new? If so, it should have come with two long L shaped brackets to hold the AFM.
Ah, I bet they're floating around in the box still. So close to getting it started
 Definitely after work some time this week I'll get things sufficiently buttoned up to give it a test.
#91
Posted 03-12-2012 03:48 PM
Charlie Hayes
-

- Members
-
- 513 posts
Veteran Member
- Location:Walnut Creek, Ca
- Region:West Coast
- Car Year:1999
- Car Number:22
Turn the intake filter tube the other way. You do not want it over the exhaust like that. It should fit snug near the brake/clutch master(s).
- john mueller likes this


#92
Posted 03-12-2012 04:37 PM
Austin Robison
-
- Members
-
- 103 posts
Member
- Location:Palo Alto, CA
- Region:SFR
- Car Year:1991
- Car Number:47
Turn the intake filter tube the other way. You do not want it over the exhaust like that. It should fit snug near the brake/clutch master(s).
Thanks Charlie, I was wondering which way that wanted to go. It didn't seem like it would clear the hydraulic cylinders and being over the exhaust seemed like a bad idea too
#93
Posted 03-12-2012 04:54 PM
Charlie Hayes
-
- Members
-
- 513 posts
Veteran Member
- Location:Walnut Creek, Ca
- Region:West Coast
- Car Year:1999
- Car Number:22
#94
Posted 03-12-2012 09:27 PM
Alberto
-
- Members
-
- 1,471 posts
Veteran Member
- Location:Mountain View, CA
- Region:SFR
- Car Year:1990
Ah, I bet they're floating around in the box still. So close to getting it started
I emailed you a pic of the brackets. Once you find them and get the AFM located, the air filter will fit in the rear corner of the engine bay. You will need to loosen the forward most brake line and push it backward to make room. I'll do it for you next time I'm there if you don't get around to it.
#95
Posted 03-14-2012 01:59 AM
Austin Robison
-
- Members
-
- 103 posts
Member
- Location:Palo Alto, CA
- Region:SFR
- Car Year:1991
- Car Number:47
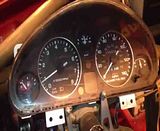
It lives! [click the images for videos]
Little puff of smoke was either something burning off the manifold or just assembly lube burning out the exhaust and coming back up from the open downpipe; it went away after a few minutes. After chewing through the assembly lube it smoothed out in to a really nice idle. Oil pressure looks great and it sounds right!
Little puff of smoke was either something burning off the manifold or just assembly lube burning out the exhaust and coming back up from the open downpipe; it went away after a few minutes. After chewing through the assembly lube it smoothed out in to a really nice idle. Oil pressure looks great and it sounds right!
#96
Posted 03-14-2012 09:09 AM
William Bonsell
-
- Members
-
- 398 posts
Member
- Location:Poulsbo, WA
- Region:Northwest
- Car Year:1999
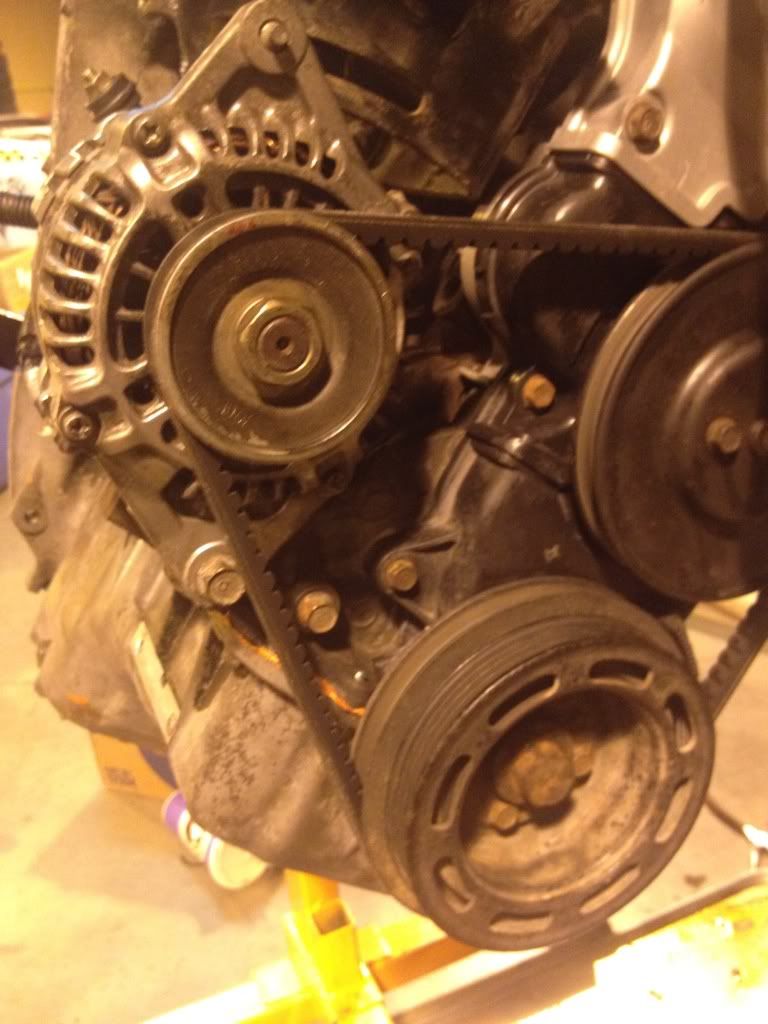
Noticed your serpentine belt. Always had a problem with those and switched over to the factory OEM V-belt from Mazdaspeed or dealer. Not sure if anyone else has had the same issues, but my serpentine would eventually loosen up and begin to slip. Something you might want to look into to.
Bill-
Bill-

#97
Posted 03-14-2012 10:55 PM
fotostars
-

- Members
-
- 312 posts
Member
- Location:Norcal
- Car Year:1997
- Car Number:63
Hey, make sure you remove the Airbag bulb behind the dash before putting everything back together... It will drive you nuts ;-)
Great build! Congrats! Can't wait to see the car at the track!
Great build! Congrats! Can't wait to see the car at the track!
- Alberto likes this
#98
Posted 03-30-2012 03:08 AM
Austin Robison
-
- Members
-
- 103 posts
Member
- Location:Palo Alto, CA
- Region:SFR
- Car Year:1991
- Car Number:47
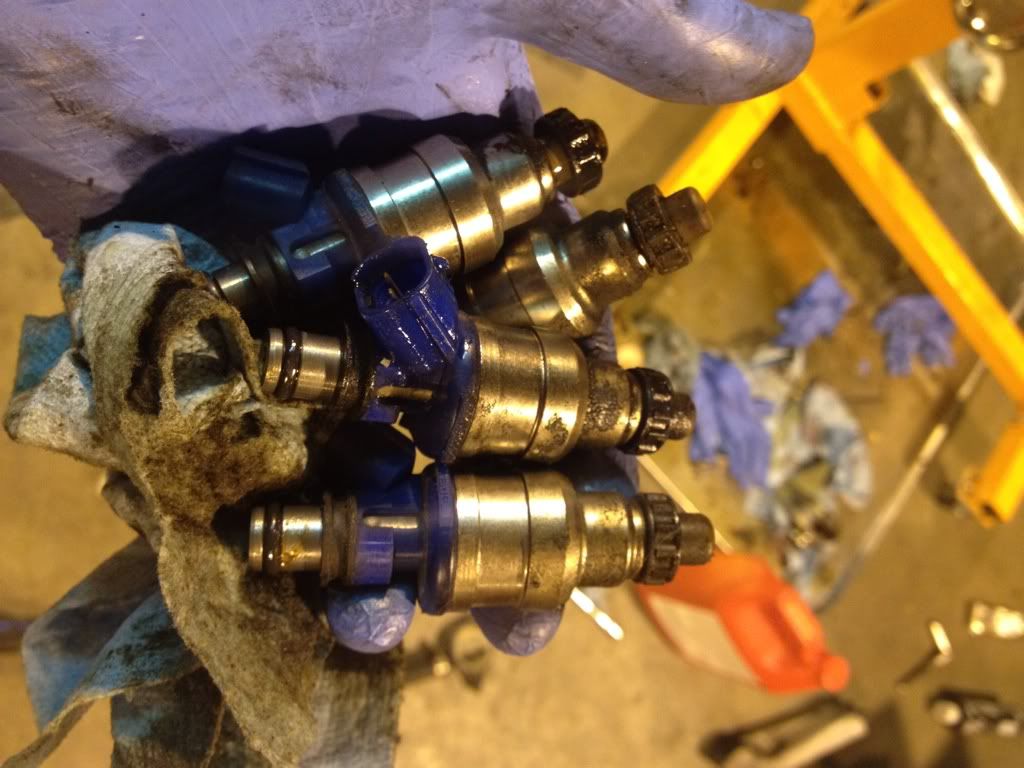
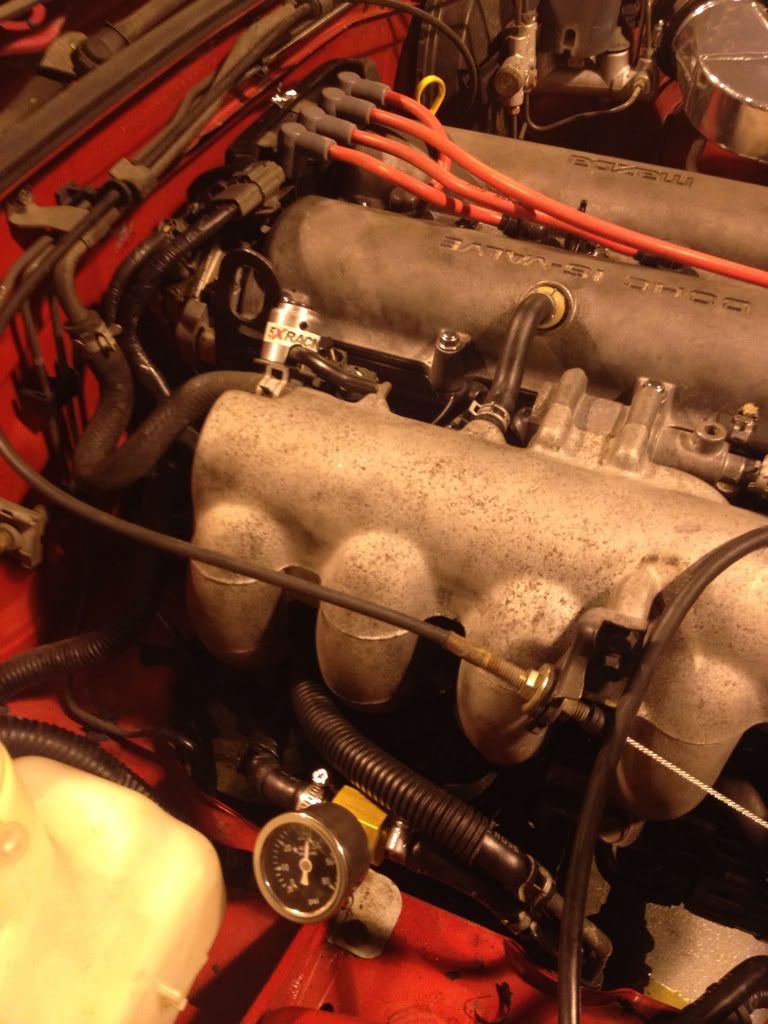
Tonight I installed the 5x racing adjustable fuel pressure regulator and an inline fuel pressure gauge. This was prompted by noticing this giant fuel leak:
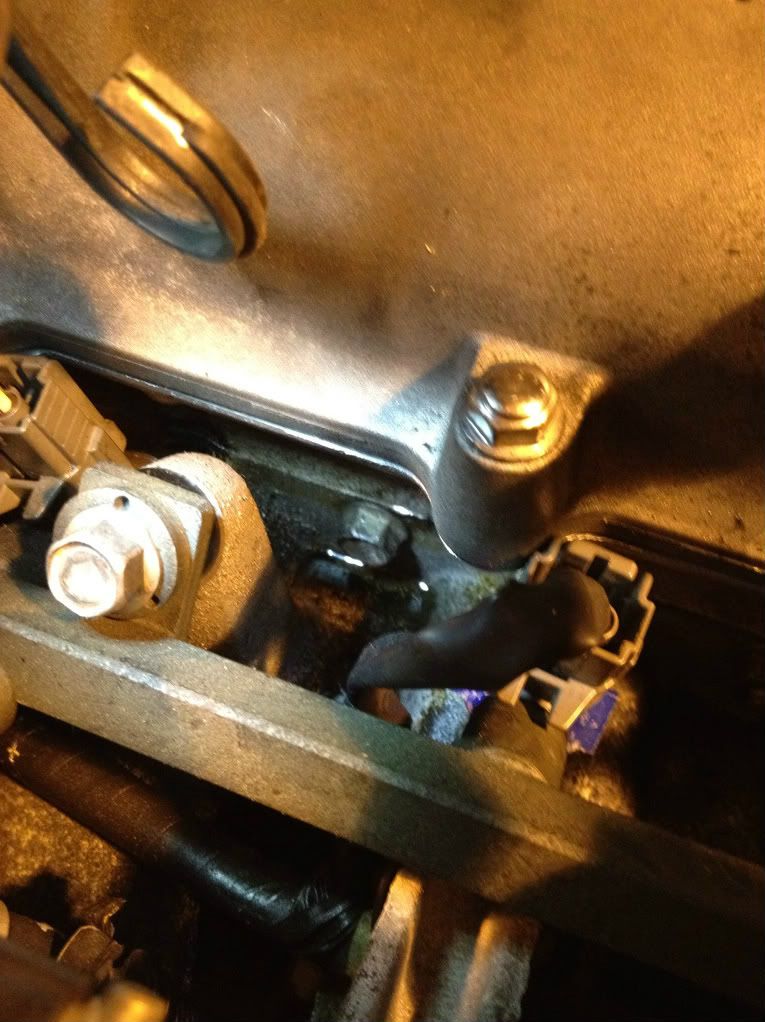
It's a little hard to see in the photo, but the number 4 injector was dumping fuel down from the fuel rail and making a nice little puddle there. No wonder I smelled gas every time I started the damn thing. I pulled the fuel rail off and reseated the injector (the o-ring looked like it had gotten a little twisted) and put in the adjustable FPR while I was at it and put it all back together. Connecting the F/P and GND terminals in the diagnostic port was quite handy for making sure it wasn't leaking without having to run around to start the engine all the time (plus, less chance of catching myself on fire).
I also then managed to install the pressure gauge on the return line first ("why does this read zero? doh...") before then also using the diagnostic port trick to set the initial fuel pressure. According to the FSM, you want between 38 and 46 psi with F/P and GND jumped, so I set it to 44. Pull out the jumper, starts right up (with fuel pressure hovering around 32 psi during idle).
#99
Posted 03-30-2012 03:13 AM
Austin Robison
-
- Members
-
- 103 posts
Member
- Location:Palo Alto, CA
- Region:SFR
- Car Year:1991
- Car Number:47
Also, this is the famous HLA noise, right? With the stethoscope, it definitely sounds like it's coming from the cams.
#100
Posted 03-30-2012 10:13 AM
NV Racer
-

- Members
-
- 63 posts
Member
- Location:Reno, NV
- Region:San Francisco
- Car Year:1990
- Car Number:70
Definitely sounds like HLA noise. Do not worry about it yet. Some HLA's take time to fully pump up. Mine were noisy until I got on the track for some extended High RPM running.
Dennis
Dennis

Also tagged with one or more of these keywords: build, na, scca, construction, 1991, 1.6L

|
Spec Miata →
Spec Miata Safety →
Cage fab shop in Southern CaliforniaStarted by luvin_the_rings , 09-14-2017 |
|
|
|
|
|
Spec Miata →
Spec Miata Garage →
Need help with 1.6L IdleStarted by ZeroX12 , 04-21-2017 |
|
|
|
|
|
Spec Miata →
Spec Miata (SM) →
Majors at Watkins GlenStarted by ack154 , 04-28-2016 |
|
|
|
|
|
Spec Miata →
Spec Miata Garage →
Questions on ECU Part numbersStarted by luvin_the_rings , 10-28-2015 |
|
|
|
|
|
Spec Miata →
Spec Miata (SM) →
Another newbie thread (Where do I get started)Started by AFlockhart1865 , 05-13-2015 |
|
|
0 user(s) are reading this topic
0 members, 0 guests, 0 anonymous users

